Everyone has that one shirt with a little hole or a favorite pair of jeans starting to fray. Learning some beginner-friendly mending tricks can save you the hassle and help keep your wardrobe in rotation longer.
Simple repairs can restore the clothes you cherish, allowing you to wear them with pride rather than tossing them aside. Basic mending brings confidence, control, and fewer last-minute shopping trips.
This guide walks you through accessible mending approaches you can try today, even if you’ve never picked up a needle. Discover actionable steps, realistic scenarios, and techniques that blend into everyday life.
Choosing the Right Mending Tools Makes Repairs Easier
Selecting the best mending tools means your first repairs go faster, with less frustration. Gather a few basics so you won’t get stuck hunting for supplies mid-fix.
A small sewing kit will take care of most issues, but there’s value in knowing what each tool does. Examine these details before diving into your first mending session.
Understanding Needle Types for Everyday Repairs
For fabric like T-shirts, opt for sharps or universal needles. Jeans need sturdy, thick needles labeled for denim. When you match needle and fabric, your stitches go through easily and stay secure longer.
If you’re fixing a stretchy fabric, a ballpoint needle prevents snags. For mending visible areas, use a needle long enough for easy maneuvering but not so large it leaves big holes.
Before starting, inspect each needle – discard any bent or rusty ones. Fresh tools deliver smoother results and save time troubleshooting skipped stitches or broken threads during mending.
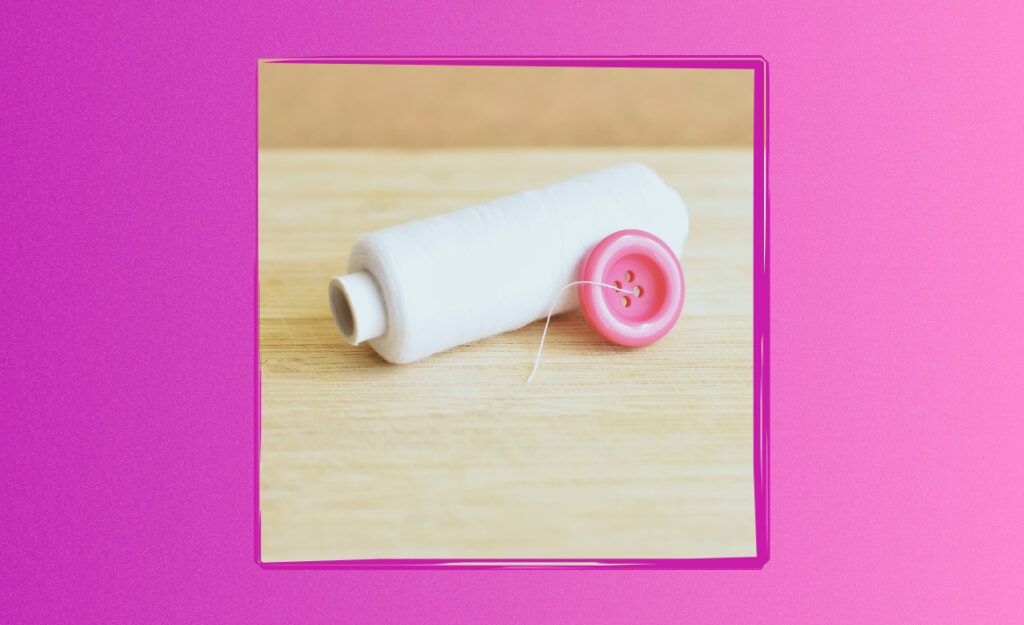
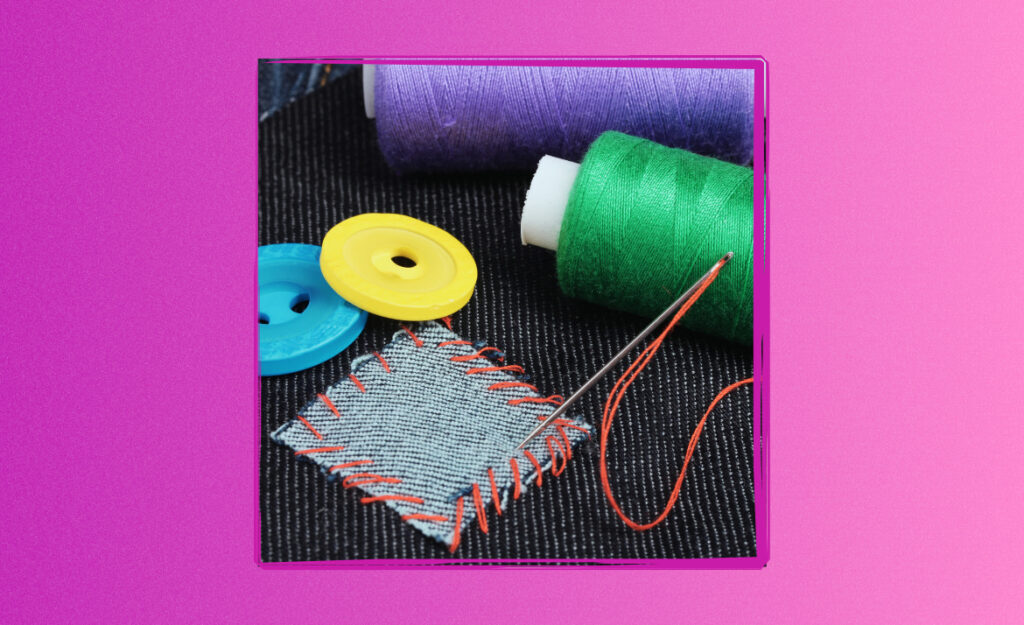
Thread Choices That Blend or Pop
Mending thread color impacts whether your fix is discreet or a bold statement. For invisible fixes, pick a shade closest to the garment. Contrasting threads can turn repairs into design details.
Polyester thread works well for most repairs, since it’s strong and flexible. Cotton thread is a classic choice for natural fabrics, but polyester lasts longer for high-wear items.
Tip: When in doubt, double up thread on spots that endure stress, like elbows or pocket corners. This adds built-in strength to your mending and keeps small repairs from reopening.
| Tool | When to Use | Works Best For | Takeaway |
|---|---|---|---|
| Sharps Needle | General Hand Sewing | Cotton, woven shirts | Good all-purpose tool, essential for starter kit |
| Denim Needle | Thick Fabric | Jeans, jackets | Needed for sturdy fixes; prevents bending |
| Ballpoint Needle | Stretchy Fabric | T-shirts, knits | Prevents snags and thread runs |
| Thread (Polyester) | Strength, Stretch | Synthetics, blends | Best all-around for durability |
| Thread (Cotton) | Natural Fabric | Linen, cotton | Best match for breathability, gentle wear |
Creating a Reliable Mending Habit at Home: Daily Actions and Smart Storage
Building a mending habit means setting small routines and keeping your supplies organized. These steps ensure you always know where to start when tears or missing buttons appear.
Designate a spot in your home for supplies. When everything’s handy, emergencies like popped seams never derail your day. A simple checklist helps keep repairs from piling up.
Setting Up Your Repair Zone
Clear out a drawer or container for your mending kit. Add fabric scraps, assorted needles, thread, small scissors, and a few buttons. This low-effort station saves time and encourages regular fixes.
- Spend five minutes each week sorting your mending kit, checking for tangled thread and sharpening scissors. Ready tools make repairs faster and steadier.
- Hang a sticky note on your wardrobe or laundry basket reminding yourself to check clothing for minor damage during folding. This turns awareness into habit and helps catch repairs before they worsen.
- Schedule a short ‘fix-it’ slot once a month, just like cleaning: pick three items and handle simple repairs while watching TV. Regular sessions keep tasks manageable.
- Jot down a mini repair list—holes, loose seams, buttons—then prioritize by what you wear most. Tackling favorite pieces first ensures you’ll actually use the fixed clothes.
- Reward yourself after each session with a small treat or activity to reinforce the mending habit and keep motivation high for next time.
Use these routines to turn mending from a dreaded chore into a micro-skill you’re proud of building. Consistency pays off as your favorite pieces last longer.
Tracking Progress and Celebrating Small Wins
Keep a visible tally on a notebook or phone of articles you’ve mended. Mark down dates and results (e.g., “patched jeans, saved $40”). Reviewing these wins boosts your repair skills and encourages ongoing effort.
- Log a before-and-after photo for each mending project. Seeing results visually boosts pride and highlights skills gained with each completed repair.
- Keep a running cost-saving total. Assign a modest “replacement value” to every item mended and watch your savings add up over time. This makes the habit more tangible and satisfying.
- Interview friends who also mend. Share progress and celebrate quick wins together. Peer support helps you persist and trade new tips that refine each person’s process.
- Revisit older fixes now and then. If a patch or seam failed, use it as a lesson—note what could improve next time, not as a setback but as a learning opportunity.
- End every month with a mini reflection: What went well? Where did time get wasted? Adjust the system so the routine feels low-pressure and rewarding each time.
By tracking progress, you embed mending as a real part of daily life, where each success leads to lasting confidence and improved clothing care.
Repairing Common Garment Issues with Simple Techniques
Patching holes, fixing small snags, and tightening buttons are repairs you can nail at home. With a few repeatable steps, you’ll turn hesitant attempts into reliable, repeatable solutions.
Address these common mending tasks by following proven techniques. You’ll find these methods practical, repeatable, and suitable for most items in a typical closet.
Securing Loose Buttons Before They Fall Off
When a shirt button wiggles, fix it before loss. Thread a needle, tie off one end, and sew through existing holes three or four times in each direction. Reinforce with a few tight, neat knots to finish.
For extra durability, twist thread around the base once the button’s secure. This classic “shank” gives movement room, making the button easier to fasten and less likely to pop off under tension.
Always snip thread tails close, using small sharp scissors so the repair looks tidy. Practice on a hidden inner button to build speed before handling a visible one.
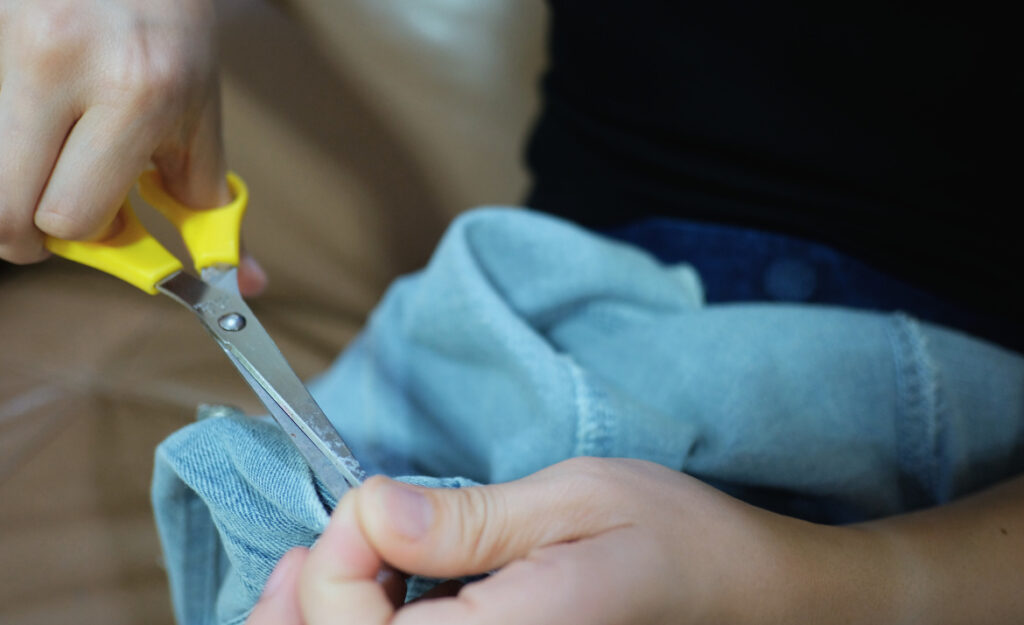
Patching Holes in Knees or Elbows
Cut a fabric square a little larger than the hole. Lay it under or over the damaged area—use pins to keep it secure. Stitch carefully around the patch edges, keeping tension even so the patch can flex with the fabric naturally.
Choose a matching or contrasting fabric, based on the effect you want. Crafty mending lets you express personality, while subtle patches blend in and keep the fix discreet.
On thin fabrics, iron-on patches work well. For thicker garments, secure patches with reinforcing stitches at the corners—this resists future tearing, especially on high-stress areas of jeans or sleeves.
Building Mending into Micro Lifestyle Skills
Mending turns into a micro lifestyle skill with steady practice—think of it like meal prepping. Taking 10 minutes a week prevents bigger headaches down the line.
Making repairs instinctive lets you skip guilt over damaged clothes and confidently extend their life. Each mini project becomes a chance to build hands-on resilience.
Managing Time When Life Gets Busy
If you feel overwhelmed, focus on repairs that deliver the most value per effort. A quick hem fix or button re-attachment saves more than replacing the item entirely.
Use a timer: set it for 10 minutes. Challenge yourself to see what can be fixed in that window. This creates momentum and turns daunting piles into manageable priorities that fit real schedules.
Pair mending with another routine (music, screen break, evening cup of tea) so it feels enjoyable—not a slog. The goal is to make mending seamless in weekly habits, not a mountain to climb.
Turning Small Wins into Lifelong Skills
Track each garment you mend—even small stitches. Success breeds confidence; you’ll be surprised at your toolbox of skills after a few months. Reinforce each win by explaining your method aloud or jotting quick notes for next time.
Teaching a friend or child one small repair doubles your impact. Your simple fix becomes their micro-skill as well. Mending becomes self-reinforcing, layering community value alongside personal benefit.
Use every completed project as a measuring stick: would you try the same repair again? Identify what felt smooth and what felt slow. Adjust process, and you’ll continually sharpen efficiency each cycle.
Fitting Mending Sessions into Your Schedule: Reality-Based Scenarios
Set yourself up for repeat success by weaving mending into moments you’re already pausing. Trying quick fixes during slow mornings or TV downtime turns repair into second nature.
When a sock sprout develops a hole, toss it in a labeled basket by the door. Handle the batch as a micro-skill routine every Friday afternoon—not all at once, but consistently.
Example Scenario: Family Fix-It Afternoon
A parent sets out all the family’s damaged clothes on the kitchen table. Each person tackles one repair, swapping tips and conversation. Mending becomes bonding and habit, not a chore.
Finish with everyone trying on their mended pieces—show the results, celebrate together. This reinforces the skill as part of family life, not just a solitary task.
Add a reward like a favorite snack after repair time. Positive associations make it more likely the routine will stick week after week, so mending feels inviting, not forced.
Example Scenario: ‘Power Hour’ for Personal Repairs
One evening a week, set a timer for 30 minutes. Gather your mending pile, your kit, and a podcast. The goal: two completed repairs, even if small. Success comes from showing up, not perfection.
Afterward, lay out your finished items. Post a photo for accountability or keep a tally. Matching visible progress to scheduled effort changes how you see maintenance—your clothes gain new value, and you gain skills you can always use.
When you’ve maintained the habit for a month, treat yourself by wearing your best fix with pride. This closes the loop and fuels ongoing motivation for micro-skills that really last.
Making Repairs Last: Quick-Reference Table
Longevity comes from small details: stable knots, sturdy thread, and choosing repairs suited to each garment. This table summarizes common fixes with best-practice reminders and quick-action next steps.
| Repair Type | Thread Choice | Common Pitfall | Do Next |
|---|---|---|---|
| Loose Button | Double polyester | Loose knot slips | Wrap thread at base for shank |
| Torn Seams | Matching color | Uneven stitch spacing | Use backstitch for security |
| Small Holes | Fine thread, closely matched | Overtight stitches pucker fabric | Stitch gently, ease tension |
| Elbow Patch | Color to contrast or match | Patch edges fray | Use zigzag or double stitch line |
| Frayed Hem | Flexible thread | Hem unravels | Knot securely, recheck after wash |
Frequently Asked Questions
What if I’ve never mended anything before? Start with a small project—a single button or a barely-visible seam. Watch a tutorial, follow step-by-step, and keep all supplies ready. Success comes from trying, not perfection.
How do I keep my mending looking neat? Use matching thread, even tension, and snip excess with sharp scissors. Take a break if you’re getting frustrated. Practicing on fabric scraps helps develop steadier hands for visible fixes.
Can I mend stretchy fabrics like leggings? Yes. Use a ballpoint needle and polyester thread, stitch slowly, and avoid pulling too tight—this keeps the fabric’s stretch, preventing puckers and future tearing after repair.
Are iron-on patches sturdy enough for kid’s clothes? For light wear or short-term fixes, iron-on patches work. For high-stress areas, anchor them with extra hand stitches at corners to prevent peeling over time, especially after washing.
What if my mending doesn’t hold? Review your materials and technique. Double-check knots, reinforce with strong thread, and try a different stitch style if one fails. Each attempt teaches you what works for your fabric and lifestyle.