Small rips, missing buttons, or frayed edges don’t mean your favorite shirt has reached the end of its life. When you learn to mend clothing by hand, you’ll discover surprisingly effective, satisfying fixes that avoid costly replacements.
Practicing basic repair skills extends your wardrobe, saves money, and lightens your environmental footprint. Anyone can try simple hand-sewing tricks—regardless of experience. Even if threading a needle seems new, the art of clothing repair lies within reach.
Explore practical, creative ways to mend clothing in this guide. Each section supplies clear, approachable actions to revive everyday garments, no fancy equipment required. Let’s dive in and give your clothes a second chance.
Thread-and-Needle Fixes to Extend Garment Life
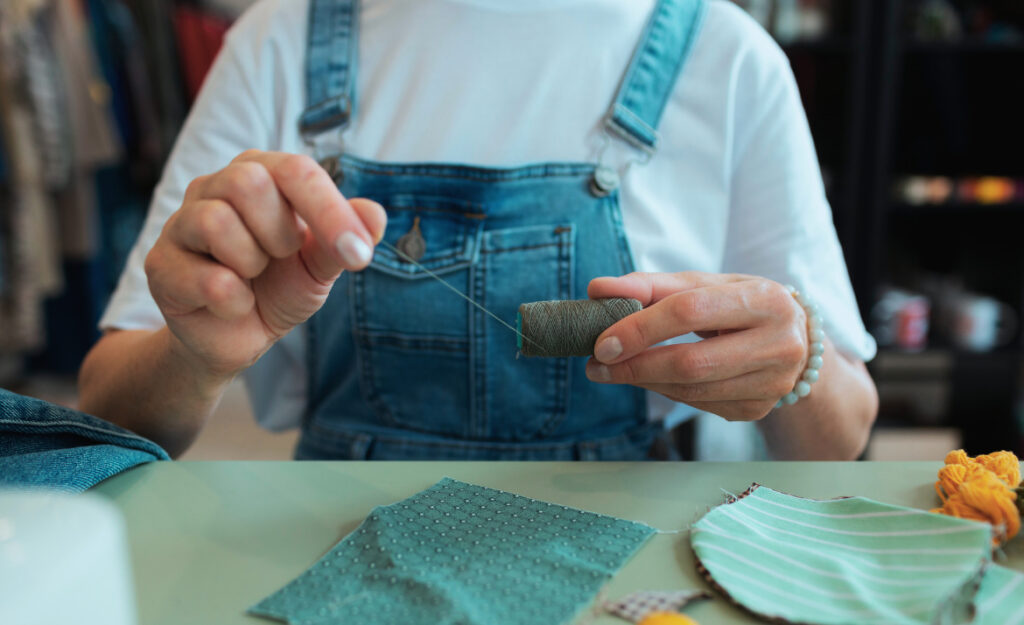
Hand-stitching a torn seam or loose hem gives any piece a new lease on life. Even beginners can use a basic needle and thread to mend clothing with results that last.
Start by picking a needle that fits your fabric. Delicate materials need finer needles, while sturdy cotton or denim pairs best with something thicker. Sharp scissors, matching thread, and good lighting make things easier.
Secure Loose Seams with a Backstitch
Hold the torn edges together and thread your needle with a double length of strong, matching thread. Use a backstitch: insert your needle, pull it through, then go slightly behind where the thread came up for a tight, secure join.
Contrast this with running stitch, which is quicker but less durable. If you’re mending a high-stress area like pants or elbows, the backstitch holds best because it overlaps each previous stitch, locking them together.
Check your tension as you work. Too tight puckers fabric, too loose leaves gaps. Practice on scrap material for confidence before starting on your real project and your mending skills will improve with every attempt.
Repair Small Holes with Invisible Stitches
For a tiny hole in a t-shirt, bring the raw edges together without bunching the fabric. Use a whipstitch—working around the edge in small, even increments. Try to match the thread color so the repair blends in naturally when finished.
When dealing with delicate knits, use a darning needle and finer thread, gently weaving across the gap so that the pressure is evenly distributed. Always keep a light touch—gentler hands make more seamless results.
If you’re worried about making it neat, start on the inside of the garment. Even if the stitches show slightly, they’ll stay hidden from view when worn, allowing you to mend clothing discreetly.
| Repair Need | Stitch to Use | Recommended Thread | Takeaway Action |
|---|---|---|---|
| Loose Hem | Slip Stitch | Polyester or cotton | Knot the thread at the end for a secure hold |
| Open Seam | Backstitch | Strong, matching to fabric | Back up each stitch for extra durability |
| Small Hole | Whipstitch | Color-matched, lightweight | Keep stitches even around the hole’s edges |
| Missing Button | Cross Stitch/Buttonhole Stitch | Strong all-purpose | Wrap thread under the button for extra strength |
| Ripped Pocket | Overcast Stitch | Heavy-duty polyester | Reinforce corners for longer wear |
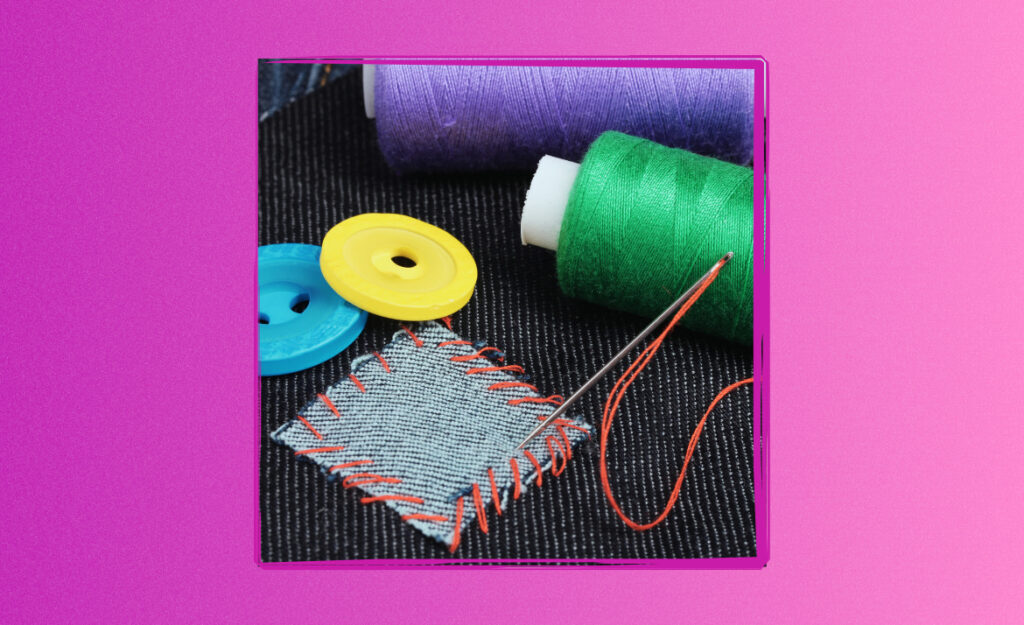
Patchwork and Applique Tactics for Visible Mending
Patching holes or covering worn spots can add personality to your wardrobe. Visible mending is more than practical—it invites creativity every time you patch or applique aging fabrics.
Before you begin, choose patch material that’s slightly heavier or equal to the original garment. Pre-wash everything to avoid shrinkage later.
Attach a Patch that Stays Put
Lay your patch flat over the hole. Pin in place, then stitch around the edge using a whipstitch or running stitch. Tight corners require extra attention—pause and pivot your needle at turns for smooth results.
- Align patch print: Place the design the way you want before starting, so the pattern looks intentional, not random.
- Knot at each corner: Reinforce ends with a double knot to prevent unraveling when tugged or stretched.
- Use small, tight stitches: The closer together the stitches, the longer the patch will last and stay flat.
- Trim edges: After sewing, trim close to the seam to keep the patch neat and avoid fraying threads on the surface.
- Add decorative touches: Try contrast thread for a fun effect or embroidery outlining to turn repairs into feature elements.
Match patch colors or use different scraps for a colorful accent. If the piece is sentimental, carefully salvage usable fabric from another garment, securing both the memory and the mending job.
Applique for Personalized Repairs
Cut simple shapes—a heart, circle, or star—from fabric scraps. Place over stains or frayed areas, securing with a blanket stitch around the edges. Personalize further with contrasting thread for playful detail.
- Iron flat first: Press garment and patch. Ironing before sewing makes, ensures the patch stays in place and stitching is easier.
- Choose sturdy fabric: Denim or canvas offers lasting results for high-wear spots like knees or elbows.
- Test placement: Pin or lightly glue before sewing to check look and location.
- Stitch around curves: Take smaller stitches as you go around corners to keep the applique flat.
- Personalize with color: Select contrasting or matching thread for a subtle or bold design, making each patch unique to you.
Each patch becomes a story, letting you mend clothing and share your creativity with every repair. Try small patches first for practice and branch out as your confidence grows.
Snags, Pulls, and Quick-Fix Strategies Without Sewing
When thread snags or fabric pulls ruin your look, learn to tackle them with clever hands-on techniques. Fixing these quickly prevents more severe damage and keeps clothes wearable.
If a loose thread appears, resist the urge to cut it straight away. Instead, gently pull the fabric near the snag, coaxing the thread back into shape and keeping the area smooth.
Disguising Small Pulls with a Crochet Hook
For knitwear, use a small crochet hook. Push the hook through the fabric, grab the loose thread, and pull it to the garment’s inside. This keeps the outer surface smooth, so the repair blends in.
If you lack a crochet hook, a safety pin works in a pinch. Push the pin through the spot next to the pull, loop the thread, and carefully guide it to the wrong side.
Press the area gently with an iron afterwards. The heat helps reset the fabric, making the repair almost invisible to the eye and restoring comfort to your item.
Reinforcing Weak Spots and Stopping Further Damage
If you notice thinning fabric on elbows or knees, act quickly. Iron-on patches or fusible interfacing sandwiches stop holes before they start. Cut the patch to size, place on the inside, and follow the iron’s instructions—usually medium heat and no steam.
Rub a fabric glue stick along fraying edges before patching or hemming. The glue helps bind fibers together so the mend clothing process stays neat and durable even with regular washes.
Double-check high-wear zones every laundry cycle. Prompt detection and repair stops a small problem from wrecking the entire garment, making each fix more effective over time.
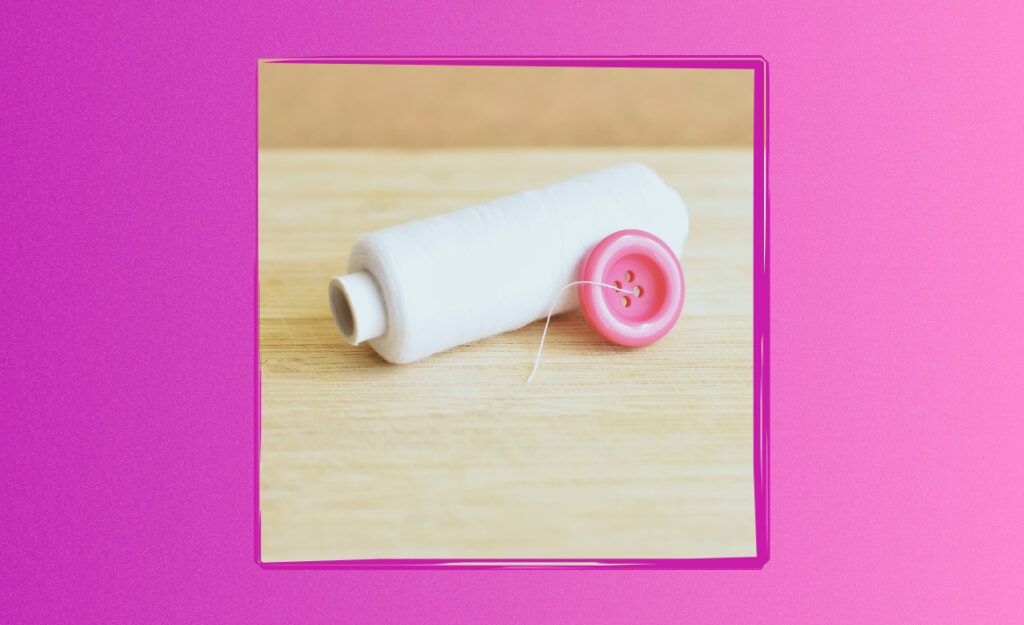
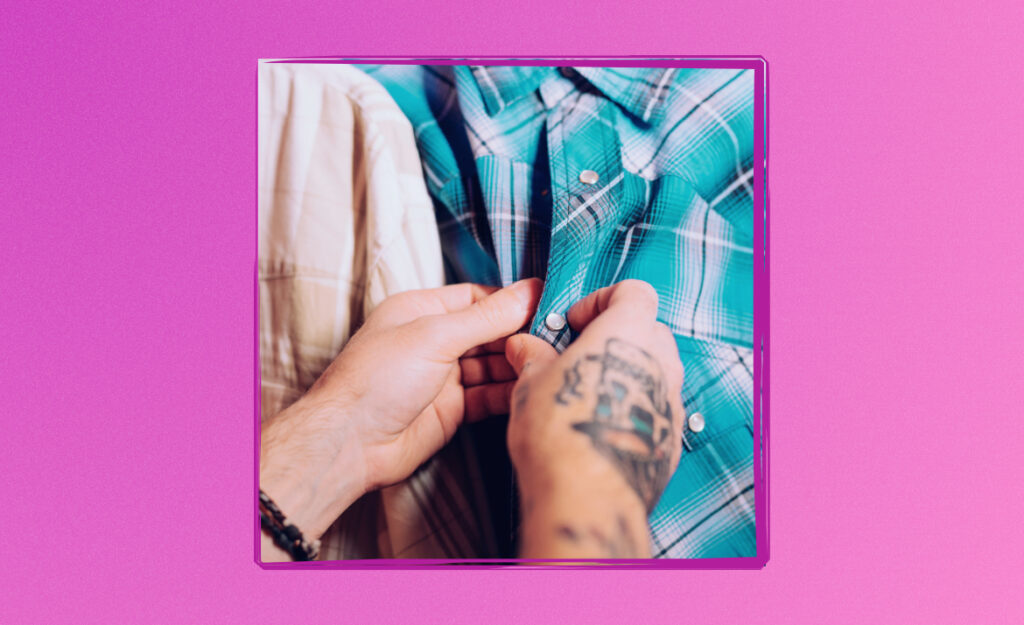
Button Replacements and Secure Fastener Fixes Anyone Can Attempt
Replacing a button seems intimidating but it’s a micro-skill with big impact. If a shirt, jacket, or jeans loses a button, a simple needle and thread is all you need to mend clothing with minimal effort.
Before beginning, find a button that fits the original holes. Place it in the right spot and mark with chalk or a washable marker to ensure accuracy during re-attachment.
Step-by-Step Button Attachment Process
Thread your needle with doubled thread for durability. Insert from the inside and pull through one hole. Cross back and forth between holes several times, then wrap thread between fabric and button to create a shank before knotting securely on the backside.
For shank buttons, pass the thread through the shank several times, ending by winding the thread under the shank tightly. Knot and trim excess for a clean, strong hold.
If sewing feels daunting, practice first on a scrap until you can maintain steady tension. Soon, reattaching buttons will become second nature and part of your regular mend clothing routine.
Tidy Hems and No-Sew Solutions for In-Between Fixes
Fixing a limp hem doesn’t always require thread. For minor repairs or temporary fixes, learn simple no-sew strategies that hold garments together without fuss or commitment.
Keep double-sided hemming tape or fusible web in your toolkit. Both create an invisible bond when pressed with a warm iron, sustaining hemlines and edges between wears and washes.
Checklist for Hem Repairs—No Needle Needed
- Press the area sharp: Iron the edge first so the garment lays flat for accurate application.
- Measure and trim: Cut tape or webbing to fit the hemline exactly.
- Layer for security: Sandwich tape between fabric layers, ensuring full contact for a strong seal.
- Hold with heat: Press with an iron set to fabric type, using a cloth to protect delicates.
- Test strength: Tug gently on the hem after cooling to check if the repair holds; reapply heat if needed.
For single-use fixes, safety pins hidden on the inside work in a pinch. Use them to temporarily realign hems, reattach loose edges, or disguise flaws before a big meeting or an evening out—always remove before laundering.
Personalized Embellishments to Give Old Clothes New Character
Decorative hand-mending isn’t just repair—it’s creative self-expression. Turn a routine mend clothing task into a way to refresh or reinvent pieces you already love. Choose embellishments meaningful to you.
Embroider initials, symbols, or messages over worn areas or stains. Practice basic stitches like chain stitch or French knots; even simple lines or dots add distinct personality to shirts, bags, or jeans.
Turn Mends into Features with Decorative Skills
Add rows of colorful running stitches to reinforce seams or hems. Contrast thread can become the highlight, especially for cuffs and collars. Work slowly and mark your lines lightly for precision.
Sew small fabric shapes—hearts, stars, or animals—using felt or leftover scraps. Attach them over stains or rips as visual interest and structural patching at the same time.
Let each embellishment echo your style or a story. When someone notices your creative patch or embroidery, you’re showing not only a mend clothing skill but your unique point of view.
Confidence Boosters for Consistency and Success
Every successful mend builds confidence in your micro lifestyle skills. Even imperfect stitches or bold patches teach lessons and spark momentum for your next repair project at home.
Keep your mending kit visible. Store needles, thread, small scissors, and scraps in a tin or basket where you see them regularly—making it easier to jump into repairs as soon as an issue happens.
Practice Regular Checkups for Preventative Mending
As you fold laundry, scan for loose seams, missing buttons, and thinning elbows or cuffs. Address these right away. Intervening early lets you mend clothing while issues are small, saving trouble later.
Invite family or friends to join a mending session. Show them one hand-sewing trick and ask which repair they’d like to tackle. This turns simple upkeep into a fun, productive gathering.
Document your repairs. Take before-and-after pictures so you can track skills and spot improvement with each project, making the process both rewarding and educational.
Frequently Asked Questions
What if I don’t have any sewing experience—can I really mend clothing?
Absolutely. Start with basic tasks like sewing on a button, using iron-on patches, or fixing tiny holes by hand. With short practice, even first-timers see clear results and gain the confidence to try more repairs in the future.
How long do repairs made by hand usually last?
Hand-stitched repairs hold up well when done with care. Use strong, matching thread, make tight stitches, and reinforce stress points. Properly finished mends on everyday items can survive months or even years with gentle washing and wear.
Are iron-on or glue solutions safe for every garment?
Iron-on and fabric glue solutions work on most cottons and polyesters. Avoid them on heat-sensitive items like silks, nylon, or specialized activewear. When unsure, test a scrap or inner seam first to check for discoloration or melting.
What items should I include in a basic mending kit?
Stock your kit with assorted needles, all-purpose thread, small scissors, safety pins, iron-on patches, measuring tape, chalk or pencils, a thimble, and spare buttons. These cover most simple repairs without a sewing machine and keep you prepared for on-the-spot fixes.
Is it worth mending low-cost or fast fashion clothing?
Yes, mending keeps clothes out of landfills and helps you value what you own. Even if the item was inexpensive, repairing it teaches useful skills and promotes mindful consumption—benefits that outweigh the item’s initial purchase price.