Trying to fix a snagged seam or loose hem before tossing a shirt feels rewarding, like saving a favorite mug from breaking. Good sewing habits lead to more than tidy stitches—they encourage a resourceful mindset in everyday life.
Everyone can pick up sewing habits that make small household fixes second nature. Learning a few simple techniques empowers you to handle rips, tears, and loose threads without panic, saving both money and treasured possessions by acting immediately.
Take a moment to explore the practical skills and tips in this guide. You’ll discover how building small, repeatable sewing habits sets you up for easier, stress-free repairs across all kinds of household items.
Building Consistent Preparation for Quick Repairs
Staying prepared is the first step to successful small repairs. If your mending supplies are all over the house, you risk losing motivation or forgetting what you need. A simple, consistent set-up saves time and energy every time something needs sewing.
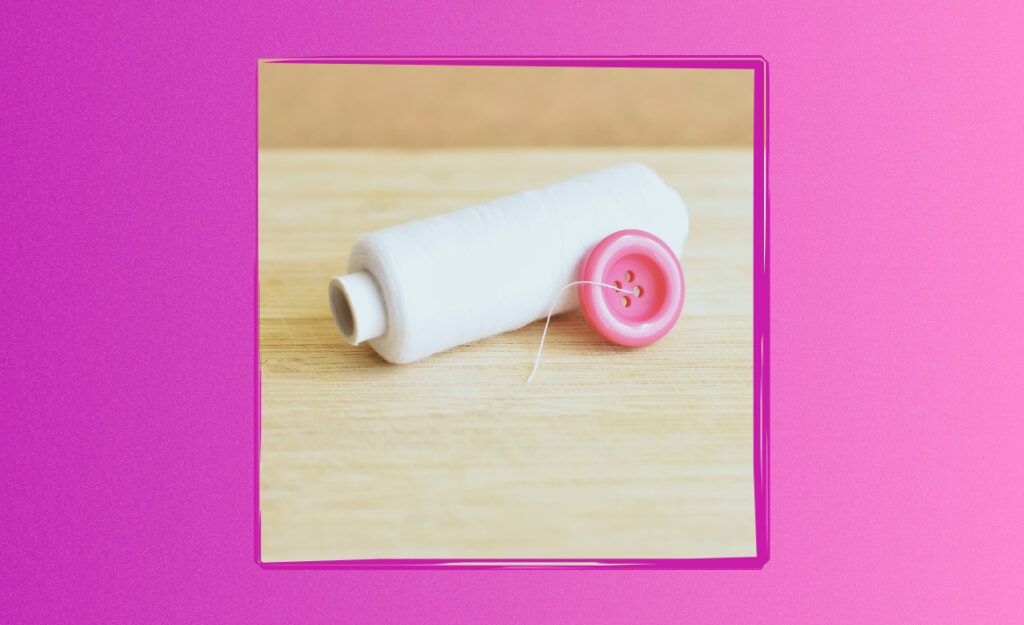
Sewing habits like setting aside a dedicated basket or drawer for needles, threads, and fabric scraps keep everything close at hand. That means the next repair isn’t a frantic search—it’s just a normal part of your household routine.
Storing Your Kit for Easy Access
Designate a container or pouch that anyone in your household can find quickly. Add sharp scissors, assorted needle sizes, a small pincushion, and commonly used thread colors. Return used tools after every repair.
Visible storage—like a clear plastic box or a see-through pouch—makes it more likely you’ll notice when you’re running low on supplies. Replace worn-out or missing items as part of your regular shopping list.
Think of your sewing setup as a kitchen spice rack. When you can see the essentials, it’s easier to reach for what you need and to restock without overbuying. This turns staying supplied into a sustainable, repeatable action.
Checklists That Simplify Your Process
Post a laminated checklist above your sewing area: needles, pins, threads, fabric scraps, thimble, seam ripper. Before packing up after a repair, scan the list and add needed items to your next shopping run.
Having a visible list helps eliminate last-minute surprises, like realizing you’re out of black thread right when you want to fix a school uniform. Consistent habits around checklist use train your brain to think ahead about repairs.
Create a calendar reminder to check your sewing basket before each new season or big laundry day. Preventing small gaps in readiness ensures you stay confident in tackling repairs any time they pop up.
| Supply Item | Ideal Quantity | Where to Store | Next Step |
|---|---|---|---|
| Basic needles | 10 assorted | Pincushion or needle case | Check for bends, replace as damaged |
| All-purpose thread | Spools in 4 colors | Thread holder or basket | Add missing colors to cart |
| Sharp scissors | 1 sturdy pair | Pocket or side holster | Keep blades clean after use |
| Thimble | 1 fit for your finger | Small compartment or bag | Test fit yearly, replace if loose |
| Seam ripper | 1 reliable | Dedicated case slot | Sharpen or replace if dull |
Practicing Threading Basics to Eliminate Frustration
Threading a needle smoothly saves time and spares frustration. Developing strong threading habits can make you feel more capable and less likely to procrastinate on quick fixes.
Gripping the needle and thread with intention steadies your hand and aligns the ends for easy threading—even in low light or at an awkward angle.
Ways to Steady Your Hands for Threading
Rest elbows on a table. Hold the needle in your less dominant hand at eye level while guiding the thread through the eye gently, pinching it between thumb and forefinger.
Breathe out slowly as you guide the thread. Let your eyes track the tip. If your hands shake, take a sip of water and try again. The calmer your motions, the steadier your threading becomes.
This habit is like slowly sipping hot tea to avoid spills—the more you practice gentle, intentional actions, the fewer mishaps you’ll encounter, and the more automatic the process will feel over time.
- Hold both needle and thread close together for better control—avoid stretching out your arm, which leads to less accuracy and more dropped supplies.
- Trim the thread end cleanly so it doesn’t fray, making the needle easier to thread without hassle, even when using thicker or older cottons.
- Moisten the tip of the thread using your lips or a damp cloth for smoother passage into the needle eye; never let the thread grow fuzzy.
- Thread the needle by sliding it over the tip of your thread, which helps avoid bending or damaging the thread on repeated attempts.
- Practice with bigger needles and thicker thread at first—gain confidence that translates quickly to finer, more fiddly jobs on delicate clothing or linens.
Try these threading habits next time you mend a sock or stitch up a pillow. Little wins build momentum for future repairs and boost your confidence.
Applying Needle Threaders Every Time
Adding a needle threader to your kit creates a safety net. Use the thin wire loop to pull any thread through needle eyes. This speeds up the process and reduces hand-eye strain.
- Select a threader with a wide handle if you experience joint pain, so you can maneuver it easily without pinching your fingers unnecessarily.
- Keep one threader near your main kit and a backup in your travel mending pouch for seamless threading—don’t risk getting stuck in the middle of a project.
- Test threaders on both thick and thin needle eyes. Swap sizes as needed to avoid frustration or breakage when using heavier thread types.
- Routinely check your threader for sharp bends or weak spots. Replace it at the first sign of stress to keep threading tasks frustration-free and reliable.
- Teach kids or teens to use a threader for their clothes or hobby kits—the earlier the habit forms, the more lifelong confidence and independence it brings.
Needle threading doesn’t have to feel tedious. Turn it into a reliable routine by taking a minute to set up every repair with the right tools within arm’s reach.
Perfecting Stitch Length for Stronger Mends
Getting the stitch length right creates reliable, lasting repairs. Too loose and the fix pulls open; too tight and the fabric puckers. Regularly assessing and adjusting translates into intuitive sewing habits.
Compare mending small tears in jeans to closing an envelope securely—if you seal it too loosely, it opens, but too tightly and it tears. Precision matters with each pass of the needle.
Visual Guide to Assessing Stitch Size
Lay a ruler beside your seam and check the distance between stitches. Aim for 8–10 stitches per inch on sturdy fabrics and 12–14 on lightweight material for durability.
Shorter, closer stitches help keep seams tight on stress points, but leave a touch of give for fabric movement. On delicate areas, err on the side of more, smaller stitches for a cleaner, nearly invisible repair.
Before tying off, ease the seam between your fingers: does it move naturally? If the fabric bunches, you may need to start over with longer, more relaxed stitches.
Scripts for Stitching in Common Scenarios
Say, “Start at the tear’s end, anchor the first knot, then aim for even spacing until the gap closes.” Check after every few stitches—mistakes caught early are easier to fix.
When tackling socks or underarms, repeat, “Short, steady stitches last longer than rushed, wide ones.” Remind yourself: the original seam’s look and feel is the goal you want to match.
After finishing, tell anyone wearing the mended item, “Give it a gentle stretch—let’s see if our sewing habits held up!” Celebrate when it moves naturally, showing your technique succeeded.
Preventing Rips from Spreading with Timely Actions
Stopping a rip early prevents more damage and lengthy repairs. Consistently practicing quick, decisive sewing habits whenever you spot a small tear can rescue garments before problems escalate.
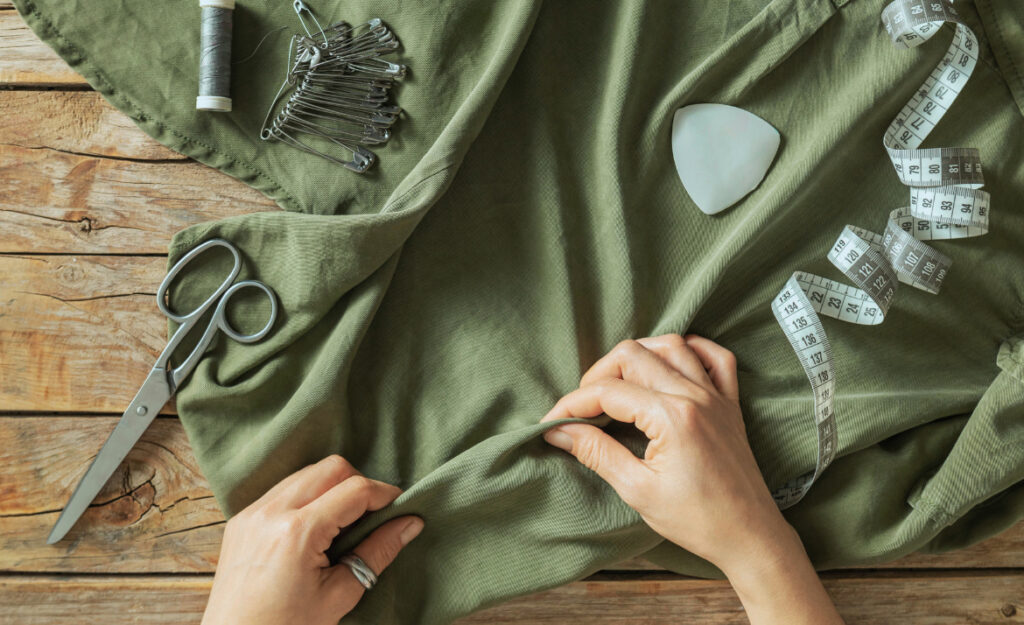
A small nylon patch on a jacket cuff saves the sleeve from unraveling. The habit of inspecting clothes after laundry or before ironing catches minor issues early—and helps keep favorite items in rotation longer.
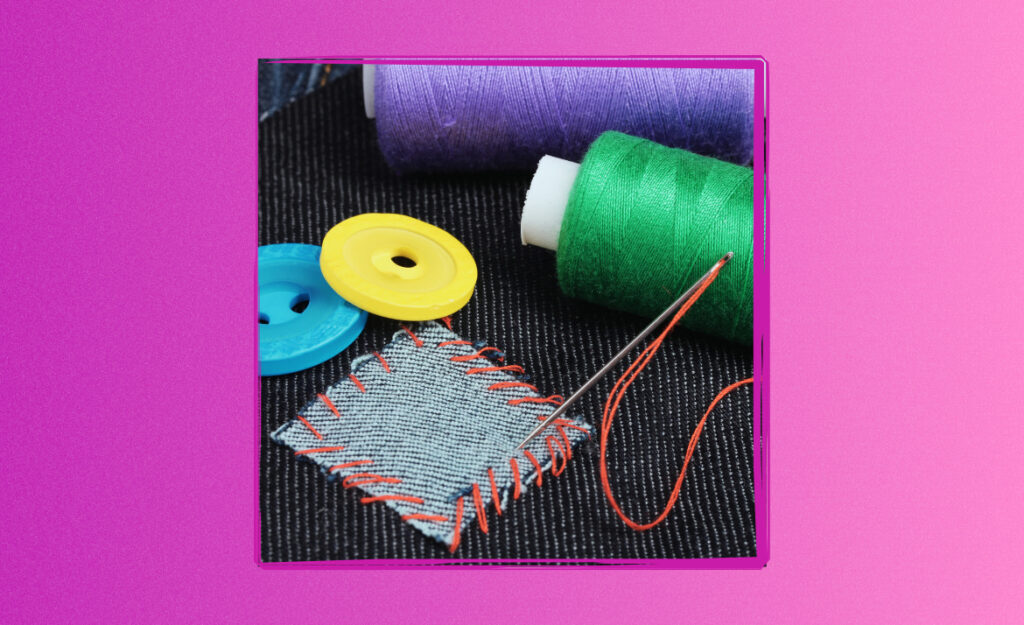
- Pin the rip immediately. This stops threads from unraveling further and freezes the damage until you can stitch it up properly with your mending kit.
- Turn the garment inside out before sewing, allowing for a neater finish and concealed stitching—always check the label for fabric type and washing instructions.
- Start mending at the very edge of the rip. Anchor your first stitch securely, then work inward, closing the gap in small, steady increments.
- Use matching thread color or a color one shade lighter to maintain the look of the garment. Dark streaks on light fabric tend to highlight the repair, sometimes unnecessarily.
- Clip any stray threads with sharp scissors. Clean lines make for stronger mends and prevent the repair area from snagging again after the first wash cycle.
Sewing habits around spotting and fixing minor rips pay off instantly—your laundry pile gets smaller and your favorite shirts or towels last another season.
Upgrading Old Habits for Tricky Fabrics and Tight Spaces
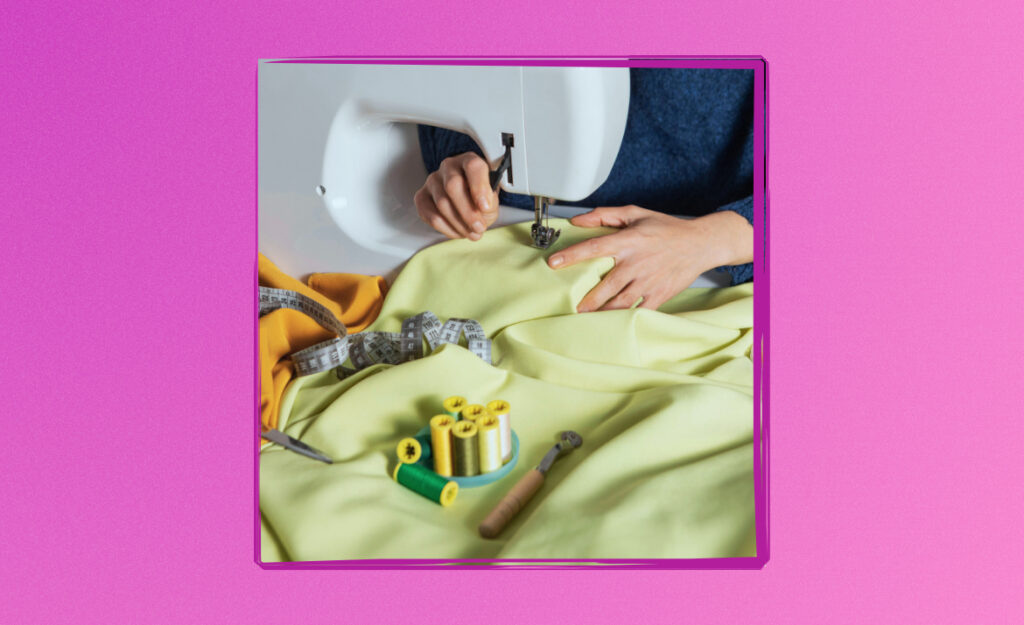
Tackling slippery, stretchy, or thick fabrics requires extra attention and slight changes in your routine. Adaptable sewing habits help every household member, whether patching sports gear or curtains at home.
Lightweight synthetic fabrics, for example, are best pinned sparingly with extra-sharp needles, while dense canvas or denim responds well to slow, sturdy stitching and reinforced seams.
Pacing Your Stitches for Stretchy Material
With knits or activewear, use a zigzag pattern or gently stretched fabric as you sew. This lets the repair flex with the garment instead of popping open the first time it’s worn.
Consider doing a test run on a fabric scrap first. This way, you’ll see if your usual approach pulls or puckers—adjust until you find a pattern that matches how the fabric moves.
This habit stacks with prior skills: thread properly, set your stitch size, and—when working with tricky fabrics—sew a little, then check, rather than finishing the whole seam before appraising your work.
Handling Narrow Spaces and Blind Corners
Slip your hand inside sleeves, pant legs, or tight edges. Use a curved or darning needle if space runs short. Light your work with a small flashlight clipped to your collar if needed.
Rotate the item frequently as you go. Avoid twisting your wrist uncomfortably—let the garment move, not your joints. This keeps both your technique and your posture healthy, forming sustainable sewing habits.
Give yourself permission to pause often. Tug gently every few stitches to ensure the repair is smooth and secure, with no hidden snags or puckers gathering inside the seam.
Encouraging Family and Roommates with Shared Sewing Routines
Making sewing a communal skill means everyone benefits from fewer lost buttons and broken zippers. Shared sewing habits like group mending sessions or swapping repair tips improve both speed and teamwork.
One practical approach: keep a visible “mend me” bin near the laundry area, so everyone drops in items needing attention. Set a weekly time for household members to sort and repair together over coffee or music.
Teaching Kids and Teens Everyday Mending
Invite children to watch simple repairs; let them try safe stitches on scraps. Explain only one or two steps at a time—thread the needle, tie a knot, sew a short line—building sewing habits layer by layer.
Offer praise for neat stitches, not perfect results. Celebrate when a child says, “I fixed this myself!” These early successes cement confidence and encourage long-term adoption of sewing as a go-to household skill.
Mending becomes a casual habit when parents say, “You lost a button? Grab the kit—let’s do it together!” Encourage everyone to see repairs not as chores but creative, empowering acts of care.
Final Thoughts on Sustainable Sewing Habits
Small, repeatable mending skills extend the life of everything from socks to tablecloths, saving time and reducing waste. Sewing habits build reliably with daily use and shared effort—a rewarding process in any household.
Encouraging each family member or roommate to learn, practice, and share their sewing habits turns repairs into moments of connection. The skills you cultivate ripple through the home, reducing stress and material waste for everyone.
So keep your kit ready, tend to little rips promptly, and celebrate every small repair. Each successful mend strengthens your sewing habits—and those habits make your home more resilient, one stitch at a time.
Frequently Asked Questions
How can I help my kids develop good sewing habits?
Start kids with simple, supervised tasks like threading a needle or knotting thread. Praise effort over neatness. Use short sessions and let them mend their own small items, creating pride in results.
What is the best way to organize a sewing kit for household mending?
Pick a single, portable container. Use dividers for thread, needles, scissors, and fabric scraps. Label everything clearly. Restock the kit at the start of each season to avoid missing essentials when needed.
Should I wash clothing before or after repairing small rips?
Wash garments before mending to remove dirt and ensure smooth stitching. This prevents trapping grime inside seams and lets new stitches settle evenly without residual tension or puckering.
What sewing habits reduce mistakes on delicate fabrics?
Always use fine needles and small, close stitches. Work slowly, check tension frequently, and test new threads on a scrap. Pin carefully—avoid stretching or handling delicate textiles roughly while sewing.
How can I keep up the motivation for regular sewing repairs?
Schedule a recurring time, connect with friends or family for joint repairs, and celebrate each successful fix. List completed projects in a visible spot to remind yourself of the tangible benefits each sewing habit brings.