Leftover pizza night, splatter marks, and odd smells—sound familiar? A messy microwave can disrupt any kitchen routine, but clean microwave tips make all the difference in restoring order. Most people look for quicker, more effective ways to erase those stubborn stains.
Cleanliness directly impacts flavor and health, making this topic relevant for anyone who cooks, reheats, or simply wants a fresh-smelling appliance. Ignoring the mess can leave behind germs and lingering odors. Simple changes can yield big results in minutes.
Throughout this article, unpacks reliable techniques anyone can use—no special gear needed. Dive in for step-by-step guides, practical examples, and actionable tips. Find the right routine to keep your microwave spotless and odor-free every single day.
Steam-Assisted Cleaning for Stubborn Microwave Stains
Using steam for microwave cleaning saves time and breaks down hardened mess instantly. It creates a moist environment that lifts food from surfaces, so stains vanish with minimal effort.
A bowl of water with a splash of vinegar or lemon juice is all it takes to loosen dried spills. Stubborn marks practically wipe away after a quick steam cycle—no harsh scrubbing required.
Lemon-Steam Method That Brightens Your Microwave
Slice a lemon in half, squeezing the juice into a microwave-safe bowl filled with water. Microwave for three minutes so vapor releases. Let it sit one additional minute before opening the door. This lemon-infused steam softens residue while leaving a brisk citrus scent behind.
When you open the door, pause to breathe in that clean aroma—any dirt will be easy to remove with a damp cloth. This method’s gentle acidity tackles greasy, splattered zones without damaging surfaces or plastics. Aim to repeat this routine weekly for consistent results.
Those with little free time can set a recurring reminder. Keeping lemons handy lets you respond quickly to sudden spills. For sticky cheese or sauce, double the steaming time to guarantee an effortless wipe-down every time you clean your microwave.
Baking Soda Steam: Tackling Tough Grime Head-On
Add one tablespoon of baking soda to a bowl of water and microwave for four minutes. The bubbling steam attacks baked-on food, neutralizing odors at their source.
This alkaline solution pairs well with a soft sponge for heavy stains. After steaming, dip your sponge in the mixture and gently scrub away what’s left behind. Baking soda’s natural abrasiveness safely works on glass turntables, metal racks, and plastic trays.
For a stubborn patch, dab a thick paste of baking soda and water. Let it sit on problem spots before starting the steam routine above. A single session clears most burnt-on grime, restoring the interior’s shine without leaving harsh chemical residue behind.
Comparing Steam Methods at a Glance
| Cleaning Solution | Best For | Prep Time | Action Step | Takeaway |
|---|---|---|---|---|
| Lemon Water | Everyday stains, mild odors | Less than 2 minutes | Steam for 3 minutes, wipe clean | Use weekly for freshness |
| Baking Soda | Stubborn grease, burnt residue | 2 minutes | Steam for 4 minutes, light scrub | Ideal for monthly deep cleans |
| Vinegar Solution | Bacteria, strong odors | 1 minute | Steam for 2 minutes, thorough wipe | Tackle after cooking fish or curry |
| Commercial Steam Bag | Quick cleaning, no mess | 30 seconds | Follow bag’s label | Keep in pantry for emergencies |
| Baking Soda Paste | Burnt-on food, corners | 3 minutes | Apply, wait, then wipe | Spot-treat as needed |
Routine Wipes and Spot Checks That Prevent Stains
Quick daily wipes help block grime from building up, so stubborn stains never appear in the first place. A consistent post-use habit can keep your microwave gleaming effortlessly.
Right after cooking, take a few moments to wipe surfaces while spills are fresh. Dried food hardens and clings, but a simple cloth saves you from deep-cleans later on.
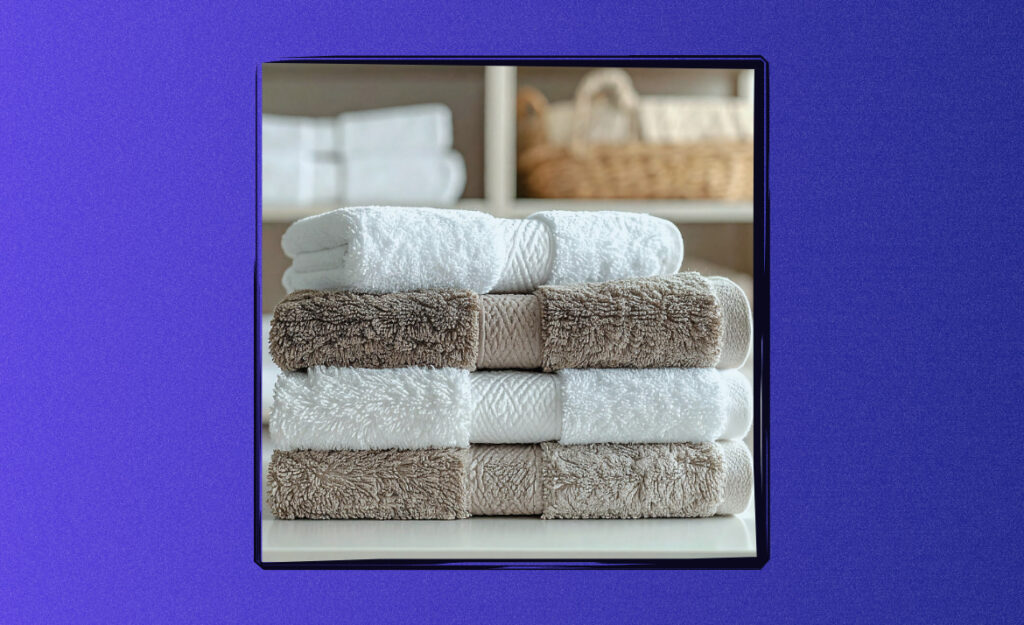
Choosing the Best Cloth for Microwave Cleaning
Selecting an ultra-soft microfiber cloth avoids scratching your microwave’s interior. These towels grab grease, crumbs, and splatters in one seamless motion. Keep an extra on hand for unexpected cleanups.
- Use damp microfiber for daily wiping, as it lifts oil and residue without streaking glass or plastic.
- Dedicate one cloth to cleaning only food zones, ensuring no cross-contamination from other cleaning chores.
- Rinse and hang your cloth after every session to prevent lingering odors or bacteria growth.
- Replace heavily stained or musty towels promptly to maintain hygiene standards in your kitchen.
- Try color-coding cloths—blue for microwaves, green for countertops—so family members always use the right one.
That extra organization step means you’ll never wipe appliances with a grimy rag again. Turn it into a fast end-of-day ritual for a consistently clean microwave.
Spot Treatment Mistakes and Smart Corrections
Don’t scrub with abrasive pads—even tough stains yield with gentle methods. Using harsh scrubbers creates fine scratches, which trap even more dirt over time.
- Switch to a soft-bristle brush for corners, lightly twisting until the spot dissolves—protects the finish while targeting gunk.
- Avoid harsh chemicals that emit fumes when reheated. Household basics handle nearly all stuck-on stains.
- Wipe clockwise, from top to bottom, to avoid pushing crumbs into corners or vents.
- Always clean the door gasket and latch, where spills collect unseen but affect both hygiene and odor control.
- Dry thoroughly after each wipe to close the cleaning cycle and prevent streaks from forming.
Keep these strategies on a sticky note as a gentle nudge before pressing “Start” again.
Combining Natural Deodorizers With Cleaning Power
Pairing natural deodorizers with regular maintenance instantly neutralizes lingering smells. Clean microwave tips always highlight solutions you can try with no cleanup afterward.
Even after stains vanish, microwaves sometimes trap the scent of fish, curry, or popcorn. Adding a deodorizing step guarantees it’ll never transfer to tomorrow’s oatmeal or reheated leftovers.
Lemon-Slice Soak: Easy Way To Refresh Overnight
Place fresh lemon slices in an open bowl, fill half with water, and leave inside your microwave overnight. This subtle citrus aroma absorbs residual smells, so appliances wake up as refreshed as you do for your morning coffee.
It’s as simple as prepping your next lunch—no scrubbing or rinsing required. Each time you swap out leftovers, trade the lemon bowl for another. Guests will notice the difference when they open your microwave door.
Try orange peel or grapefruit as a backup. They work similarly, so you’ll always have a backup citrus scent on hand when the occasion calls for a reset.
DIY Charcoal Pack For Post-Curry Air
After cleaning up a spicy meal, tuck a few activated charcoal briquettes in a shallow dish (no lighter fluid coatings) inside the empty microwave. This natural odor absorber quietly does its job overnight.
If a friend comments, “It still smells like last night’s takeout,” repeat the process with a new batch of charcoal each week. It’s a set-and-forget solution for persistent food odors that cleaning alone won’t erase.
Replace packs monthly to maintain maximum freshness, and store a small container in the pantry for easy rotation. Your microwave will stay as neutral-smelling as the day you bought it.
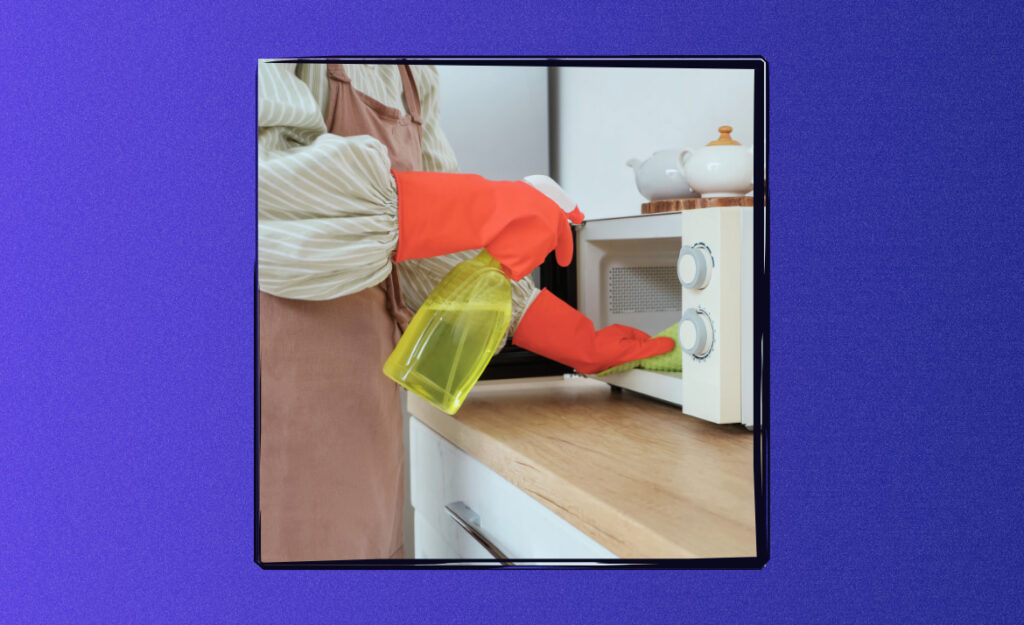
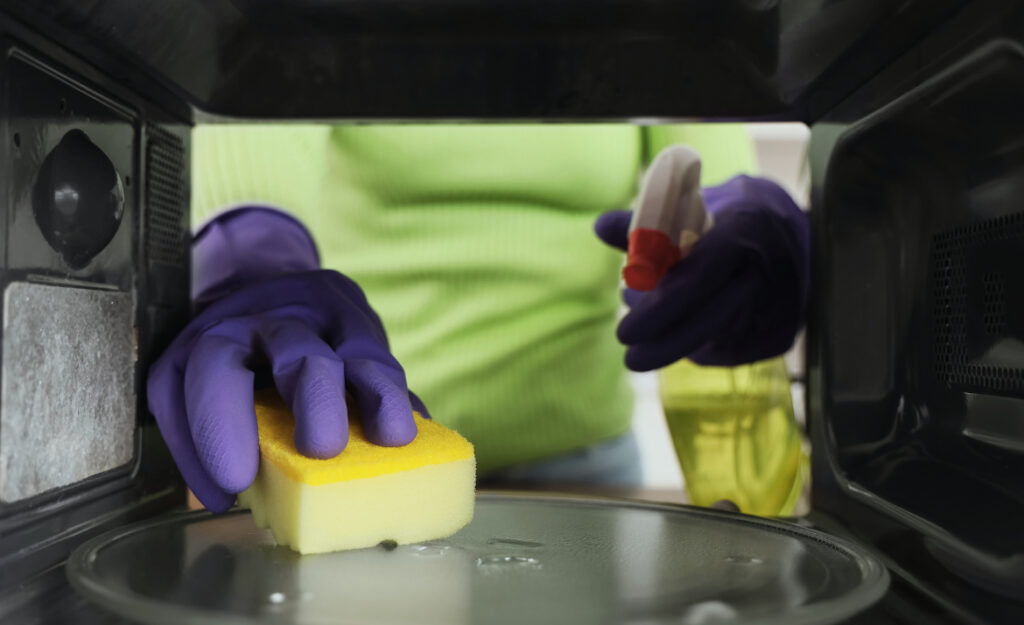
Tackling Grease and Splatter Without Chemicals
Addressing greasy stains requires targeted action, not just random wiping. Clean microwave tips recommend strategic cleaning for those messy, splattered interiors.
Handling grease effectively ensures no sticky residue lingers, which could impact tomorrow’s reheated meals or desserts.
Warm Soap Solution for Grease Removal
Dissolve a teaspoon of liquid dish soap in hot water. Dip a clean cloth into the soapy solution, ring out excess, and gently work from the back wall forward.
Avoid soaking the turntable motor area, where extra moisture can cause electrical issues. For baked-on grease, lay a soapy towel on the spot for two minutes, then lift away residue with a fresh swipe.
Check the glass turntable and plastic rings underneath, frequently missed zones where grease accumulates unseen. Remove and soak these in a soapy sink after each deep-cleaning session for best results.
Cornstarch Paste for Sticky Corners
Mix two tablespoons of cornstarch and enough water to form a loose paste. Apply to greasy crevices or corners that resist regular cleaning methods. Wait five minutes as it clings and loosens the mess.
Gently rub away the paste using a soft cloth. Cornstarch’s mild abrasiveness tackles sticky film and leaves no scratch marks. Repeat monthly for notoriously splattered areas, like behind the rotating tray hub.
For families with kids, prep the cornstarch paste on pancake mornings to make it a quick, playful cleanup step together. Less time scrubbing means more time enjoying your spotless kitchen together.
Smart Timing and Consistency to Maintain Cleanliness
Building a cleaning rhythm makes the difference between effortless touch-ups and dread-filled deep cleans. Adopting these time-based clean microwave tips reduces your workload year-round.
Set a calendar reminder to steam and wipe after cooking especially messy foods, like chili, pasta sauce, or bacon-wrapped snacks. This strategy prevents buildup, saving hours down the line.
Weekly Care Scheduling and Accountability
Pick a recurring day—perhaps every Sunday evening—to run a full steam-and-wipe cycle. Mark this on a visible calendar. Engage everyone in your household, assigning either steam, wipe, or deodorize.
Turn routine cleaning into a team activity. When one person handles the lemon bowl, another can check under the glass turntable. Celebrate with a quick kitchen treat to reward collective effort and reinforce the habit each week.
Consistency shrinks big tasks down to bite-sized sprints. Over time, you’ll find that deep cleans disappear almost entirely from your to-do list.
Seasonal Deep Clean For Long-Term Care
Every few months, dedicate one session to removing all parts—turntable, racks, trays—for soaking and scrubbing. Spray a water-vinegar mist inside and let it sit 10 minutes for hidden odors and residue.
Examine tight seams, vents, and the door’s inner edges—typically missed areas that collect grease and crumbs. Use a cotton swab or soft brush to gently clear out debris without forcing it further in.
Finish by airing out the microwave with the door open for 30 minutes. This extended clean resets your appliance, preventing unpleasant surprises during future use.
Closing the Loop: Fresh, Fast, and Consistently Clean
Effective clean microwave tips recap: use steam to tackle grime, wipe daily, and deodorize routinely. Combining these short practices leads to lasting shine and odor-free results.
Your kitchen’s efficiency, hygiene, and welcoming scent all trace back to how your microwave is maintained. A little strategic effort pays off in both taste and peace of mind over time.
Make these steps a habit, not a chore. By following the outlined routines, your microwave stays guest-ready, meals taste better, and you reclaim more time for things that matter beyond cleanup.
Frequently Asked Questions
What’s the safest way to clean a microwave after heating raw meat?
Heat a bowl of water with lemon for three minutes, then wipe with a clean cloth. This neutralizes odors and sanitizes surfaces without harsh chemicals or scrubbing, preventing cross-contamination as recommended in clean microwave tips.
Why avoid bleach or ammonia-based products in microwaves?
These chemicals release fumes when heated, which can affect air quality or get into food. Stick to vinegar, lemon, or baking soda for user-friendly, safe cleaning that leaves no lingering residues or odors on interior surfaces.
How do you clean a microwave’s door seal without stretching it?
Run a damp cotton swab along the gasket, then pat dry with a soft cloth. This pattern gently removes grime and crumbs, maintaining the seal’s flexibility while stopping germs and odors from accumulating in hidden crevices.
Is it safe to microwave cleaning mixtures?
Yes, water combined with lemon, vinegar, or baking soda is safe and effective. Use only microwave-safe containers and always let mixtures cool before handling after a steam clean to avoid possible burns or splashes.
How do you prevent food explosions in the microwave?
Always cover food loosely with a lid or microwave-safe wrap, allowing steam to escape. This simple prevention step contains splatters, making post-use clean microwave tips even easier and reducing the frequency of deep cleans required.