Streaky windows can make a surprisingly big difference in how a home feels. People sometimes overlook the art and science behind window washing tips that actually deliver a flawless shine each time.
Clean glass brightens up any room and gives a sense of order and care. It’s not just about looks—it impacts your mood and how others see your space.
This step-by-step guide breaks down actionable wash windows tips so anyone can achieve that crystal clear glass seen in magazines. Discover shortcuts, tools, and tricks for every window type below.
Streamlining Your Window Washing Routine for Clear Results
Using a reliable approach gives you professional-level clarity in less time. Window cleaning doesn’t have to feel overwhelming with the right system.
Start by gathering every supply before one drop of water hits the glass. Cleaning without pause makes for fewer streaks and faster cleanup, too.
Organize Your Tools for Maximum Efficiency
Before you start, set out your squeegee, microfiber cloths, bucket, cleaning solution, and scrubbing sponge on a tray near the windows. This prevents last-minute searches that disrupt your flow.
If you prepare everything in advance, you’ll avoid unnecessary messes or wet footprints through the house. Even pros lay out their steps in the same order every time for consistency.
Think of it like preparing ingredients before cooking—a little prep ensures a smoother, more effective process. Arrange your supplies so each item is ready as you move from pane to pane.
Establish an Order for Each Room and Surface
Decide where to start: usually the highest, least accessible windows first. Dust sills and frames before washing the glass, as dirt can turn into muddy streaks once wet.
If windows open, wash the inside first, or you’ll risk tracking exterior grime onto clean surfaces. Top-down washing saves time, so always start at the upper edge and work downward in gentle, overlapping passes.
In multi-window rooms, work left to right or clockwise so you don’t miss a spot. Stick to a repeatable sequence—it becomes muscle memory, making the task go quicker every time.
| Tool | Best For | Key Benefit | Takeaway |
|---|---|---|---|
| Squeegee | Large flat panes | Fast streak-free drying | Invest in a sturdy model for best results |
| Microfiber cloth | Final detail work | Traps fine particles | Have several on hand—swap out as they get damp |
| Scrubbing sponge | Tough spots and frames | Breaks up stubborn grime | Use separate sponges for inside and outside jobs |
| Spray bottle | Spot touch-ups | Precision on small panes | Fill with diluted cleaner for quick fixes |
| Extension pole | Hard-to-reach windows | Eliminates ladder use | Choose a pole compatible with your squeegee |
Smart Solution Choices for Cleaner Glass Every Time
Choosing the right cleaning mix matters more than flashy gadgets. Whether you use store-bought or homemade, each solution brings unique benefits for different messes.
Most streaks trace back to the wrong cleaner—or too much product on the glass. Using the best wash windows tips includes selecting just the right touch.
Mixing Solutions Without Guesswork
Measure cleaning agents—don’t eyeball. A popular at-home mix: two cups water, half-cup vinegar, a drop of dish soap. Shake gently and decant into a reusable spray bottle for easy application and storage.
- Try diluted apple cider vinegar for eco-friendly, odor-neutralizing power; just rinse well to remove residue.
- Use ammonia-based cleaner for extra-tough grime; always keep the area ventilated when working with strong chemicals.
- Add a dash of cornstarch to water mixes for anti-static properties, keeping dust off longer after cleaning.
- Apply cleaners evenly: Spray a mist rather than soaking, which prevents drips and reduces wasted solution.
- Consider distilled water to avoid hard water streaks, especially if you live in an area prone to mineral buildup.
Consistent measuring and gentle shaking guarantee repeatable, streak-free results. Homemade mixes work well and save money when you follow exact ratios.
Checking for Compatibility With Window Frames
Test your cleaner on an out-of-the-way spot—especially if you have stained wood, painted sashes, or weatherstripped vinyl frames. Gentle formulas prevent discoloration or peeling.
- Inspect painted frames for stability before cleaning, as harsh products will strip delicate finishes.
- Protect natural wood frames by wiping them dry immediately after use for longer wood life.
- Choose pH-neutral cleaners to keep colored vinyl bright and flexible, not brittle or faded by harsh chemicals.
- Swap out abrasive sponges for soft pads if you see paint chips coming off as you clean.
- Finish by polishing handles and locks to keep all hardware clean and corrosion-free after moisture exposure.
Compatibility keeps your home’s trim looking crisp, while the right cleaner tackles the mess with minimal risk.
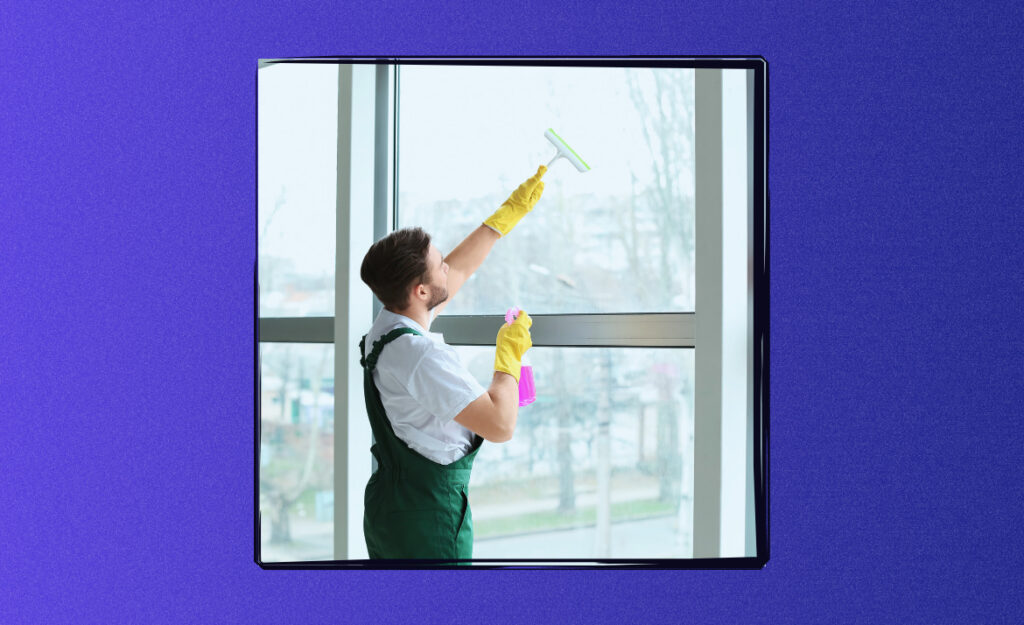
Perfecting Squeegee Technique for Streak-Free Windows
Great squeegee technique is a major factor in the best wash windows tips. It’s a skill that pays off with every pass you make, no matter the window size.
Lines disappear when you use light pressure, overlap each stroke slightly, and keep your blade sharp. Good form consistently yields spotless, polished glass.
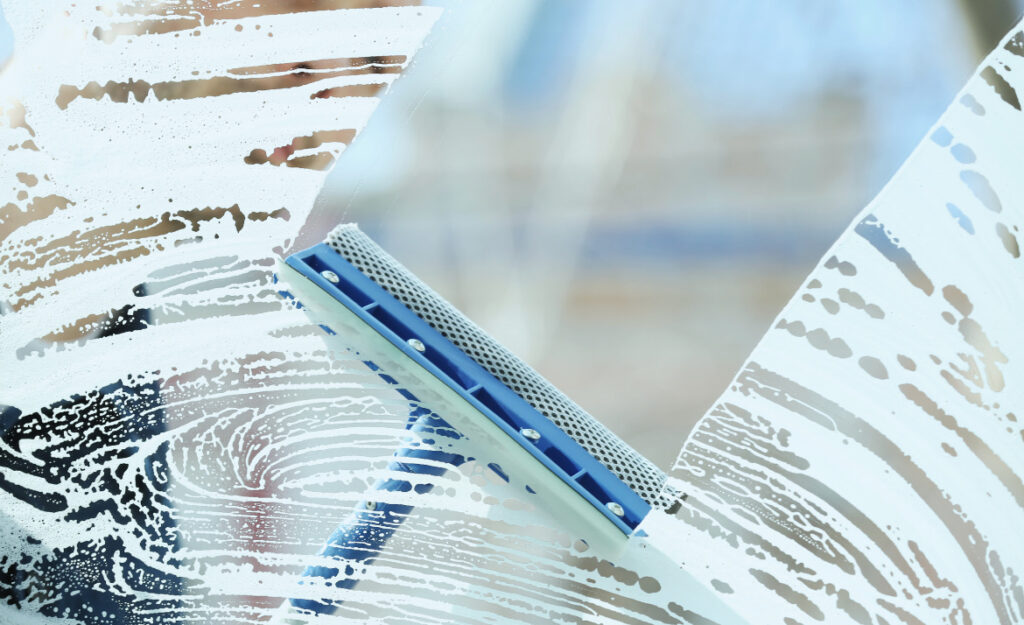
Adopting a Reliable Motion Sequence
Start at the upper corner and pull horizontally across, or try vertical lines for tall panes. Wipe your squeegee blade after each stroke on a clean cloth for clean lines every time.
Never retrace a wet line that’s just been squeegeed—this can leave uneven streaks. Instead, move bar-to-bar with a gentle wrist action, overlapping each pass by an inch or so to catch all moisture.
Think of the squeegee like a paint roller: methodical, steady pressure is smoother than quick, jerky movements. Take care with corners, where missed water likes to pool.
Changing Blades and Maintaining Equipment
Replace squeegee blades at the first sign of nicks or cracks, since even a tiny flaw causes lines and drips to appear. Keep old blades as backup for outdoor-only jobs.
Never use a squeegee for scraping sticky messes—dedicate it purely to streak removal, and you’ll get a year or more from each high-quality replacement.
Wipe metal frames and handles with a damp microfiber cloth before and after cleaning to prevent rust and collect stray drips, so your tools stay clean and effective.
Tackling Tough Stains and Spots With Specific Strategies
Tough blemishes, like water spots or sticky fingerprints, call for targeted solutions—not brute force. Wash windows tips for stains often involve timing, the right scrubber, and patience.
Address stains early, before sunlight bakes them in. For example, act on fresh bird droppings with lukewarm water and a gentle scraping tool, then finish with a squeegee for best results.
Hard Water and Mineral Deposit Removal
Mix lemon juice with distilled water for a gentle acid wash, using a soft sponge to dissolve white rings and cloudy patches. Let the solution sit for a few minutes, then rinse with plain water. Repeat as needed for stubborn deposits.
For an added boost, try a toothpaste dab (non-gel) on a damp microfiber cloth for small spots. Rub gently, then clean with your regular solution. This works because the mild grit polishes without scratching glass surfaces or frames.
If windows sit near sprinklers, regularly inspect for new spots so you can tackle them before buildup hardens. Stay ahead—regular spot-checking is easier than full restoration work later.
Sticker Residue and Adhesive Gunk
Apply rubbing alcohol with a cotton pad and let it sit for one minute on sticky remains before rubbing in circles. Peel away softened residue with a plastic scraper—no sharp tools required.
Treat small decals or tape edges with olive oil to loosen their grip, then gently roll the sticker off with your thumb. For especially stubborn glue, alternate oil and alcohol for a layer-by-layer removal that won’t scratch or damage glass.
Finish the area with your regular cleaner and a microfiber cloth for a uniform shine. Repeat as needed, depending on the age and type of adhesive you’re dealing with in each instance.
Optimizing Timing and Weather Conditions for Glass Clarity
Cleaning in the right weather is a surprisingly crucial tip for wash windows tips, ensuring you get the clearest finish possible. Sunlight and humidity factor heavily in scheduling your window washing sessions.
Work on cloudy days if possible. Direct sun dries cleaning solution too quickly, causing streaks before you can finish the job on larger panes.
Seasonal Shifts: Timing Your Cleaning Sessions
Early morning or late afternoon works best, as glass stays cool and damp long enough to wipe clean. Spring and fall bring comfortable outdoor conditions and less pollen, so you can reach exterior windows more easily.
If storms or heavy rain just passed, inspect window sills for dirt or debris blown inside. A post-storm cleaning maximizes light and leaves fewer deposits when the sun comes out again.
In high pollen seasons, add a rinse cycle with plain water to remove airborne dust before your main wash. Lighter maintenance saves work in the future by keeping windows clearer between deep cleans.
Managing Dryness, Humidity, and Air Curen
High humidity lets cleaning mixtures dwell, breaking up grime before it dries out. If you’re in a dry region, work in smaller sections and keep a water spray bottle handy to re-wet patches as you go.
On especially windy days, pause window cleaning altogether—dust in the breeze clings instantly to wet panes, turning your hard work into a patchy mess.
Check both weather forecast and real-time conditions by touching the glass. If a handful of spray dries before you swipe, the weather’s not right—wait for gentler conditions for perfect clarity.
Conclusion: Achieving Crystal Clear Glass With Simple, Professional Steps
Every window can look its best with the right approach. Using the outlined wash windows tips ensures you tackle each aspect—from supplies to weather—in a way that delivers real results and lasting clarity.
The benefits go beyond appearances. Clean glass extends the life of window hardware, supports good airflow, and keeps indoor light healthy and natural. These routines add value to any living space or work environment.
Consistency is the secret. Adopt these techniques as your regular method, and soon, sparkling, streak-free glass will feel as routine as making your bed—rewarding every time you glance outside.
Frequently Asked Questions
What is the best homemade window cleaning solution for streak-free results? Mix two cups of water, half a cup of white vinegar, and one to two drops of dish soap in a spray bottle. This combination is gentle, effective, and minimizes streaking even on grimy windows. Shake gently before use for best performance.
How often should windows be washed for optimal clarity? Most homes benefit from a deep window cleaning twice per year—spring and fall—while high-traffic or kitchen areas may need monthly attention. Inspect glass for spots, streaks, or film every few weeks and spot-clean as needed to keep your view bright.
Is a squeegee necessary for every window? A squeegee is ideal for large panes, picture windows, or doors, since it removes water evenly and quickly. For small, divided lights or French panes, microfiber towels or fine-textured sponges work better for detail work and tight corners.
What’s the safest way to clean windows on higher floors? Use an extension pole designed for window squeegees and cleaning heads. If you must use ladders, always work with a partner for stability, and never lean out over ledges. Choose pole attachments with angled heads for safer, thorough cleaning.
What can cause persistent haze or film after cleaning? Haze usually comes from soap residue or minerals left behind by tap water. Use distilled water in your cleaning mix and switch to cleaner-dampened towels, not soaking wet sponges. Buff with a dry microfiber cloth to polish away any lingering film for clear results.