Tucking dinner into containers is second nature, but store leftovers the wrong way, and your next meal can turn into a letdown. Wilted salads and questionable casseroles are more avoidable than many home cooks realize. A few key strategies consistently work wonders.
Maintaining freshness isn’t only about flavor; it helps safeguard health, reduce waste, and ease busy weeks. Whether you meal prep lunches, save extra pizza, or repurpose holiday spreads, smarter storage supports both taste and budget.
This guide lays out proven, realistic actions for getting leftovers from plate to fridge to reheating—while keeping every bite safe and appealing. Read on for step-by-step tips and everyday scenarios you can use right away.
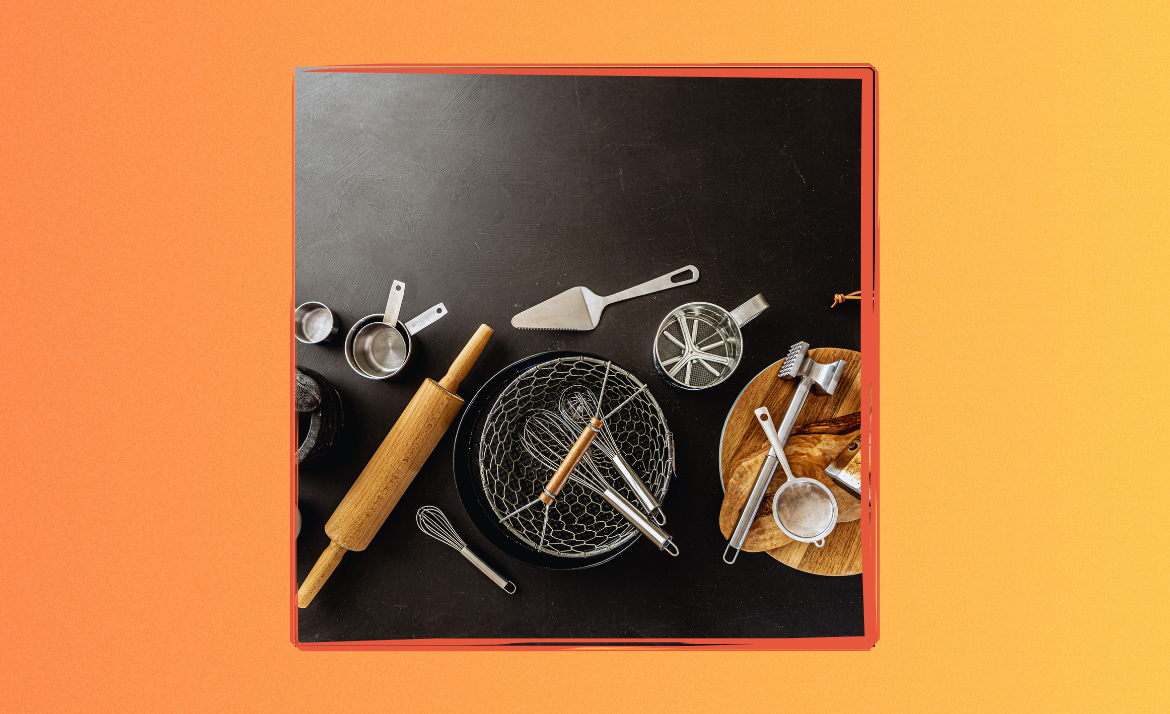
Essential Kitchen Tools That Save You Time: A Practical Guide
Explore a practical guide to essential kitchen tools that help save time, streamline meal prep, and keep your culinary routines efficient and enjoyable. See which tools deserve a spot in your kitchen.Choose the Right Container for Each Leftover Scenario
Matching containers to each type of food is the first step to make store leftovers last longer. Think sturdy glass for acidic stews, or airtight plastic for simple sandwiches. The right container extends freshness and prevents leaks.
Not all containers work the same way. Some trap odors or encourage sogginess. Picking options designed for each dish helps retain texture. If you find yourself frustrated by limp greens or hardened rice, container selection is your solution.
Decoding Container Materials for Performance and Safety
Glass is non-porous and resists stains, so it’s perfect for tomato-based dishes. Plastic containers are lightweight and less likely to break, but they may retain odors over time. Stainless steel excels for salads or grains but shouldn’t store acidic foods.
Watch for cloudiness or lingering smells in reused containers—a cue to replace them. Lids need a tight, visible seal. Snap-on, leakproof covers work best for broths and sauces, keeping drips contained and maximizing shelf life.
When shopping, check for “BPA-free” labels to avoid unnecessary chemicals in plastic containers. Glass holds up better over repeated microwave use. The best solution? Keep multiple types on hand for everything from leftover soup to cut veggies.
Practical Container Choices for Common Leftovers
Pasta and casseroles should go in wide, shallow dishes for even cooling. Soups or stews do well in tall, deep jars with tight lids. Use small glass jars for dips, spreads, or single servings of cut fruit.
Don’t overcrowd containers. Spreading food into thinner layers cools it rapidly and prevents steamy buildup that can cause sogginess or spoilage. Place a sticky note on leftovers when trying new solutions—”worked well,” “got mushy,”—for quick future reference.
Use rectangular containers to maximize fridge space and stack neatly. For packed lunches, try bento-style boxes that separate items to preserve texture. The right fit prevents waste and maintains appeal for the next meal.
| Container Type | Best Use | Durability | Takeaway |
|---|---|---|---|
| Glass | Baked dishes, acidic sauces | High | Best for reheating and no-stain storage |
| Plastic | Salads, sandwiches | Moderate | Lightweight, watch for replacement signs |
| Stainless Steel | Dry ingredients, grains | High | Avoid for acidic and wet foods |
| Silicone | Snacks, freezer portions | Moderate | Flexible, easy to pack for on-the-go |
| Vacuum-Seal | Cooked meats, cheese | High | Keeps air out, extends fridge life |
Tightly Seal and Store Leftovers to Lock In Freshness and Block Spoilage
Seal every leftover tightly so air and moisture can’t speed up spoilage—this keeps meals appetizing, and the fridge neat. If lids don’t fit snugly, consider stretching plastic wrap tightly or switching containers.
Air is the enemy of leftovers. It dulls flavors and promotes bacteria growth. Label lids with the storage date for accountability. When possible, press a piece of wax paper or parchment directly against the food surface—this trick reduces surface drying.
Prevent Cross-Contamination with Smart Storage
Raw and cooked foods need distance in the fridge. Arrange leftovers above raw meat or seafood, never below. Stack ready-to-eat items on a dedicated shelf if possible, and use color-coded containers for easy recognition.
- Keep protein separate: Store meats apart from veggies to prevent juices from contact. Use shallow pans for easy layering and quick access when reheating.
- Don’t crowd items together: Give each container enough room for even cooling and airflow, which slows bacteria. If space gets tight, clear old condiments first.
- Label everything clearly: Use bold, adhesive labels and a permanent marker to track what’s inside and when you stored it. Try “Chicken Stir Fry – 4/1” for peace of mind.
- Rotate old to the front: Place older leftovers at eye level so they’re eaten before newer ones. This system prevents forgotten meals in the back.
- Place liquids in sealed jars: Soups and stews can leak or cross-contaminate if not sealed. Screw-top jars keep messes contained and shelves cleaner.
Investing five minutes to organize your fridge after meal prep pays off. Clear systems mean fewer questionable smells and more food staying tasty until finished.
Minimize Air Exposure for Maximum Freshness
Eliminating air contact matters most for cut fruit, deli meats, and items prone to drying. Place a piece of plastic wrap flush with dips or guacamole to preserve color and texture. Remove air from zip-top bags before sealing for cooked grains.
- Use vacuum-seal bags: Remove as much air as possible to reduce oxidation, which keeps veggies and meats fresh for days longer than loosely closed containers.
- Transfer to smaller containers: Once you use half a portion, move leftovers into a container close to the new volume. Less air equals less spoilage.
- Lay wrap flat on puddings: Prevent skin from forming on dairy desserts by gently pressing cling film against the surface before lidding.
- Bleed air out of salad bags: Squeeze gently to remove air, then reseal to slow wilting leaves. Skip this step and lettuce becomes limp far sooner.
- Layer food: Put a thin slice of lemon or onion atop fish before sealing. The natural acidity helps block off-flavors if you intend to store leftovers for more than one day.
Incorporating one or two of these air-control habits into your routine can noticeably extend the life and taste of leftovers from taco night to pie slices.
Cool Leftovers Promptly for Safety and Texture Retention
Speedy cooling protects food from harmful bacteria and keeps meals from drying out or turning soggy. Try phrasing like, “Let’s get that chili cooled quick,” and act within two hours after cooking ends.
Never place a steaming-hot dish straight into the fridge. Letting food cool to room temperature, but no longer than 90 minutes, helps the refrigerator maintain efficiency. Spacing containers apart supports airflow and quicker, safer chilling.
Divide and Conquer Large Batches
Separate stews or big pasta pots into shallow pans for faster cooling. Stir thick dishes every ten minutes as they cool on the counter to release steam evenly—this prevents a mushy middle and an overly cold outer layer.
When prepping for a busy week, portion single servings straight from the stovetop. This gives you morning grab-and-go options and locks in freshness right away. Snap lids tightly once steam subsides for the best result.
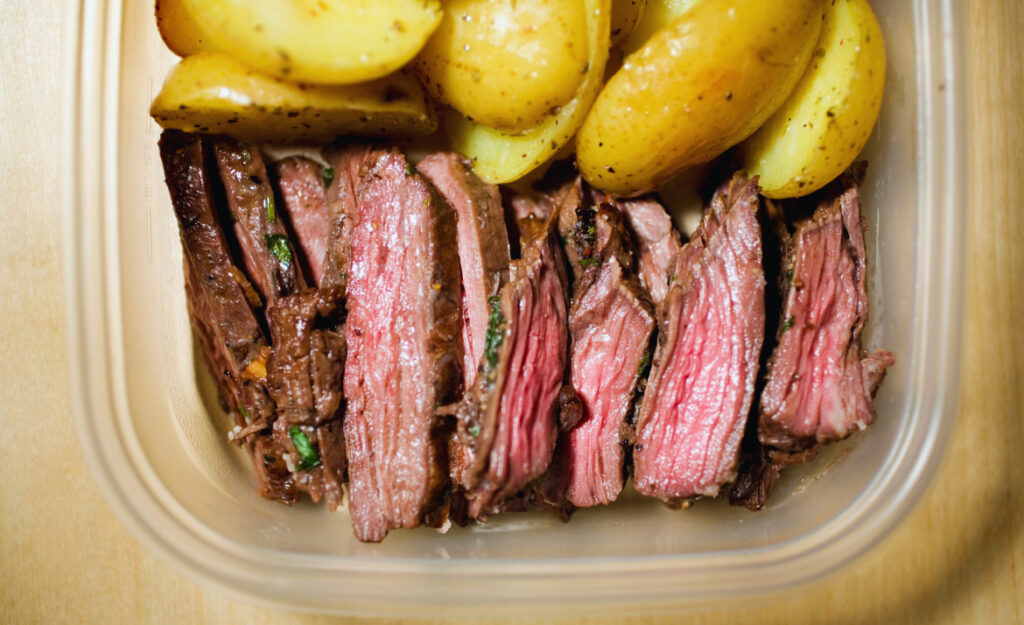
For whole roasts or casseroles, carve or scoop into bite-sized pieces before storing. This trick speeds up cooling and makes leftovers easier to reheat without overdrying later on.
Use Chill-Boosting Strategies for Dense Foods
Place containers with dense foods—like lasagna—on a metal tray or colander set over an ice-water bath. Swirl cold water around the tray to drop the temperature even faster.
When working with food that tends to compact, such as mashed potatoes or thick risotto, spread it out into thinner layers. Cover loosely with foil until it’s cool enough for sealing, then transfer to the fridge.
If you store leftovers from a holiday feast, snap a quick photo of the chilling setup. Use the image as a reminder for your next big gathering, making the rapid-cooling process second nature.
Reheat and Use Leftovers Safely for Enjoyment and Wellness
Every time leftovers get reheated, the goal is more than warmth. You want to reach safe temperatures for food safety, while preserving original taste and texture. Reheat only what you’ll eat soon after warming.
Stirring food mid-reheat ensures even heat distribution. Saucy dishes need extra attention to prevent cold spots, especially when using the microwave. A food thermometer is a handy backup for larger portions or thick stews.
Follow Specific Time and Temperature Rules
Reheat leftovers to at least 165°F, regardless of the method. Always check the center of the food rather than the edges. Use microwave-safe containers; metal lids must never go into the microwave.
Pair reheating with a visual check—bubbling or steaming signals readiness. Soup can be microwaved in a covered bowl, stirring halfway for evenness. Meats bounce back best in an oven or skillet rather than a microwave, where texture can suffer.
Limit the number of times you reheat leftovers. Each cycle changes texture and ups food safety risks. For best results, reheat only what you plan to finish right away, leaving the rest untouched in the fridge.
Practices for Preventing Flavor Loss in Leftovers
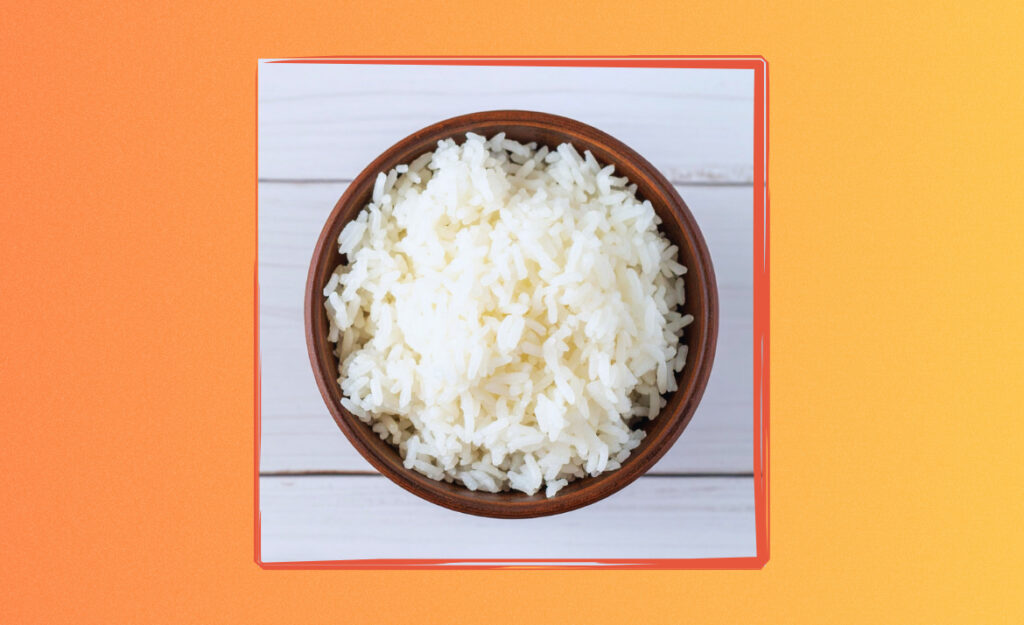
Sprinkle a teaspoon of water over rice, pasta, or casseroles before microwaving to restore moisture and fluffiness—just like they emerged from the oven.
For crisped dishes like fried chicken, use a hot oven to revive texture. Place leftovers on a wire rack over a baking sheet, then bake at 375°F until heated through and crispy on the outside.
Treat pizza with care: a quick stint in a covered skillet recreates melty cheese and a crisp bottom, mimicking the original. Store leftovers carefully, so every reheat brings your meal back to life.
Practical Recap and Fresh Takeaways on Leftover Storage
Choosing the right container, sealing tightly, and cooling promptly forms a simple system to store leftovers effectively. Each step takes just a moment but collectively makes all the difference in taste and safety.
Every unique meal brings its own storing challenges, but the lessons carry forward: air control, rapid cooling, smart reheating, and a bit of organization add up to fresher results. Store leftovers thoughtfully, and those efforts reward you in daily life.
Attention to detail in these habits ensures food tastes the way it should—even after days in the fridge. With these steps in hand, store leftovers confidently and watch your kitchen become the place where waste disappears, and enjoyment lasts.
Frequently Asked Questions
How soon should I refrigerate leftovers? Leftovers should be refrigerated within two hours of cooking or serving. For hot climates or summer picnics, aim for one hour to reduce risk and keep food safe as you store leftovers.
What’s the safest container material for storing leftovers? Glass or BPA-free plastics are your best bet for storing almost any food. Glass resists stains, and plastics labeled BPA-free help avoid unwanted chemicals in your meals.
Can I freeze all types of leftovers? Most cooked dishes and proteins freeze well, but salads, cream-based sauces, and fresh fruit often lose quality. Cool leftovers before freezing and use airtight containers to prevent freezer burn and off-flavors.
How do I know if leftovers are still good? Smell, sight, and storage time are your best guides. If anything smells sour, looks slimy, or has mold, don’t risk eating it. Label leftovers with dates so you’re never guessing.
Is it safe to reheat leftovers more than once? Try to reheat only what you’ll eat at one sitting. Each reheat can increase bacteria risk and decreases flavor. Store leftovers in small portions to minimize repeated warming.