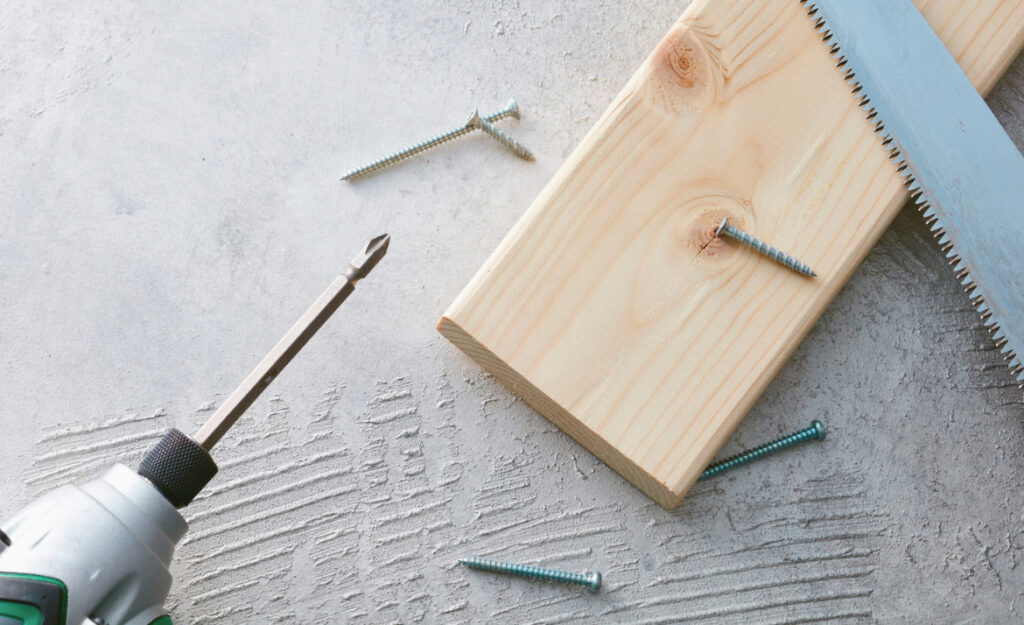
Everyone has faced that annoying moment: reaching for a cabinet handle or tightening a table leg, only to realize a screw just won’t stay tight. A proper loose screw fix is the difference between frustration and a smooth finish. No special skills required—just a few clever steps and a willingness to try.
Fixing loose screws matters far beyond convenience. Wobbly fixtures, unstable shelves, and creaky door hinges risk damage and even injury. If you spot a screw coming loose, you’re stopping bigger headaches down the road. Those tiny threads deserve your attention.
If you’re ready to make fast, lasting repairs, this article breaks down every method and helps you pick the right approach. Let’s trade frustration for solid fixes—read on and find your new favorite tool for a loose screw fix.

Stopping a Dripping Faucet Before It Drives You Crazy
Fix faucet drips fast Discover step-by-step tips, essential tools, and easy repairs to stop dripping faucet issues, lower water bills, and reclaim your peace.Choosing the Best Method for Stabilizing Loose Screws
If you want your repairs to last, matching the fix to the problem is your secret weapon. Each method fits different scenarios, and using the right one makes a world of difference.
A stripped screw hole in soft wood calls for more than just a longer screw. In other cases, swelling wood or worn threads may need a completely different approach for the strongest result.
Comparing Common Fixes by Material and Use
Say you’re working on a kitchen cabinet hinge. If the wood has crumbled, toothpicks and glue often fill the gap. For metal framing, thread-locking compound might nail it.
Picture a chair with a constantly twisting leg: a fresh, slightly longer screw usually bites more wood. If you feel almost no resistance turning the screw, switch to a wall anchor or insert.
Visual cues guide your fixes: splintered holes favor fillers, smooth “spinning” with the screw means the problem’s deeper. Choose a solution that fits those small but critical clues.
Checklists for Success Before Starting Your Repair
Gather what you need: appropriate screwdrivers, matching new screws if replacing, wood glue, toothpicks, sawdust, and a drill for pilot holes. Don’t forget safety goggles if you’re drilling.
Assess: Does the screw spin freely with little effort? Does the screw head fit the driver properly? Look for cracks or deformities in the screw’s surrounding material.
Confirm the area is clean and dust-free. Remove all loose debris from the hole before starting any repair. A cleaning brush or compressed air helps here for best grip.
| Repair Approach | Best Used On | Typical Tools Needed | Takeaway: What to Try Next |
|---|---|---|---|
| Toothpicks & glue | Soft wood cabinets, lightly stripped holes | Wood glue, toothpicks, screwdriver | Compact filler into hole, let dry, re-insert screw |
| Dowels | Oversized holes in wood furniture | Wood dowel, saw, glue | Cut and glue dowel for snug fit; redrill pilot hole |
| Wood filler | Chairs, frames, trim with moderate damage | Wood filler, putty knife | Fill and sand flush before re-screwing |
| Wall anchor | Drywall, plaster, hollow core doors | Anchor kit, drill, screwdriver | Insert anchor, then drive screw for grip |
| Thread locker | Metal fixings (appliances, hardware) | Thread locker fluid, screwdriver | Apply to screw threads; assemble for no shake |
Productive Habits for Spotting and Preventing Loose Screws
Building a routine helps catch loose screws before they become risky. Aim to inspect your home and furniture quarterly—this proactive check keeps everything sturdier, especially those high-use spots.
Listen for creaks or see wobbles around hinges, handles, and chair joints. An attentive walk-through is the fastest path to stopping a loose screw fix from becoming larger repairs later.
High-Use Locations—Don’t Ignore These Spots
An entry door’s plate, the hinges on a bathroom cabinet, or legs on your dining chairs—these get constant movement. Walk through your home with a small screwdriver in hand, checking tightness as you go.
- Tighten cabinet door hinges until they no longer wobble; this prevents sagging over time and keeps doors closing smoothly for longer.
- Check dining chair legs while setting your table; if you feel play or sway, address the screw right away to stop further loosening.
- Inspect wall-mounted racks by applying moderate force; even a small motion means the screws are starting to back out.
- Look under large furniture as you move it; if you notice loose metal brackets, snug each screw for increased stability and safety.
- Test drawer handles by pulling gently; if any wobble, retighten or re-set the screw before the soft wood around it breaks out.
Even five minutes each season keeps loose screws from growing into breakdowns. Make it a habit for fewer quick fixes in the future.
Routine Maintenance to Extend Furniture Life
Wipe away dust and grime; debris around screw holes increases movement. For items like bookshelves, add routine inspections every time you rearrange or dust your space.
- Sweep or vacuum under heavy furniture before checking; this creates clearer access and helps you notice signs of wobbling or unsupported weight.
- Clean the area around hinges and brackets before tightening; cleaner surfaces create less friction and make minor movement easier to spot.
- Keep a simple tool kit—screwdriver, glue, and wood filler—close to hand; being prepared reduces the temptation to skip small repairs.
- Rotate and retest frequently moved items, like toy bins or footstools; these surprise you with loose screws most consistently.
- Take a picture before disassembling anything complex; reference it as you re-tighten everything to its original position for a lasting loose screw fix.
Stay proactive and you’ll notice loose screws before they disrupt daily routines or damage your belongings. It’s a small investment that pays off quickly.
Applying Filler Materials Where Standard Screws Slip
When you want your loose screw fix to truly last, using the right filler doubles the strength of wood repairs. If a screw just won’t grab, it’s time to reinforce the hole itself.
This approach works best for holes in particle board, soft pine, and any surface where the threads stripped out. You’ll need common supplies and five minutes of patience.
Toothpicks and Glue: Step-by-Step Example
Press several toothpicks together, dab them with wood glue, then gently tap into the hole. Allow the bundle to dry—usually an hour creates a bond strong enough for re-use.
Next, cut the protruding ends flush with the surface. The grip created supports screws even better than some new materials, making it a reliable loose screw fix any time the problem reappears.
Reinsert the screw and turn it gently. If resistance is good, stop at snug—over tightening can undo the repair. Patience here means results that hold for years.
Dowels and Wood Filler: Long-Term Repair for Repeated Failure
When holes are oversize or you need to reset a hinge, a wood dowel or two-part wood filler is your strongest option. Insert a glued dowel into the hole, trimming it flush with the surface.
Drill a pilot hole—this prevents splitting and keeps the new screw true. For wood filler, press it in with a putty knife, let it dry per manufacturer’s directions, and sand flat before screwing in.
Such thorough reinforcement means you’ll rarely need another loose screw fix in the same spot. This approach is ideal where safety matters, like sturdy furniture and handrails.
Working with Metal and Hard Materials for Tightening Screws
Fixes on metal frames, appliances, or hardware need a different touch. A small tube of thread-locking compound is a game changer for these persistent loose screw fix cases.
Thread locker’s liquid formula dries to secure threads without sticking them permanently. This keeps screws tight during vibration and daily stress, but removable for future repairs.
Using Thread Lockers with Precise Application
Add a single drop to the screw’s threads before tightening. Rotate the screw fully in, then leave the area untouched for the recommended curing time. Excess isn’t better—too much can hamper removal.
Red thread locker is for permanent bonds, blue or purple for temporary and everyday jobs. Always match the locker to your project’s need for future maintenance.
Thread locker is perfect for door handles, toolboxes, and machine parts. Label your bottle so repeat users don’t use the permanent formula by accident.
Inserts and Anchors for Consistent Gripping Power
For metal frames with stripped holes, threaded inserts restore holding power. Drill a new pilot hole, thread in the insert using the provided tool, and your original screw now fits perfectly.
Wall anchors support heavy loads in plaster, drywall, or hollow doors. Screw the anchor in flush first, then add your screw—a reliable loose screw fix wherever wall mounting is needed.
With anchoring solutions, heavy picture frames, towel racks, and shelving systems stay securely mounted without splitting the material or risking pullout when used daily.
Applying Prevention Strategies for Long-Lasting Results
Success comes from steady habits. Keeping a toolkit with spare screws and fillers close by means small loose screw fixes never get postponed. Make a routine check part of your home care plan.
Avoiding over-tightening is just as critical. Stop as soon as the screw is snug—cranking harder strips the wood or damages threads, making repairs more difficult next time.
Temperature and Humidity’s Impact on Loose Screws
Wood expands and contracts with the seasons, causing even previously tight screws to loosen. Schedule a visual check on exterior doors and decks before summer and winter changes.
If you see cracks or hear squeaks after climate shifts, grab your screwdriver and check all visible screws. Regular attention stops small changes from creating major repairs later.
For appliances, avoid installing screws when the surfaces are cold or wet. Allow materials to reach room temperature for the strongest grip, especially for long-term loose screw fixes.
Choosing Screw Length and Type with Intention
Always match screw length to the thickness of the material. For cabinets and furniture, pick screws long enough for two-thirds of their length to embed within solid wood.
Pick appropriate screw types: coarse threads grip softwoods, while fine threads work best in dense hardwoods. Upgrading to a higher quality fastener means less maintenance later.
Label your bins or drawers so repeat fixes are effortless—store like screws together to speed up identifying what fits each project best.
Conclusion: Securing Every Project with Lasting Loose Screw Fixes
Fast, effective repairs start by matching a method to the problem. Whether toothpicks, dowels, thread locker, or anchors—your solution stays strong when you read the material and pick the right tool.
Regular checks for loose screws in your home and furniture keep repairs simple and damage low. Taking an extra minute with each fix outlasts the annoyance of a persistent wobble or creak.
Security comes from steady habits and strategic fixes—start today with just one problem area, and you’ll build the confidence for every loose screw fix life throws at you.
Frequently Asked Questions
What’s the fastest way to fix a loose screw in wood?
Insert toothpicks coated in wood glue into the stripped hole, snip them flush, and return the screw once the glue is dry. This fast method works well for softwoods and light-duty screws.
When should I use a wall anchor instead of a longer screw?
Use a wall anchor for plaster, drywall, or hollow doors where there’s nothing solid behind. A longer screw helps only if there’s additional material to grip—anchors build a new anchor point in weak areas.
Should I always use glue or thread locker when tightening screws?
For wood, glue helps repair stripped holes but isn’t required for new screws. On metal or moving hardware, thread locker prevents re-loosening. Use only as recommended for removability.
How can I prevent screws from loosening in the future?
Stop over-tightening, match screw type and length to the job, and add minor checks to your cleaning routine. Periodic retightening and keeping threads clean builds long-term reliability into your home projects.
Is it possible to fix a stripped hole more than once?
Yes. After toothpick or dowel fixes, if the repair fails, switch to a wood filler or consider a commercial insert. Each escalation uses more robust reinforcement for repeated or safety-critical repairs.


