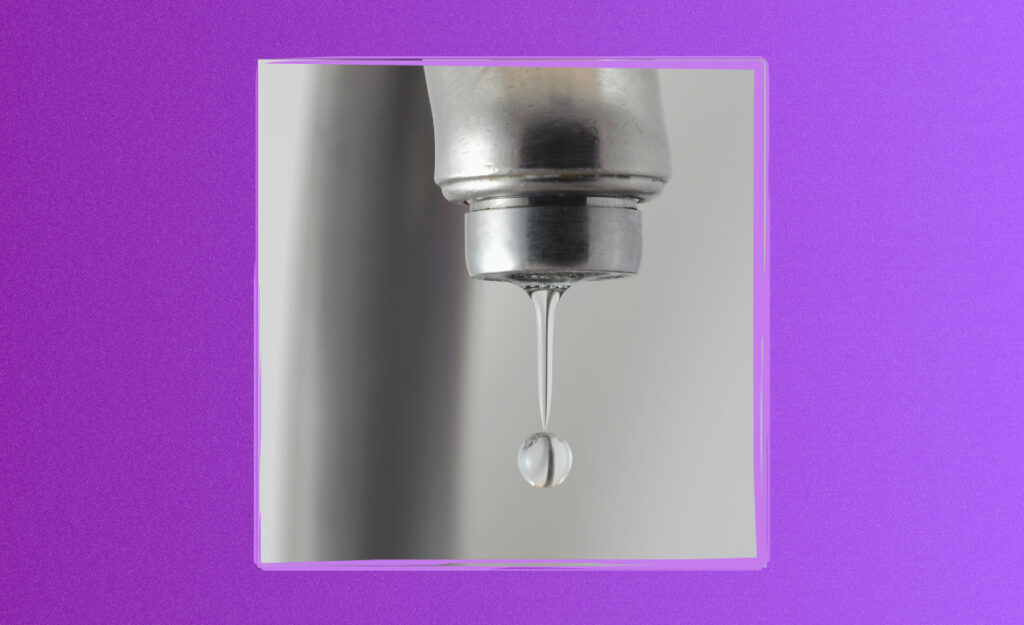
Hearing the steady drip of a leaky faucet can feel like a slow march to irritation. Mid-silence, the urge to stop a dripping faucet grows as each drop reminds you something’s not quite right. Small annoyances like this don’t just gnaw at your nerves — they steal your focus and disrupt your space.
Leaks do more than test patience; they waste hundreds of gallons of water yearly, send utility bills climbing, and point to small failures with bigger repair risks. For households where calm matters, addressing the culprit matters just as much as any other daily task.
Read on to discover realistic ways to stop dripping faucet problems, from targeted quick fixes to preventative tips. Every solution comes with clear next steps so you can regain control and keep your home feeling tranquil and efficient.
Pinpointing the Source: Find What’s Causing the Drip Fast
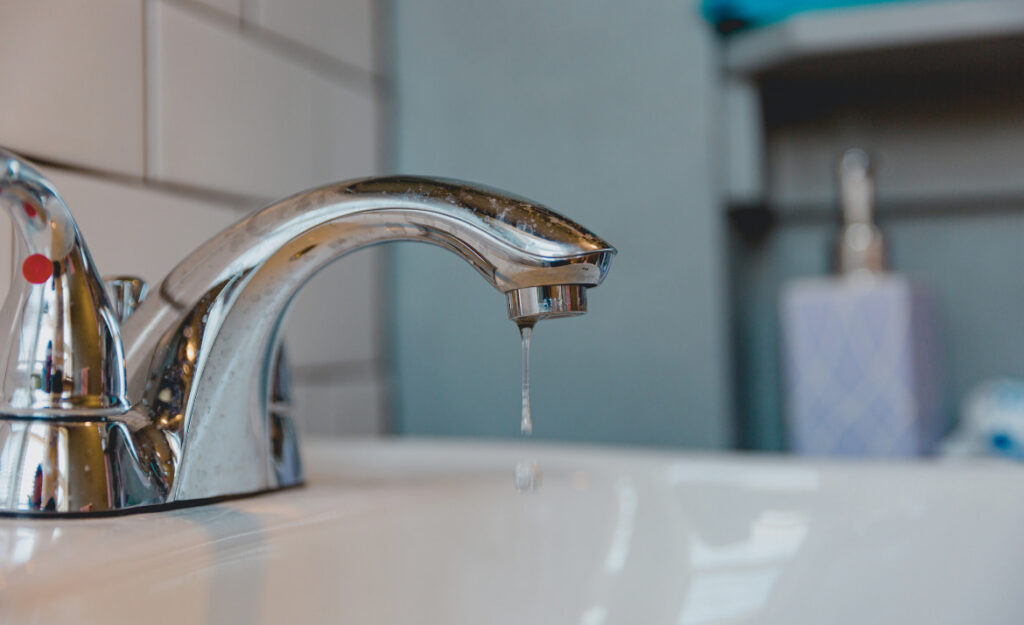
Identifying where the leak starts saves you both time and hassle. Most drips begin at the spout or handle, signaling which part likely needs your attention first.
For example, if water pools beneath the handle, there’s a worn O-ring. If drips come out the spout, focus on inspecting the cartridge or washer. Replacing these with the right match restores the seal.
Spot-and-Fix Rule for Spout Leaks
When a faucet only leaks from the spout, residue or debris has likely damaged the internal washer or cartridge. Peer under the sink to locate your shutoff valve. Turn it off, then unscrew the faucet’s base, and swap the old washer or cartridge with an exact replacement. Tighten all parts evenly, then test for leaks.
If you see visible corrosion on the faucet or strong mineral buildup, gently clean the parts before reassembly. Hard water buildup prevents new washers from sealing tightly, so scrub with mild vinegar and wipe dry.
Use a flashlight to check for hairline cracks. Any visible crack means a new faucet body is needed to fully stop dripping faucet issues.
Handle Leaks: Quick Investigation and Solution
When water beads near or around the handle, the culprit is likely the O-ring or stem washer inside the handle assembly. Use a small screwdriver to remove the handle cap and gently lift it off.
Inspect for a worn, flattened, or cracked ring. Buy an O-ring kit that matches your faucet’s make and size; these are typically just a few dollars.
Lubricate new O-rings lightly with plumber’s grease before reinstalling. Seal all pieces by hand first, finishing with one gentle turn of your wrench. Testing at low pressure stops overtightening and reduces future leaks.
| Location | Common Cause | What to Inspect | Next Step |
|---|---|---|---|
| Spout | Worn washer/cartridge | Check water dripping or constant trickle | Replace internal washer or cartridge |
| Handle | Degraded O-ring | Water present beneath or around handle | Replace and lubricate O-ring |
| Base | Loose mounting nut | Moisture around faucet base on counter | Tighten mounting nut carefully |
| Supply Lines | Aging supply hose | Leak beneath sink at valve connections | Replace supply hoses |
| Body | Cracks/mineral buildup | Rust, white deposits, or visible cracks | Clean or consider full replacement |
Gather the Right Tools and Replacement Parts the First Time
Success depends on prepping your workspace properly and assembling every tool you’ll need. Each item supports faster steps and reduces stress as you move from diagnosis to repair.
Double-check your faucet’s make and model first. Snap a photo of your faucet’s underside or grab the manual, then match washers, cartridges, and O-rings accordingly.
Essential Supplies Checklist
Having these tools ready helps you stop dripping faucet headaches without mid-task frustration:
- Grab a flat-head and Phillips screwdriver for all handle or cap types. Most repairs start with these basic tools and they won’t scratch up the fixture.
- Keep a pair of channel-lock pliers or an adjustable wrench for nuts and stubborn connections. Choose those with soft grips or pad the jaws with cloth to avoid marks.
- Buy the correct size replacement washers, O-rings, and cartridges. Matching your faucet’s brand lowers the chance of leaks returning after your efforts.
- Apply a small tube of plumber’s grease to new seals. This minimizes friction and prolongs the life of your repair work by ensuring smooth movement.
- Use a card or flashlight to zoom in on dark corners, identify tiny rubber fragments, and verify that every piece fits snugly as you reassemble.
With everything in hand before you begin, you’re less likely to leave the valve shut off for hours — or forget where a small part rolled off to.
Prep Your Space for Efficient Repairs
Clear your work area of toiletries, cleaning products, and any items on or near your sink. Lay a towel or tray under your workspace. This keeps tiny screws and washers from vanishing down the drain.
- Turn off the main or local water supply valve to the faucet, then drain the line by opening the tap fully.
- Wrap faucet parts in a soft cloth when unscrewing to prevent scratches and nicks on visible surfaces.
- Group and label small components as you remove them, lining them up in order. Take a quick photo before each major disassembly for reference.
- Set up a moveable light source to keep shadows away, so you spot worn or cracked seals with ease.
- Keep a small bowl handy for soaking mineral-coated screws or as a safe resting spot for faucet handles.
With your tools laid out and space cleared, the repair won’t feel rushed or chaotic, setting you up for a straightforward fix.
Tackle Cartridge, Ball, and Compression Faucets with Specific Steps
Targeted actions for each faucet design ensure a fast, effective stop to dripping faucet symptoms. Knowing your fixture’s type simplifies what to check and which parts to change out.
Once you match your faucet style, aim for one method that fits. Repairs become smoother when you’re tracking just a few clear steps tailored to your fixture.
Cartridge Faucet Solutions
For cartridge models, first pull the decorative cap from the handle. Unscrew the handle, then use pliers to wiggle the cartridge straight out, keeping track of orientation.
Replace the old cartridge with an identical one, lining up any tabs or holes exactly. Reassemble, tighten the screw snugly, and turn the water back on while checking for clear, even flow.
Test for further leaking by opening the tap fully, then shutting it off. If all seals sit flush, the job’s complete and the stop dripping faucet goal is met.
Ball Faucet Fixes
Ball faucets use a rubber seat and spring system. Remove the handle, collar, and cap, then lift out the cam assembly and ball.
Swap out old ball, springs, and seats for new ones from a matching kit. Rebuild in reverse order, ensuring the ball’s tee matches its groove.
If leaks return after cartridge or ball repairs, inspect for cracks in the housing that require full replacement to completely stop dripping faucet symptoms.
Compression Faucet Repairs
Compression faucets have two handles and rely on replaceable rubber washers. Unscrew both handles, remove stem assemblies, and pull worn washers off the ends.
Press new washers firmly into place, making sure each sits flat with no gaps. Reinstall, reattach handles, and turn water back on to confirm your drip is gone.
If spout leaks persist, check for new scratches or burrs on valve seats. Smooth any rough edges for a tight seal going forward.
Prevent Future Leaks with a Routine Inspection Strategy
Prevention strategies let you stop dripping faucet trouble before annoyance grows. Follow a quarterly inspection process so small issues never get the upper hand in your home.
Inspections reveal problems early. For example, see mineral buildup? Clean it immediately. Feel early stiffness in the handle? Check and grease the O-rings before they fail.
Create a Simple Seasonal Maintenance Calendar
Assign each fixture you care for a quick check four times a year. Use your phone or a wall calendar to jot down dates, like the first Saturday of each new season.
Every inspection, check for wetness on the counter or cabinet base. Examine for signs of corrosion, especially on older metals. If any handle feels loose, tighten the set screw gently.
Consider jotting notes or voice memos on what you find. This record helps you track recurring trouble spots and highlights faucet models that need full upgrades.
Upgrade Gaskets and Seals When Needed
Any time you notice even a faint weep or see stains under a fixture, prioritize changing gaskets. Swap out O-rings and washers as soon as you feel them stiffen, crack, or lose elasticity.
Add a drop of plumber’s grease to new rings before installing. This added protection extends the time before the next leak and keeps water flowing exactly where you want it.
If upgrades to major faucet parts seem overdue, consult your manufacturer’s website for updated models built to last longer and handle your water’s unique chemistry or hardness.
Enjoy Peaceful Mornings and Lower Bills Post-Repair
Every time you stop dripping faucet troubles, you protect more than just your nerves. Those clicking drips add up to costly water loss and premature fixture failure if unchecked.
After fixing even a tiny leak, compare your next month’s water bill to your last. Most households see a modest but visible reduction when slow leaks get handled promptly.
Catch Problems Before They Drain Your Wallet
When you notice drips, address them before they snowball into larger plumbing bills and water stains below your sink. Early action shows long-term care and builds confidence in handling minor plumbing fixes.
Avoid letting leaks travel unnoticed into your walls or cabinets. Ignoring these subtle signs can mean bigger repairs later and permanently ruin your cabinetry or flooring.
Every fast repair keeps your bathroom or kitchen feeling like a place of calm, not frustration, so you can enjoy your home without distraction.
Compare Cost and Savings After Taking Action
Place your typical monthly water usage side by side with post-repair totals. Saving even ten gallons a day adds up to around 300 gallons a month — and that’s real money.
A quick fix costing under $10 for a washer or O-ring can save far more than the repair costs in a single billing cycle. Staying on top of drips means savings for years.
If you’ve made several repairs but still see slow leaks, factor in whether a full faucet replacement may be the next logical, value-driven solution.
Set Your Home Up for Future Success: Long-Lasting Leak Solutions
Planning ahead after you stop dripping faucet problems helps avoid repeat headaches. Choose quality supplies and upgrade as needed to keep your peace of mind intact.
When purchasing new faucets, look for brands with a solid reputation for durability and corrosion resistance; read reviews focused on leak history, not just style or finish.
Choose Materials Built for Longevity
Solid brass, stainless steel, and ceramic disc models resist both internal corrosion and surface wear from frequent use. While initially more expensive, they cut down on frequency of repairs.
Always check the warranty terms on new installations. Many reputable brands provide extended coverage for leaks, ensuring you don’t foot the bill if issues recur within the warranty window.
When installing, follow all manufacturer instructions, using compatible parts and grease to create the strongest possible seals.
Hydration and Pressure: Find Your Ideal Water Flow
Set your in-home water pressure regulator to below 80 psi. Excessive pressure strains seals and shortens faucet lifespan, even with quality repairs. Local hardware stores can lend simple test gauges.
If you experience sudden surges when multiple fixtures switch on, ask a plumber to install a pressure-reducing valve. Consistent pressure keeps every part of your plumbing system safe and quieter.
Pair this proactive approach with routine aerator cleaning — unscrew, rinse in vinegar, and replace — to sustain gentle, splash-free water delivery for all household tasks.
Your Action Blueprint: Make Every Drip Disappear
Today’s guide outlined step-by-step ways to stop dripping faucet issues and win back your quiet space and savings. Repairs begin by pinpointing the leak, then tackling the culprit with targeted fixes and the right tools.
Regular inspection, seasonal upkeep, and quick gasket swaps save money while preventing frustration from building. Choosing durable parts and controlling water pressure sets the stage for fewer future repairs.
By stopping every drip as soon as it starts, you reinforce a peaceful home environment. Take these proactive steps and enjoy smoother mornings, lower utility bills, and lasting confidence in your DIY plumbing skills.
Frequently Asked Questions
What causes my faucet to drip when it’s off?
A drip after closing the handle is commonly due to a worn washer, cartridge, or O-ring inside the faucet assembly. These fragile parts eventually degrade with daily use and mineral exposure, interrupting the watertight seal. Replacing the faulty component halts the leak.
Can I really fix a dripping faucet myself, or do I need a plumber?
Most single leaks are highly DIY-friendly if you have simple hand tools and can identify your faucet style. Swapping a washer, O-ring, or cartridge is straightforward for compression, cartridge, or ball models. However, call a professional if the leak persists or if parts feel stuck and risk breaking.
Will stopping a single drip make a difference in water costs?
Even a slow drip can waste more than 3,000 gallons a year — that’s more water than many notice. Fixing it right away not only ends annoyance but leads to a visibly lower utility bill and reduces strain on your local water system.
How can I know which replacement part to buy?
Match your faucet’s make and model, which is usually stamped under the spout or on the manufacturer’s tag. If uncertain, remove the old part and bring it to the hardware store for an exact match. Or search your brand’s website for exploded diagrams and exact part numbers.
What else can I do to prevent future leaks?
Do a seasonal or quarterly inspection, keep spare washers and O-rings in your toolbox, and don’t ignore subtle signs like stickiness, mineral buildup, or water stains near the base or handle. These steps keep your faucet running smoothly and your home dry for good.