Tangled cables frustrate everyone, whether it’s at your work desk or tucked behind the television. People who organize cables enjoy a cleaner workspace, less wear on their cords, and easier access. The process seems simple, yet it makes a huge difference.
Disorderly wires waste time and lead to expensive replacements. A few basic techniques can extend the life of your tech and eliminate the stress of knots and confusion. Visual harmony and day-to-day function get a real boost.
Dive into this comprehensive guide. Explore strategies and tools that help you organize cables so cords always stay where you want them, visible, easy to reach, and never tangled again.
Building Your Cable Game Plan: Organize Every Space for Zero Tangles
To organize cables properly, start with a clear plan. Begin by identifying problem spots—under desks, behind TVs, or next to your nightstand—where loose cords cluster or slide together.
Gather all your charging and data cables in one place, and survey each for length, shape, and use. This simple step builds awareness and makes future solutions easier to apply each time you tidy up.
Sorting for Simplicity: Know What You Really Use
Lay every cable on a table. Say each device’s name aloud as you pair it with its matching cord. Weed out extras, duplicates, or mysterious old wires immediately to prevent confusion later.
Place each cable in a group: daily use, occasional use, or specialty. Set aside unnecessary cords for recycling. Clarity up front ensures a neater result as you apply cable management fixes.
If you’re unsure about a cable—like an old phone charger—label it or snap a photo. Drop it in a ‘maybe’ box. Review this box monthly to minimize clutter over time, just like sorting mail.
Mapping Cable Routes: Plan Each Cable’s Path
Decide where each cable naturally belongs. TVs need HDMI and power nearby; laptops and phones share chargers at desks or bedsides. Assign each cord a predictable “home” and decide if they’ll run along a wall, behind furniture, or in a drawer.
Test how each cable behaves. Tug lightly near the outlet or device. If it gets caught or hangs loosely, document that route. Mark tricky spots with painter’s tape until you implement more permanent solutions.
Finish this step by sketching a quick map of your workspace, identifying where cables cluster and what path they should take. Refer to this when adding holders or organizers, the same way you’d lay out a garden bed before planting.
| Location | Common Challenges | Ideal Solution | Takeaway Action |
|---|---|---|---|
| Under desk | Loose, dangling cables and foot tangles | Cable trays or zip ties | Install trays beneath desktop |
| TV area | Visible wire mess and dust gatherings | Cable raceways | Mount raceways along baseboard |
| Bedroom nightstand | Cords slipping behind furniture | Weighted cable clips | Attach clips atop nightstand |
| Kitchen counter | Cords mingling with daily clutter | Silicone cable organizers | Use flexible organizers along the edge |
| Living room media console | Overheating and excess length | Velcro wraps | Trim and secure long cables |
Choosing the Right Cable Management Tools for Every Situation
Once you know your cable trouble spots, focus on matching each area with the best hardware. Products vary in shape, size, and purpose. Pick solutions tailored to your space, not just what’s trending online.
Certain tools tame stubborn tangles, while others make unplugging or swapping devices effortless. Test a few small purchases; there’s no need to overhaul your whole setup at once. Thoughtful trial makes solutions stick.
Maximize Your Impact with These Cable Tools
- Install a cable box to hide bulky surge protectors out of sight under your desk. This keeps excess cord out of your footpath and shields connections from dust.
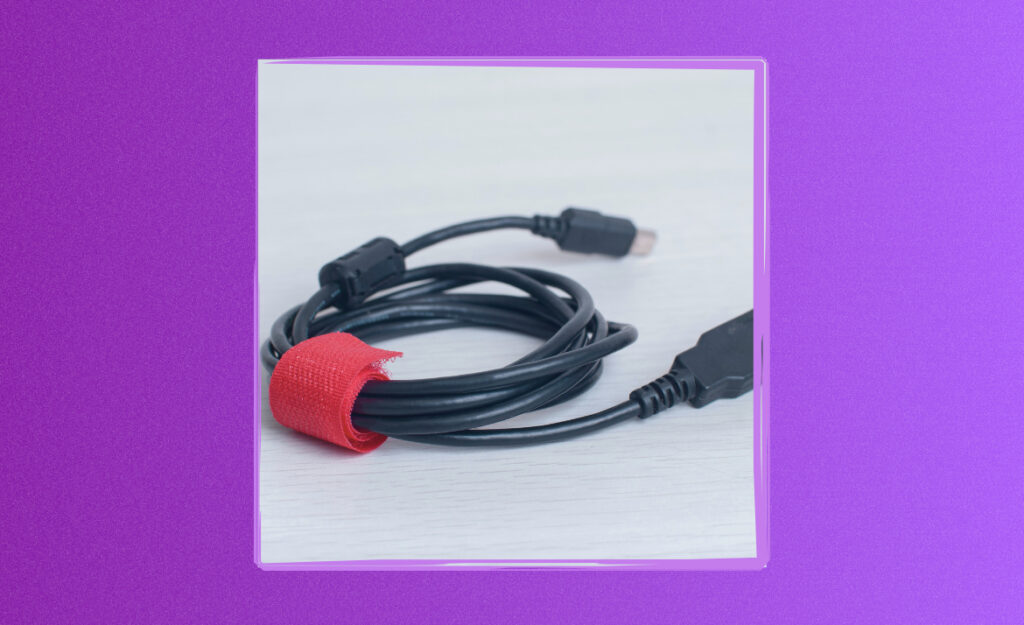
- Wrap long cables using Velcro ties. They bunch cords without pinching, are easy to adjust, and never damage wires the way twist-ties sometimes can.
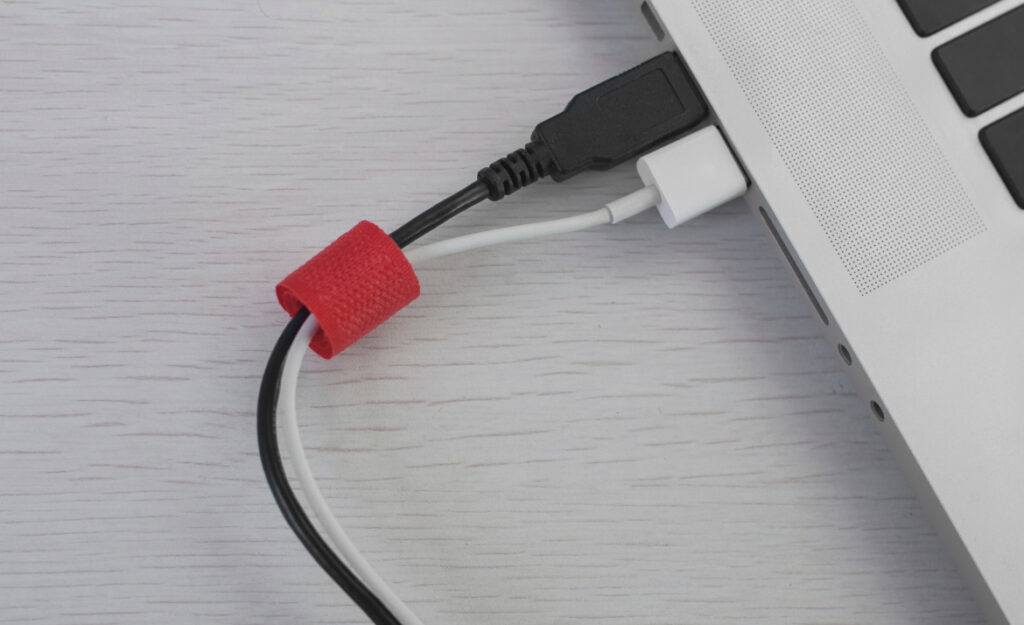
- Mount cable clips along the back or edge of desks. These keep charging cords firmly in place and always ready to grab in one hand.
- Stick self-adhesive wire channels to baseboards. While they require careful measuring, they’re perfect for running TV or speaker wires invisibly across a room.
- Deploy color-coded labels on identical chargers or USB cables. You’ll grab the right cord instantly, ending the hunt for “which white cable is my phone?”
Daily use cords need quick access, while seasonal wires can be tucked away. Always err on the side of flexible, reusable hardware for evolving setups.
Temporary vs. Permanent Fixes: When Flexibility Counts
- Try reusable silicone cable ties for travel bags or work-from-home setups. They untie quickly if you need to move, but never leave sticky residue.
- Choose screw-mounted organizers when you want a long-term solution for heavy items, such as desktop computers or gaming stations.
- Test cable sleeves for visible bundles along shelves or monitors. They keep groups together without looking cluttered, and you can undo them anytime.
- Avoid permanent adhesive solutions if you might rearrange furniture. Opt for clips that release easily or guides with magnetic backs in such cases.
- Secure extension cords under carpets with flat cord covers. This protects both people and wires during room reconfigurations or holiday setups.
Temporary fixes suit renters or anyone experimenting with layouts. Permanent methods are best for shared living rooms or home theaters where you want tidy results year-round.
Establishing Simple Routines: Stay Clutter-Free Every Time You Plug In
With your core tools in place, you’ll stay organized only if you nurture new habits. Create micro-routines that address old sources of cable chaos each time you add or remove a device.
For example, every Sunday night, take two minutes to check if cords migrated, loosened, or got unplugged. Frequent, low-effort tasks prevent big messes from forming again.
Keepers and Cutters: Deciding What Stays Visible
Store everyday chargers and USB cables in a shallow desk drawer, using dividers or small baskets. Specialty cords—like camera adapters or holiday lights—should live in labeled zip bags out of sight but easy to find.
No need to display every wire. People gravitate toward minimal, clutter-free workspaces. The less you see, the less overwhelmed you feel opening a drawer or scanning a shelf.
If someone else uses your space, post a quick list: “Keep these visible, store these away.” Clear guidelines prevent arguments and keep routines predictable for everyone.
Charging Stations: Daily Use, Maximum Order
Designate one anchor point for daily device charging. Place your charging hub on a side table, counter, or desk corner—where outlets are accessible but surfaces stay clear.
Keep the hub free of dust, with each cable wound using a Velcro tie or cable shortener. Return the charging wire here after every use to avoid a tangle by morning.
Remind other family members to return cords to the hub at night. A simple sign—like “Cables here!”—can spark good habits and save everyone time hunting in the morning.
Using Labels and Color-Coding: Find the Right Cord Instantly
Organize cables with color coding and labeling to eliminate guessing. Assign a color or custom tag to cords—especially in shared spaces or workstations—so everyone always knows which plug serves which gadget.
Labels and bright cable wraps help you spot an issue fast, prevent accidental unplugging, and even speed up troubleshooting during busy moments or family movie night.
Color-Coordinating Cables: Household Example
Assign each person in your home a cable color—blue for Dad, red for Mom, green for kids. When guests ask, “Which one is mine?” just point to the color guide stuck above the hub.
Pair colors with device stickers. TVs, tablets, and Bluetooth speakers all get their own marker. No more mix-ups or “you took my charger!” accusations in the morning rush.
If you’re at work, try pastel tape or slim bands on shared sockets. Mark phone, laptop, network, and display cables clearly. Label at both ends for extra clarity—especially on large projects.
Labeling Techniques That Stick
Skip store-bought tags if you’re on a budget. Standard masking or painter’s tape works great for quick, visible labels; write the device name clearly in black marker.
Try adhesive cable markers or label-makers for a polished look. Choose waterproof options in kitchens or garages where splashes and dust are frequent. Refresh labels every three months in frequently plugged spaces.
Make sure each label or wrap sits close to the plug end. This simple step saves seconds during each connection or disconnection, making your organize cables routine foolproof.
Preventing Knots from the Start: Tidy Storing and Unwinding
Prevent tangles by mimicking how you’d coil a garden hose: gentle loops, no sharp bends, and never just tossed in a bag. Develop muscle memory for rewind-and-place routines.
Certain physical habits have huge results. For portable cables, repeat the same coiling motion each day so the process feels automatic, just like hanging up keys or folding laundry.
Travel-Ready Cables: On-the-Go Strategies
Use the “over-under” technique by alternating loop directions on each turn. This prevents kinks and helps cables pop open instantly. Practice a few times—watch how fast it becomes second nature.
Stash cords in rigid cases for bags or backpacks. Soft pouches invite tangles, but a structured container keeps wires from migrating. Consider hard sunglass cases for short chargers and lightweight headsets.
Repurpose household objects: Bread ties, playing cards folded into loops, or elastic bands with tabs keep cords in order for trips. Stash a stash of solutions in your bag for emergencies, not just at home.
Bulk Storage Done Right: Avoiding the Drawer Mess
Designate a clear plastic bin for spare cables and adapters, complete with dividers or pint-size boxes inside. Sort by category—computer, power, audio, photo—so retrieval is always one smooth action.
Add a master list taped to the lid: update it every six months. The same tactic prevents clutter with board games or holiday ornaments, and it works equally well here for organize cables maintenance.
Store very long cables (like extension or network cords) in figure-eight loops, securing the middle with a short strap. This technique prevents twisting and extends cable lifespan significantly.
Adapting to Changes: Prepare for New Tech, Guests, or Layouts
Cable setups rarely stay static. Prepare your organize cables strategies to handle new devices, houseguests, or work shifts. Adjust organizers and adapt routines as technology or your lifestyle evolves.
When moving into a new space, take five minutes to scout fresh power outlet locations. Test each one for existing cable management before unpacking—save yourself a redo in the first week.
Flexible Living: Hosting or Temporary Setups
Keep a “guest kit” of labeled chargers, adapters, and spare cables in a small tote. Place it by the entryway or a dedicated guest shelf. People feel welcomed, and you reduce the risk of lending and losing your own chargers.
Deploy short extension cords during family gatherings, running them safely along walls or under rugs. Use painter’s tape to signal walking paths so no one trips or disrupts your careful cable arrangement.
After events, neatly wind and return every cord to the same bag or bin. Inventory the contents as you go, so surprises—like an unplugged router or missing laptop cord—don’t surface a week later.
Responsible Disposal and Recycling
Outdated, damaged, or incompatible cables can create clutter and even hazards. Identify obsolete cords as you organize cables and place them in a clearly marked ‘recycling’ or ‘e-waste’ container.
Research local drop-off sites or big-box stores that collect electronics for responsible recycling. This ensures materials don’t enter landfill and keeps your home environment healthy and sustainable.
Regularly review your cable collection, setting a reminder twice a year. Streamlining cords while recycling properly means your system stays simple, safe, and eco-friendly in the long run.
Summing Up the Power of Organized Cables
Every workspace, bedroom, or entertainment zone improves with the right organize cables strategy. Cords stay tidy, devices last longer, and daily routines get noticeably smoother the moment tangles disappear.
This topic matters across households and offices alike. Organized cables mean less downtime, less frustration, and greater control over your personal tech setup—no more searching, snags, or worries about misplaced wires.
Develop your own cable organizing routines today, and adapt as life and technology change. You’ll soon enjoy clutter-free spaces and reliable power for every device, every day.
Frequently Asked Questions
What’s the quickest way to organize cables at my desk?
Gather all cables together, label them by device, and use cable clips or Velcro wraps to secure them along the back or underside of your desk. Adjust tools as your tech needs grow.
How do I keep charging cords from falling behind the nightstand?
Weighted cable clips attached to the table edge prevent slipping. Leave a bit of slack for unplugging, and always return cords to the clip after use. Coordinate cables by color for family sharing.
Do I need to buy expensive organizers?
No. Many cable solutions use common items like bread ties, painter’s tape, or repurposed boxes. Higher-quality options—like silicone organizers or cable trays—cost more, but provide longer-term ease and flexibility.
What should I do with extra or old cables?
Sort cables yearly, discarding damaged ones and recycling obsolete or rarely used wires at local e-waste stations. Use bins with dividers and update a list to avoid repeat clutter.
Can I organize cables if I rent or frequently rearrange my room?
Choose non-permanent solutions, like adhesive clips, Velcro ties, or portable cable boxes. These options allow easy reorganization without damaging walls or furniture, perfect for renters and fans of redecorating.