Nothing ruins a sharp outfit like a lining that’s bunched, sagging, or peeking out. Tucked inside your favorite blazer or dress, a well-maintained lining is the quiet star. Learn when and how to fix lining problems before they affect your confidence or a garment’s longevity.
So many daily movements — sitting, standing, reaching — can strain fabric and seams. Lining isn’t just for aesthetics; it protects the structure of your clothes. Prioritizing the fix lining process helps garments keep their shape and look new longer.
If you’ve ever hesitated to wear a piece because of a lining issue, this guide is for you. Dive in and discover effective fixes, practical routines, and prevention tips designed for real wardrobes and busy schedules.

Sew Buttons That Stay Put: Secure Attachment Steps
Follow simple, step-by-step instructions to sew buttons that stay put through any activity. Reinforce your repairs!Spotting Lining Trouble Early Keeps Your Clothes Ready to Wear
Bumping into shut seams or sticking to static-lined sleeves? Address issues right away to prevent lasting damage. Spot signs early, so your favorite jacket never lands at the bottom of the closet.
A visible tear, sag at the hem, or bubbling around the zipper are clear indicators. Shrugging it off can make repairs harder. Here’s how to identify issues before they escalate with everyday habits and close-up checks.
Check High-Traffic Stress Points During Each Wear
Turning sleeves inside-out after removing a jacket exposes pulled seams or lining wrinkles. Pinch and run fingers along underarms, the collar, and cuffs to feel for gaps or looseness in the stitch work.
Accordion-like bunching at the back vent signals a loose lining attachment. Instead of guessing, gently tug the lining in these spots to see if it moves separately from the outer shell. If it does, plan a fix lining session soon.
Real insight comes from a habit: peek before hanging up your garment or after every wash. Small pokes from keys, belt loops, or even a rough bag strap are easier to catch and address if you’re checking regularly.
Recognize Silent Symptoms and Address Subtle Changes
Sometimes, lining issues start with sound — a faint pop as you stretch or a scrape when sliding arms through sleeves. These are red flags for stitches unraveling or seam tape lifting.
Find any puckered fabric? That’s more than an ironing issue. It’s common after exposure to moisture or heat. Feel any scratchiness or stiffness? It might signal a warped or melted lining layer beneath.
Noting minor discomfort during wear — perhaps scratching or extra bulk — usually means the lining has shifted. Mark these areas so you can fix lining before your next outing, keeping your clothes comfortable and professional.
| Lining Issue | Common Cause | Spotting Tip | Fix Action |
|---|---|---|---|
| Sagging Hem | Broken Stitch | Visible Dip at Edge | Restitch or Use Hem Tape |
| Bubbling | Heat/Moisture | Puckered Look | Steam and Press Carefully |
| Torn Seam | Wear and Tear | Fingers Slip Through | Hand Sew or Patch |
| Visible Lining | Lining Too Long | Shows Below Shell | Resew Shorter |
| Static Cling | Dry Fabric | Lining Sticks to Skin | Use Static Spray |
Choosing the Right Repair Approach for Every Scenario
For lasting results, match the fix lining method to the garment and issue. Knowing when to hand sew, glue, or seek a professional keeps your wardrobe rotation smooth and stress-free.
Don’t let a minor problem sideline a favorite shirt. If the lining flaw is tiny, hand sewing does the trick. Larger tears or complex construction might call for tailor intervention or strategic adhesive use.
Identify Skill Level and Choose a Reliable Tool
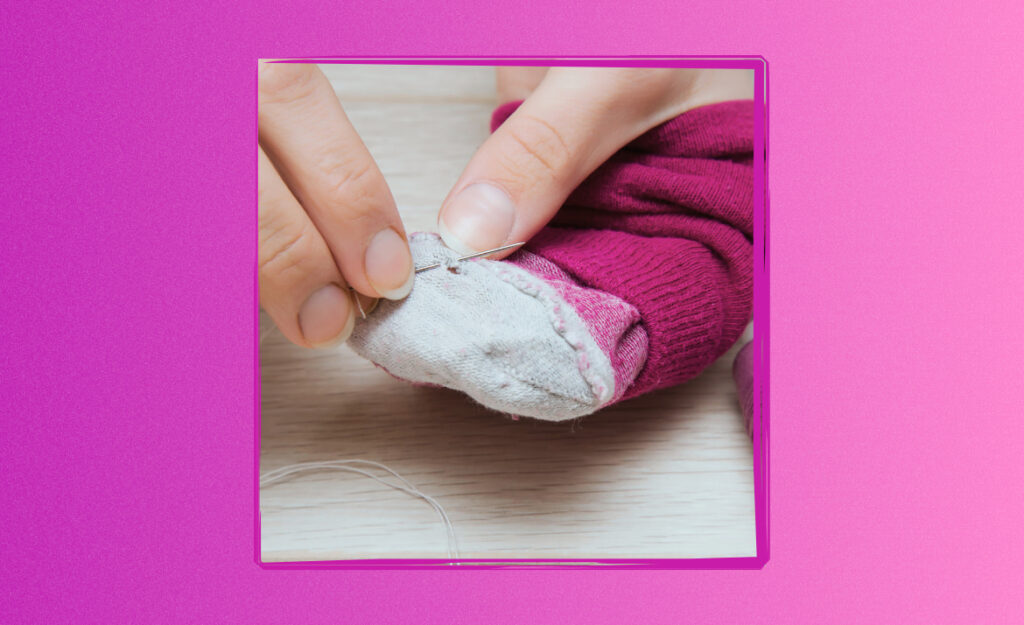
Basic sewing kits handle most fixes — needles, polyester thread, sharp scissors, and thimble. Opt for double-thread, small stitches on delicate linings to avoid puckering or further damage.
- Thread a needle with strong poly thread, knot the end, and enter the lining about 1/8 inch from the tear. Finish inside for invisible results.
- Use clear fabric glue only if sewing isn’t an option. Lay the garment flat, apply sparingly, then press for ten seconds to secure.
- Hem tape saves time for non-stretch lining issues. Measure, splice under the seam, and press with a low-heat iron for five seconds.
- A tailor delivers clean repairs for silk, printed, or unusual linings. Mark the problem, drop off, discuss expectations, and review before pickup for satisfaction.
- Replace entire linings when fabric is brittle or stained beyond spot repair. Choose similar weight and color, remove the old lining carefully, and use it as a pattern cut-out.
Matching the repair method to your skill and materials saves headaches. Always attempt a sample test on scrap lining before committing to the visible area.
Prevent Future Lining Mishaps With Proper Methods
Line up prevention by applying mindful practices after each wear or wash. Gently brush out debris, avoid yanking sleeves, and store clothes on broad hangers to preserve lining shape.
- Hang garments in a well-ventilated area. This deters mildew, keeps lining fresh, and prevents odor absorption. Avoid cramming items too close together in the closet.
- Use garment bags during travel or storage. This limits friction and snags, especially for delicate suit and coat linings.
- Address spills immediately. Dab — don’t rub — stains to minimize spread into lining layers. Air dry completely before stowing away.
- Schedule regular checks on frequently worn items, especially in armpit or pocket linings prone to sweat or friction-based wear.
- Rotate your wardrobe. Spreading the wear among several similar garments keeps each lining looking newer, longer.
Proactive routines don’t just extend clothing life; they keep daily selections ready-to-wear. Write reminders on your calendar for seasonal lining checkups — it’s the difference between a 5-minute fix lining job and a costly replacement.
Refining Your Stitching Game for Durable, Invisibly Fixed Linings
Your repair shouldn’t announce itself. With careful stitch choices, a fix lining blends right in. Practice neat, strong seams—smallest stitches you can handle—so lining lays flat and natural.
Even basic needlework works wonders. Anchor knots inside lining excess, run stitches parallel to original seams, and test each area for bulk after repair. Use a thread color that matches or is slightly darker than the lining.
Slim Ladder Stitch Keeps Repairs Whisper Quiet
A ladder stitch works well for closing lining seams, as it pulls the edges together invisibly. Insert the needle from the inside, weave between both sides, and pull tight every inch.
If you’re fixing a sleeve, start at a seam near the cuff. Work in three-inch sections, flatten the fabric, and knot off securely on the inside. Check the outer garment for puckering as you progress.
After finishing, gently steam with a pressing cloth to set the new stitches. The line should vanish. If the seam looks raised, restrain your pull next time—tight stitches can ripple delicate linings.
French Seams Improve Lining Strength in Delicate Areas
French seams add a neat, double-enclosed edge that resists fraying in high-wear spots like armpits. Start by sewing the lining with wrong sides together, trim, then sew again with right sides facing.
This leaves raw edges fully hidden, ideal for silk or sheer linings. As you press along the seam, check for smoothness. If you spot bunching, adjust tension or loosen the stitch length by a half notch.
When you finish, the seam should feel barely-there under your fingers. This technique extends lining life in even the most frequently used jackets or skirts.
Aligning Lining Lengths for Sleek Hems and Finished Edges
A smooth silhouette depends on precise lining length. Too long, and the lining peeks below the outer fabric. Too short, and the garment rides up or twists. Assess and correct for a sharp finish every time.
Unpick the area gently with a seam ripper, noting how the lining meets the shell. Pin lining in place, matching side seams, then test fit by turning the garment right side out. Re-stitch close to the edge for an even hem.
Case Study: Peeking Lining in a Wool Coat
Jessica’s favorite wool coat started showing lining three-quarters of an inch below the hem. She marked the new hemline with chalk, folded the lining under, and pinned it in place.
By hand-stitching with a double-thread and tiny slip stitches, she followed the pinned line evenly. After pressing with a damp cloth, the lining became invisible — leaving her coat crisp and tailored again.
Anyone can tackle this with patience. Prioritize even pinning and small stitches for a finish that rivals professional results. Try this on a thrifted item first for practice and confidence.
Checklist: Seam Matching Before Final Stitch
Lay the garment flat, lining facing out. Pin at the side seams, hem, and collar. Confirm lining pulls evenly and doesn’t twist.
Test by gently tugging the hem. The lining shouldn’t move apart from the shell. If it does, re-pin or fold excess fabric until both layers match precisely.
Stitch the lining to the garment with a 1/4-inch seam, then press flat. This discipline prevents future rework and delivers a smooth, tailored shape for every piece.
Restoring Shape and Comfort After Major Lining Repairs
After a major fix lining session, don’t forget about fit and flexibility. Good repair jobs restore structure and feel, not just appearance. Check for bulk, tightness, and movement to guarantee success.
Let finished linings cool on a hanger before wear. This ensures the fabric stays shaped and seams “settle” back into place. Test wear at home using natural movements — raise your arms, bend over, or sit.
Comfort Check: Wear and Adjust
Try on the garment post-repair. If you sense resistance in sleeves or pulling at side seams, the lining may require releasing stitches or slight trimming at attached points.
Flex and twist in front of a mirror. Watch that the outer shell remains smooth. If not, realign and hand-press the lining while wearing it until comfort returns.
Encourage lasting comfort by gently massaging repaired seams. This softens new stitches to match the feel of the rest of the lining—the secret to lasting, natural movement.
Quick Fixes for On-the-Go Emergencies
Pack a small kit: travel sewing needle, pre-threaded bobbin, small fabric tape, and double-sided hem tape. Toss this in a jacket or bag pocket in case lining mishaps strike at work or during travel.
For a quick fix lining at the office, duck into a bathroom with a safety pin or hem tape. Secure the issue, then book time at home or with a tailor for a full solution.
These on-the-go fixes prevent small mishaps from escalating. Being prepared means you never sacrifice professionalism — even if a busy day tries to get the best of your wardrobe.
Integrating Better Habits Ensures Lining Problems Stay Rare
Strong habits prevent lining troubles from returning. Build reminders into your routine so that each fix lining effort pays off in a neater, more dependable closet. Consistency beats heroics.
Evaluate your wardrobe for trouble-prone pieces each season. Write a list, then plan ten-minute inspection days. With a smart approach, minor issues don’t become repeat offenders.
- Schedule a monthly lining check on coats, jackets, and dresses. This early step catches snags and tears before they spread, saving you time and future frustration.
- Store heavy garments on wide, contoured hangers. Doing so protects the shoulder lining and keeps structure intact — never hang on wire hangers, which deform fabric over time.
- Learn basic hand-sewing: running a whip stitch or slipstitch covers nearly all common lining repairs. This small skill empowers timely care for all your wardrobe favorites.
- Launder items using a gentle cycle or hand wash when possible. Linings remain smooth and strong with lower heat and reduced tumbling. Flat-dry to prevent stretching, especially in blazers and dresses.
- Before donating or storing clothing, examine lining condition. Mend small issues first to extend clothing utility and ensure items are truly ready for their next chapter.
Integrate these routine checks and preventive measures so your next fix lining job is quick and stress-free. Professional appearance stems from proactive care, not emergency rescue work.
Keeping Linings Sharp: Empowering Practical Solutions for Every Closet
Every wardrobe deserves garments with linings that are as polished as their exteriors. By learning to spot issues, select repairs wisely, and practice repair basics, you can extend the life of every favorite piece.
Lining maintenance isn’t extra work; it’s a small investment for daily confidence and style. Every successful fix lining moment is a step toward a closet full of reliable, professional outfits.
Build these habits, schedule quick checkups, and approach repairs with calm precision. Your clothes — and your future self — will thank you each time you step out looking crisp and put together.
Frequently Asked Questions
What’s the quickest way to fix a loose lining?
If you see a lining starting to come loose, use double-sided fabric tape or a few small, tight stitches to reattach it to the seam. Check for comfort before wearing it again.
Can I use glue for lining repairs?
Fabric glue is a good choice for non-stretch linings in areas that don’t see heavy wear. Apply sparingly and press firmly; avoid glue near high-stress seams or delicate fabrics like silk.
How do I handle static cling in linings?
A quick fix for static is to mist a fabric-safe anti-static spray inside the garment. You can also run a dryer sheet along the lining. Give the lining a gentle shake before wearing.
When should I take an item to a tailor?
For complex damage — such as torn silk lining, intricate patterns, or repairs near zipper plackets — a tailor brings expertise and specialized tools. If unsure, get a quote before starting any major repair yourself.
Is replacing an entire lining worth the effort?
If the garment fits well, matches your style, and the shell is undamaged, a full lining replacement can revive its life for years. For sentimental or investment pieces, this approach is usually worthwhile.


