
Sleeves that bunch up or billow distract from the sharpness of your look. Whether you’ve lost weight or found something great in a thrift shop, neat sleeves signal attention to detail and effort.
If baggy armholes and loose cuffs have you feeling let down, read on. This article highlights practical sleeve-tightening techniques and actionable fixes so you can step out with confidence today.
Optimizing Sleeve Fit: Fast Adjustments for Everyday Wear
Getting sleeves to hug your arms in everyday outfits delivers an instant style upgrade. A proper sleeve fit keeps shirts functional and visually tidy, no matter the occasion.
Simple methods like cuff rolling or elastic bands can bring uniform, tailored results in minutes. Fast changes help refine your look for interviews, meetings, or casual events.
Cuff Rolling Rules: Neatness That Lasts
To maintain a crisp appearance, roll cuffs no wider than two inches. Folding sleeves evenly mirrors a barista’s rolled-up shirt: neat, practical, and polished even after a busy shift.
Smooth the fabric flat before each fold to avoid creases. Holding your arm out straight lets you check sizing on both sleeves for uniformity every time.
Once the roll sits just below your elbow or at mid-forearm, it shouldn’t unravel if you keep layers tight. This gives a fitted boost without tailoring tools or permanent alterations.
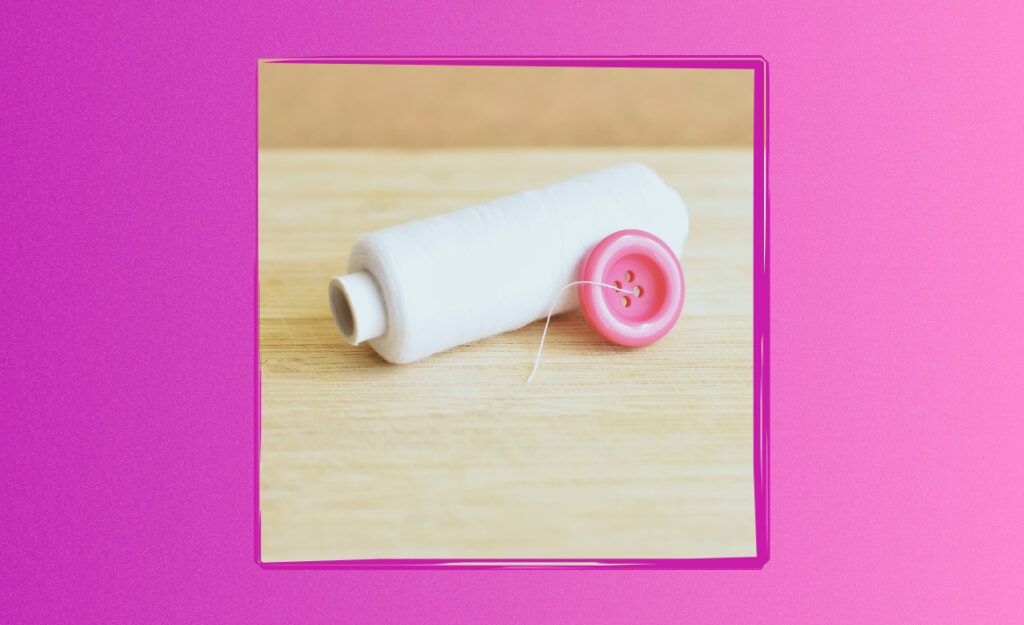
Elastic Band Solution: Invisible, Comfortable, Secure
Choose thin, soft elastic bands that blend with sleeve material. Slide one into the cuff seam or just above your wrist. This keeps the fit hidden without causing discomfort.
The tension should keep the sleeve in place but not restrict movement. Test by flexing your wrist or waving—no slipping means a success, while pinching signals to loosen the band.
If matching colors isn’t possible, select a neutral shade. An elasticized sleeve mimics tailored apparel and discreetly secures loose fabric during your daily activities.
| Method | Time Required | Materials Needed | Best For | What to Do Next |
|---|---|---|---|---|
| Cuff Rolling | 1-2 min | None | Cotton shirts, casual looks | Practice folding evenly for symmetry |
| Elastic Bands | 2 min | Elastic, scissors | Shirts, jackets, quick fixes | Pick elastic matching your sleeve color |
| Temporary Stitch | 10 min | Needle, thread | Dress shirts, formalwear | Use basting stitches to test fit |
| Double-Sided Tape | 1 min | Fabric tape | Sleek blouses, no-sew adjustment | Replace tape after each use for hygiene |
| Professional Tailoring | 1–2 days | Pro service | Long-term, expensive pieces | Bring an example shirt for the tailor |
Choosing No-Sew Options for Quick Sleeve Fixes
If you’re short on time or tools, no-sew techniques can save a morning. These options are helpful for on-the-go repairs or rental garments you can’t permanently alter.
A well-placed adjustment can mimic tailored clothing, so sleeves don’t sag or distract you throughout the day. Let’s highlight no-sew essentials you can use immediately.
Pinned Perfection for Temporary Changes
Safety pins or hidden fashion tape create instant structure in sleeve cuffs. Pin vertically inside the seam for security, making sure sharp ends face away from your skin to prevent scratches.
- Roll before pinning: Folding the sleeve first sets the length, ensuring you only secure the proper amount of fabric.
- Test arm movement: Lift and lower your arms a few times to check if the pins hold or if readjustment is needed.
- Even pin spacing: Use at least two pins in each sleeve cuff, spaced an inch apart, for balance and support that lasts all day.
- Hide pins well: Tuck pins inside the rolled cuff or on the shirt’s seam, so your adjustment stays invisible and keeps the look natural.
- Remove carefully: Avoid pulling fabric when unpinning. Hold fabric taut and slide pins out gently to keep the material from stretching.
Pinned sleeves mimic smart tailoring in minutes. Practice keeping fabric smooth to avoid unwanted bunching or unsightly seams after you remove the pins.
Using Fabric Tape for Subtle Adjustments
Double-sided fabric tape creates a temporary bond between sleeve edges, making the adjustment discrete and easy to remove at the end of the day.
- Measure before taping: Confirm the length you want, then cut strips of tape two inches long for each sleeve.
- Apply to the inside: Stick the tape inside the sleeve where it presses against your arm for a seamless outer appearance.
- Avoid sweat exposure: Place the tape above areas that perspire to reduce the risk of the adhesive loosening as you move.
- Press firmly: Hold the taped area for ten seconds before moving your arm so it sets and grips better throughout daily tasks.
- Peel slowly for removal: Roll the sleeve carefully as you remove tape to avoid stretching or damaging the fabric.
Fabric tape lets you experiment. It offers a safe, residue-free solution, so you can try a tighter sleeve look before considering permanent changes to your wardrobe.
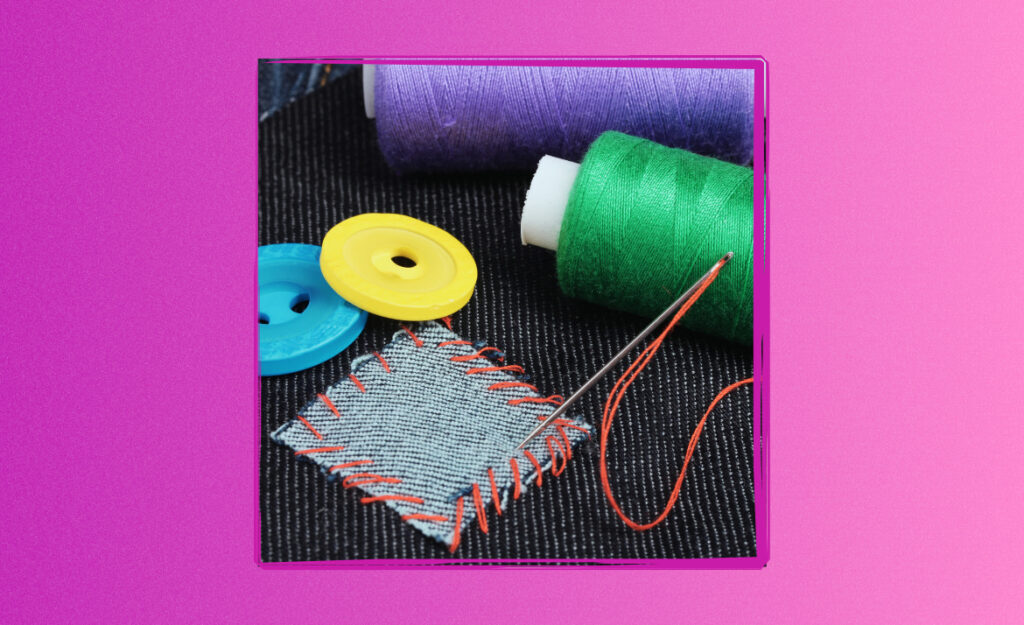
Hem and Stitch Methods for Refined Sleeve Tapering
When sleeves are perennially unruly, sewing techniques deliver lasting results. These tactile fixes replicate professional tailoring at home, strengthening your ability to control fit for any garment.
Following a reliable hem or stitch sequence provides the satisfaction of visible improvement—no gadgets required.
Creating Tapered Sleeves with a Straight Stitch
Lay sleeves flat and mark a gentle inward curve with tailor’s chalk. This sets your stitching path without permanent marks. Start from the wrist and finish near the elbow, tapering gradually so movement remains unrestricted.
Keep stitches about an eighth of an inch from the marked line for security. Backstitch at each end for durability, especially if you regularly flex your elbows or wrists while wearing the item.
Trim excess fabric neatly and press the seam flat. This keeps the inner structure smooth, so sleeves fall naturally and mirror high-quality ready-to-wear pieces after your adjustment.
Reshaping Cuffs for an Even Tighter Fit
Detach the cuff with a seam ripper, then trim down the sleeve width based on your earlier fit test. Realign the cuff with the narrower sleeve, pin, and restitch securely along the edge.
Press the seam before replacing the button or snap. This anchors the sleeve’s new width, making sure it hugs your wrist without pulling or puckering as you move throughout the day.
Choose thread matching the garment’s color, so your work blends in. When finished, the cuff won’t feel bulky or mismatched, but newly tailored with even spacing and neat folds.
Layering and Styling Choices to Complement Tighter Sleeves
Adapting how you layer or style clothes can help emphasize your sleeve handiwork. Tighter sleeves pair naturally with fitted jackets, rolled-up looks, or minimalist accessories to draw attention to your careful adjustment.
Wearing layers that showcase altered sleeves tells people you’re intentional about presentation. It also gives more value to the time you spent to tighten sleeves and put together a coordinated outfit.
Contrasting Outerwear to Highlight Your Adjustments
Pullover sweaters, slim jackets, or fitted blazers frame your arms to reveal sleeker lines. Short sleeves or cropped jackets show off the taper and encourage confidence in your DIY efforts.
When pairing a shirt with a jacket, ensure sleeve lengths line up at the wrist. This minimizes bunching, keeps your style sleek, and shows a clear before-and-after improvement in photos.
Straight, narrow sleeves under structured outwear reinforce a professional image. Every time you adjust a jacket or cross your arms, the precision of your sleeve work is on display.
Careful Accessorizing to Accentuate Lower Sleeves
Choose bracelets, thin watches, or subtle cufflinks that match your outfit tone. They draw positive attention and keep your wrists feeling comfortable within the new sleeve width.
Soft jewelry avoids snagging altered fabric, unlike sharp-edged metal or thick bangles. Accessories can also cover up hand-sewn seams or reinforce a recent temporary fix.
If your altered sleeves are for a formal occasion, stick to timeless accessories. Think polished silver or leather—a bangle or watch tells people you manage details right down to your sleeves.
Test Runs for Long-Term Comfort and Flexibility
Wear your adjusted sleeves during typical activities before declaring them a final success. Long-term comfort requires testing, because sleeves that look sharp but pinch or slip aren’t worth the hassle.
Simulate daily tasks—typing, reaching, or carrying groceries. These motions reveal whether the sleeve holds its shape without slipping over your palms or creeping up your arm unexpectedly.
Performing a Movement Audit After Adjustments
Lift your arms above your head and stretch sideways, then shake out your hands. If the sleeves move but don’t slide down completely, you’ve found a solid balance between snugness and comfort.
Try buttoning and unbuttoning cuffs while wearing the top. If resistance increases or the buttons pull, the fit may be too tight—consider letting out the seam slightly for increased mobility.
Invite feedback from a trusted friend by asking, “Does anything look uneven or bunchy here?” Outside opinions catch the small details you might miss in a mirror at home.
Maintaining Your Adjustments Through Regular Washes
Wash your newly-altered shirt on a gentle cycle and hang it to dry. This prevents shrinkage and preserves seams, so your custom fit survives laundry without unraveling.
Always air-dry adjusted sleeves to keep fabric structure firm. Heat from a dryer can warp elastic or taped areas, causing the fit to loosen or the tape to peel with each wash.
After three washes, check all adjustment points again. If you notice stretching or seam wear, repeat your sleeve-tightening method or try a more robust solution for a lasting finish.
Summary: Key Approaches to Tidy, Fitted Sleeves in Any Wardrobe
Personalizing sleeve fit takes effort, but these hands-on solutions make it possible for anyone to tighten sleeves neatly. Each strategy builds practical skills with a visible impact on everyday outfits.
Refined, tighter sleeves extend the life of your clothes and raise your self-assurance. Attention to fit encourages taking pride in both casual and formal wear, showing others you manage details confidently.
Start today with the simplest adjustment. Whether you use tape, elastic, or a needle and thread, every improvement helps you step out feeling prepared and stylish—no tailoring shop required.
Frequently Asked Questions
Can I tighten sleeves without access to sewing tools?
No-sew methods like rolling, elastic bands, safety pins, or double-sided fabric tape deliver quick fixes you can achieve in minutes. Each technique is reversible and requires only household items. Choose what feels most secure and comfortable for your sleeve type.
What should I do if my tightened sleeves start feeling uncomfortable?
If sleeves pinch or restrict movement, loosen the adjustment method—whether unpinning, removing elastic, or letting out some seams. Comfort must come first, as too-tight sleeves distract from your confidence and hinder daily activity.
How long do no-sew solutions typically last?
No-sew methods like tape or rolling provide temporary support, usually for one wear or until washed. For lasting alterations, consider sewing or seeking out professional tailoring after you’re satisfied with the test fit and new style.
What material works best for tightening elastic sleeves?
Choose lightweight elastic in a similar color and thickness as the original cuff for best results. Wider elastic can feel bulky or visible, while thinner elastic offers discreet support and harmony with the garment’s design.
Can I return to original sleeve width after tailoring?
If you use permanent stitches or hem alterations, returning to the old width is difficult without visible seam traces. For reversibility, stick to temporary options like rolling, taping, or pinning until you’re sure of the tighter fit.