Upcycling gives each garment a new chapter. When you attach patches, you do more than cover wear—you celebrate individuality, turning old attire into expressive, updated staples.
This article invites you to see old clothes as a palette. Explore step-by-step strategies and practical hacks that make attaching patches easy, rewarding, and genuinely fun.
Choose Patch Styles That Match Your Personality
You’ll transform clothes confidently by narrowing patch choices to what excites you. This section will reveal how to pick colors, themes, and materials that fit your taste and wardrobe.
Matching your vibe improves long-term satisfaction. Consider which designs you reach for on bags or jackets—do they feel bold, retro, playful, or classic? Use this as your compass when selecting patches.
Use Color Contrasts for Impact
Picture a faded black sweatshirt. Adding a neon green or crisp white patch draws eyes instantly and feels intentional. Contrast highlights your creative choice instead of hiding repairs.
Choose a palette that energizes you—mix warm reds with icy blues for drama, or coordinate shades for subtlety. Match patch and garment edges, or let the patch pop as a statement.
When choosing contrast, lay the patch against the clothing under a sunny window. Adjust angles and backgrounds so you see the real effect before committing with glue or stitches.
Align Themes with Your Lifestyle
Someone who loves travel may attach patches of city emblems, animals, or tiny airplanes. Outdoor gear gets a rugged badge of mountains or wildflowers. Kids’ patches can feature cheerful dinosaurs, unicorns, or letters.
Thinking “Would I wear this everywhere?” helps guide your theme. If you’re patching for work apparel, subtle icons or initials do the trick without drawing too much attention.
Bring in patches from events, souvenirs, or collaborations with friends. Each patch can tell a unique micro-story—making the clothing feel like a personalized archive.
| Patch Type | Best Use | Application Method | When to Pick |
|---|---|---|---|
| Embroidered | Jeans, jackets | Sewing or iron-on | Classic, textured look |
| Woven | Shirts, hats | Iron-on, fabric glue | Detailed, smooth finish |
| Printed | T-shirts | Heat adhesive | Bright images, complex graphics |
| Leather | Bags, outerwear | Sew-on | Sturdy, upscale style |
| DIY Fabric | Any item | Sew, glue, pin | Custom one-of-a-kind |
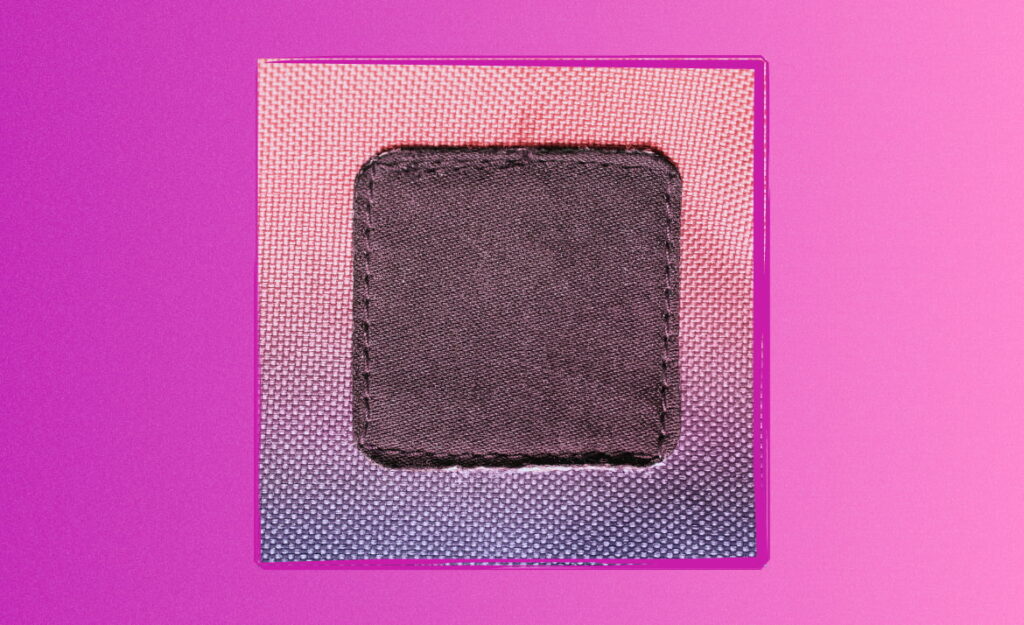
Plan Patch Placement for Balance and Style
Achieve a polished look by planning exactly where you’ll attach patches. This step improves visual flow and ensures your upgrades don’t clutter or overwhelm the garment.
Lay your item on a flat surface. Arrange patches on top of it before attaching, snapping a photo for later reference. Move them around until the look feels cohesive and energetic.
Spotlight a Focal Point
Using a patch as a focal point redirects attention away from faded spots and toward your artful update. Center a large patch over a stain, or add a single badge to a backpack’s outer pocket.
- Mark the center of your garment with masking tape to help you align patches perfectly when you attach them.
- Choose one oversized patch for drama, or two smaller patches for visual balance.
- Tilt oval or round patches slightly for a natural, less rigid look.
- Keep edges even by using a seam gauge, then pin each patch down before sewing or ironing.
- Photograph layouts for reference before committing to placement—it saves second-guessing mid-project.
Patches that appear deliberate and centered can rescue even the most faded spots, giving clothes an intentional, designer feel.
Cluster or Scatter for Personality
Clusters look lively and spontaneous, like constellation patterns. Try gathering three or five patches at a jacket’s hem, or a line along the thigh of jeans to create movement.
- Mix sizes: Large patches next to small create a curated, non-uniform appearance that’s naturally playful.
- Vary textures: Pair fluffy chenille patches with shiny metallic ones for visual and tactile contrast.
- Overlap slightly: Let edges touch for a subtle, collage-inspired look. This works especially well on backpacks and hats.
- Add negative space: Don’t cover every inch; a few well-placed patches feel intentional and allow the original fabric to shine through.
- Balance sides: If patching sleeves, mirror the design using a ruler or folded paper as a guide to keep symmetry without looking forced.
Clustered or scattered, your patches tell a playful style story that can evolve with each new addition. Revisiting and adding patches later creates a wearable record of your evolving tastes.
Prepare Fabrics Correctly Before You Begin
Treating the fabric beforehand smooths out creases, removes oils, and ensures that whatever method you use to attach patches will last through washes and daily wear.
Start by washing and drying your garment—no fabric softener. Iron wrinkles flat, especially over seams or knits, to prevent uneven attachment that leads to peeling.
Spot-Clean and Test First
Spot-clean any stains under where patches will go, since trapped dirt weakens fabric bonds and can cause patches to bubble or peel later.
Before attaching, test your chosen method on a hidden part of the apparel—inside a hem works well. Apply glue or heat, wait, and tug gently to check durability.
If patching delicate materials like silk or vintage knits, always use a cloth barrier between iron and garment. This prevents accidental burns—especially while attaching iron-on or heat transfer patches.
Double-Check Fiber Type with Care Tags
Some fabrics, such as nylon, polyester, and spandex, react badly to high heat. Flip the garment inside out and inspect the laundry tag—it’ll list fiber content explicitly.
If unsure, trim a scrap from a seam allowance to practice. For heat-resistant cotton denim, most patch methods work. For synthetics, stick to sewing or fabric glue to prevent melting.
Keeping a mini chart handy with fabric types and suitable attachments methods saves time and mistakes during your DIY upgrade projects.
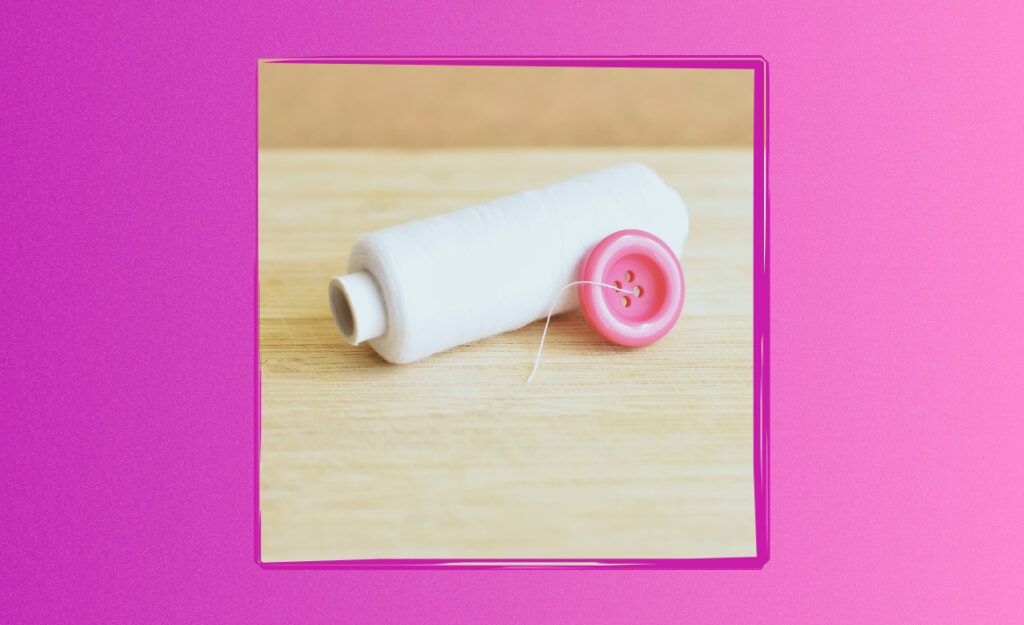
Use the Right Tools and Techniques for Each Patch
When you attach patches, the tools you pick play a huge role in how seamless and attractive your final result looks. Use the right needle, glue, or iron as the situation demands.
Before you start, lay out everything in arm’s reach. This includes your patches, application method (such as glue, thread, or iron), and something to protect your work surface.
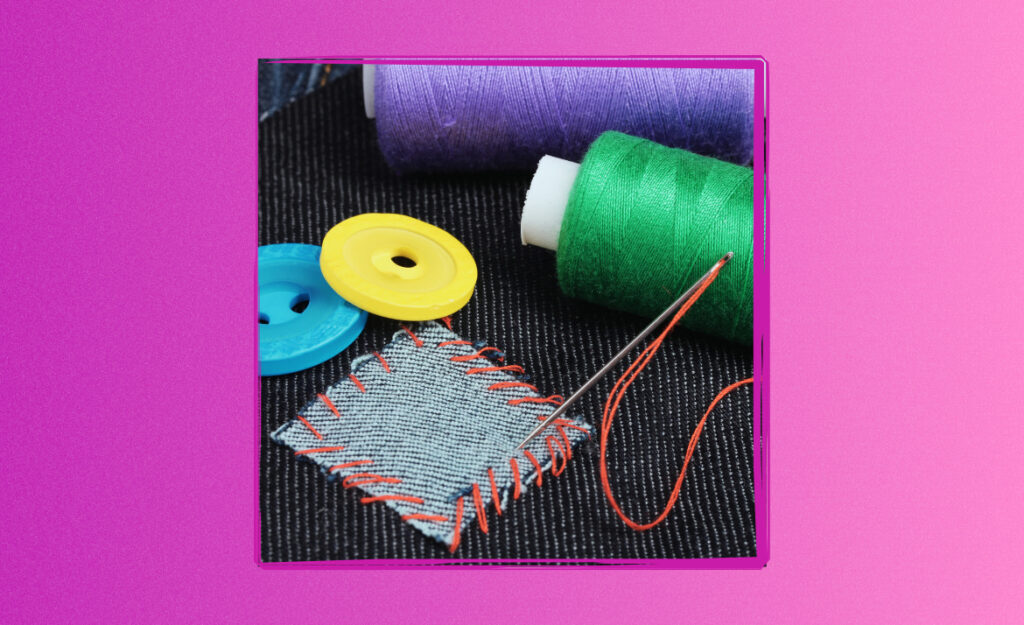
Sewing Patches for Durability
Thread a sharp needle with strong, color-matched thread. Work from the inside, knotting securely. For beginner sewers, use a running or whip stitch close to the edge of the patch.
Anchor each corner before circling the rest of the patch. Pause every inch to check alignment. Tug lightly each time to make sure nothing puckers. Sewing offers standout durability—great for high-wear areas like elbows and knees.
Double back over the ending knot three times. This anchors the patch against frequent washing or stretching. Cut off excess thread and gently press with a warm iron through a tea towel to finish.
Iron-On and Fabric Glue Methods
For iron-on: Set iron to cotton (no steam). Place patches adhesive-side down, cover with a cloth, and press five to ten seconds. Let cool, then flip and repeat from the garment’s inside.
For fabric glue: Apply a thin layer to the patch back. Press firmly into place on flat, dry fabric. Allow 24 hours to cure, weight down with a book if needed.
Both methods benefit from gentle washing on cold. To keep patches flat, air-dry garments and avoid high heat in the dryer, even if the patch instructions claim heat resistance.
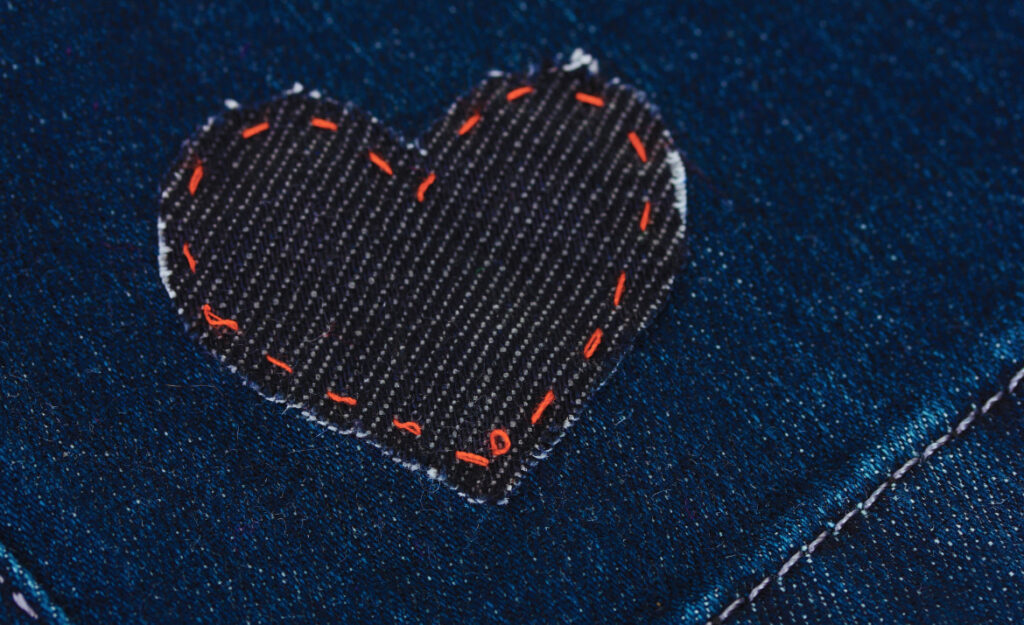
Make Each Patch Tell a Story
Every patch is a chance to share a slice of your experiences, whether it’s a travel memory, a favorite animal, or a cryptic inside joke—adding new life to your clothing in the process.
Invite friends or family to join in, choosing patches together and swapping stories. Shared patching sessions can bring back the same nostalgia as decorating notebooks or trading stickers.
Combine Text and Images
Pair word patches (like “BRAVE” or “NYC”) with themed images for extra context. This combination makes clothes feel curated instead of random.
Placing them side by side on a tote bag turns it into both a diary and a daily accessory. Use a ruler to align words for a clean, readable result.
Keep an eye out for custom patch makers—these allow you to upload your own handwriting, sketches, or memorable sayings to create truly one-of-a-kind updates.
Document Milestones or Group Events
Attach patches for events: a summer hike, a music festival, or a family vacation. Kids may collect badges for every big accomplishment, like a first camping trip, showing pride every time they wear their jacket.
For birthdays, graduations, or reunions, design signature patches and let everyone sew or glue theirs on together. These collaborative projects add meaning and motivate you to reach for that item again and again.
Displaying patches in a visual timeline, such as chronologically down a sleeve or pant leg, turns once-plain basics into a wearable scrapbook. Each glance sparks a grin and a flood of memories.
Keep Patches Looking Sharp After Washing
Maintaining the look of attached patches keeps your revived clothing looking professionally finished, even after repeated washes. This section will cover pre-wash steps and smart aftercare.
Before tossing patched items in the wash, gently close buttons or zippers and turn garments inside out. This step shields patch edges from snagging, peeling, or premature fading.
- Use a garment bag for machine washing. It acts as a buffer against friction from other items, protecting patch threads and edges.
- Choose cold water and mild detergent to prevent patch colors from bleeding or dulling.
- Never use bleach, as it can break down the patch adhesive or discolor embroidery thread. Stick to gentle, no-dye formulas.
- Hang dry or lay the clothing flat in a shaded spot. Avoid the dryer, as heat deforms most patch materials and adhesives over time.
- Press edges down gently after each wash while fabric is slightly damp to re-flatten any lifted corners.
Adding this step to your laundry habits keeps every patch neat and bright, helping clothes look fresh and intentionally designed instead of thrown together.
Create Your Own Patch Designs for Ultimate Customization
Making patches at home unlocks unlimited creative potential. This section outlines materials and steps for personalized patches and covers must-know systems for making your custom ideas stick to any fabric.
Get started with basic cotton scraps, felt, and iron-on adhesive sheets. Draw designs with fabric markers or embroidery thread. For a sharper look, add a border stitch in a contrasting color.
Simple No-Sew Patch Method
Cut a favorite motif from old clothes—like a pocket, logo, or printed picture. Apply double-stick fusible webbing to the back, then iron as you would a store-bought patch.
Trim excess webbing so nothing extends past the patch edge. After it cools, test the adhesion by lifting each corner. If loose, add a line of fabric glue beneath stubborn spots.
This fast method is perfect for people who want a quick fix with no sewing equipment. Keep patched areas flat while drying for best long-term results.
Freestyle Embroidery for a Handcrafted Look
Draw a design outline on plain cotton or felt with a pencil. Hoop the fabric and fill in with colorful threads, experimenting with textures and stitches.
Remove the hoop, trim around the shape, and finish with a zigzag or overcast stitch. Hand-sew or glue it onto clothing, pressing flat to secure the edges.
This style adds artistic depth to any garment and gives you bragging rights over your one-of-a-kind wearable art. Save leftover scraps for future small repairs or accent patches.
Bringing It All Together: Your New Wardrobe Stories
Patching old clothes is more than just covering a hole or stain. When you attach patches thoughtfully, you infuse personality, preserve memories, and sidestep unnecessary waste in your wardrobe.
Each patching project demonstrates creativity and care. Updating worn clothes with clever patches is accessible, budget-friendly, and offers endless space for self-expression every time you get dressed.
Don’t hesitate to start small—a single patch on a pocket or cap can spark a cascade of future upcycling projects. Your clothing tells your evolving story, one patch at a time.
Frequently Asked Questions
How do I attach patches to stretchy fabrics like knit shirts?
For stretch fabrics, use a zigzag stitch while gently stretching the garment under the patch area. This allows both the fabric and patch to flex together, preventing puckering. Fabric glue designed for stretch is another gentle option for delicate knits.
Can I remove or reposition patches once they’ve been applied?
Iron-on and glued patches can sometimes be removed with heat from an iron or hairdryer, but this may leave adhesive residue. Sewn patches are easiest to remove with a seam ripper. Always test on a small, hidden area first.
Which patches hold up best for high-use areas like elbows and knees?
Embroidered or leather patches sewn on with heavy-duty thread provide the most durability for areas that see lots of abrasion. Use a tight, reinforcing stitch, and periodically check for any loose edges after washing.
What should I do if patch edges start to peel up after a few washes?
Apply a thin line of clear fabric glue beneath lifted corners, then cover and press with a warm iron (using a cloth) for 5–10 seconds. Let the patch cool completely before wearing or washing again.
Can I layer new patches on top of older ones, or will it damage the clothing?
Layering patches is a common way to refresh old clothes. Start with a smaller patch to cover wear, then group larger or themed patches for a collage effect. If fabric feels thin, sew around the patch edge to reinforce stability.