
If you’ve ever stared at a set of curtains pooling messily on your floor or floating awkwardly above your windowsill, you know how crucial it is to hem curtains to the correct length. These small details have a huge impact on how finished and put-together your space looks.
Whether you’re working with new panels or repurposing vintage drapes, getting curtain length right creates harmony between your windows and the rest of the room. A thoughtful hem job can transform the atmosphere and functionality of any space.
This article breaks down practical advice, actionable steps, and common scenarios so you can confidently tackle hemming curtains and nail that perfect look, no matter your fabric or style.
Pinpointing Your Exact Curtain Length for Seamless Results
Choosing the correct curtain length is the bedrock for stylish window treatments. The process starts with precision, not guesswork, and brings clarity to the entire hemming project.
Measuring begins with the curtain rod in place and the tape measure anchored at the right spot. Aim to measure twice—once before shopping, again with fabric in hand.
Setting the Standard: Classic Length Options
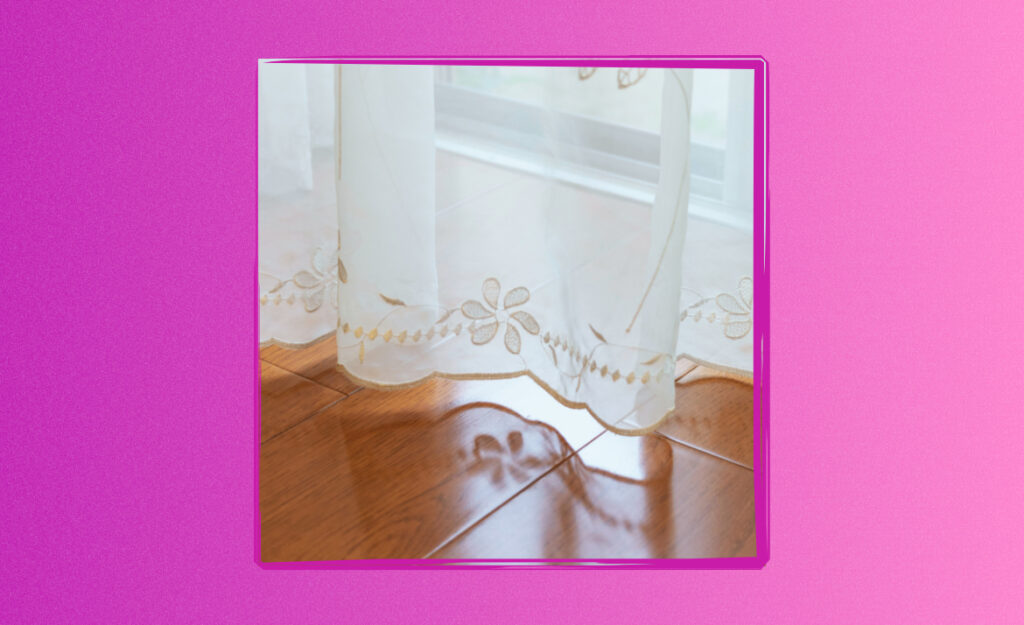
Classic lengths provide reliable templates for getting started. “Sill length” refers to when the hem sits even with the windowsill. “Apron length” hangs just below the sill, while “floor length” offers a more dramatic look, with panels barely touching or skimming the floor.
People often say, “I want my curtains to just kiss the floor, not puddle.” This style suggests confidence and suits both formal and casual décor. Observe that well-hemmed drapes stop less than half an inch from the ground.
Each length offers a distinct vibe. Floor-skimming panels ground a room, while sill-length curtains keep things practical. Choose the look that best fits your needs before picking up scissors or a needle.
Troubleshooting Real Room Challenges
Real-life homes rarely follow showroom rules. Radiators, deep window sills, or uneven floors make customizing essential. Drape a panel in place and mark the ideal spot using safety pins or tailor’s chalk, then measure from the pin to the top of the curtain.
If your living room gets afternoon light, you might want hem curtains to block low sun rays—so you’ll go longer. In an entryway, you might favor apron-length to keep dirt at bay.
When faced with an odd window height, cut a custom template from inexpensive muslin. Test, pin, and adjust until you achieve the look and performance you want for everyday life.
| Length Style | Typical Use | Room Impact | Best Next Step |
|---|---|---|---|
| Sill Length | Kitchens, bathrooms | Neat and functional | Measure sill-to-rod distance |
| Apron Length | Bedrooms, casual living | Relaxed and tidy | Add 4″ below sill measurement |
| Floor Length | Most living spaces | Elegant and modern | Let hem graze the floor |
| Puddle Length | Formal rooms | Romantic, dramatic | Add 4–12″ for extra fabric on floor |
| Café Style | Kitchens, nooks | Breezy, informal | Measure halfway up window |
Preparing to Hem Curtains: Tools, Tactics, and Common Pitfalls
Laying the groundwork before you hem curtains means fewer mistakes and smoother results. Assembling the right tools keeps the process efficient from start to finish.
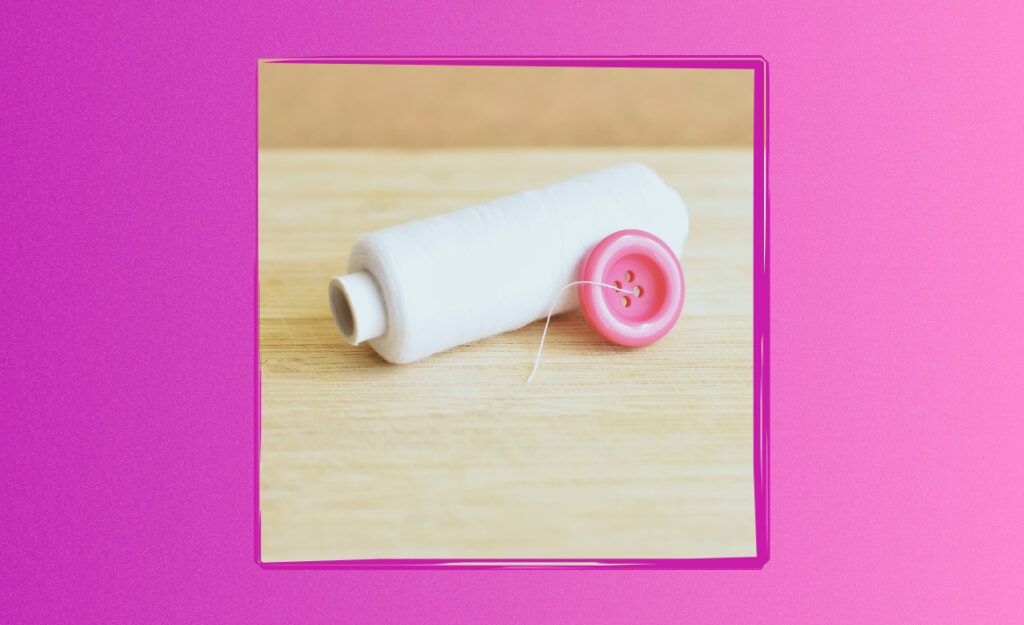
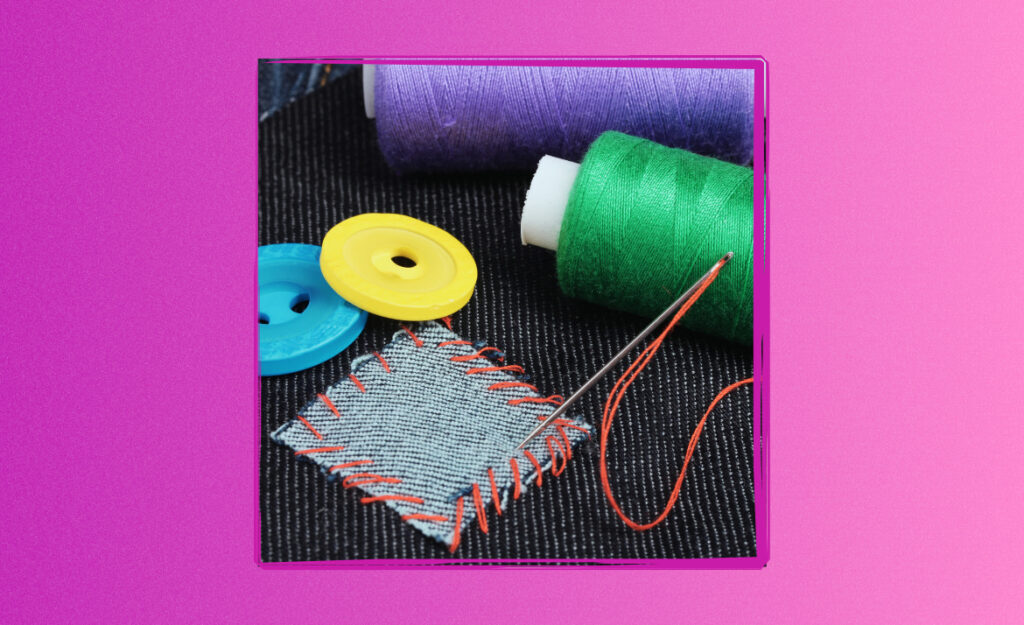
Gather a measuring tape, sharp fabric scissors, matching thread, pins, a marking pen or chalk, an iron, and a sturdy ruler or straightedge. Take your time with setup, since precision here saves effort later.
The Must-Have Supplies for the Job
Never underestimate the value of quality sewing tools. Cheap scissors lead to jagged edges, and dull needles can snag delicate fabrics. Sharp sewing shears slice through panels cleanly and accurately, creating a professional base for your work.
- Use a retractable metal tape for accuracy; fabric tapes can stretch and skew the measurement.
- Choose glass-head pins—they won’t melt or warp under your iron, helping you secure a crisp edge.
- Mark the hem placement with tailor’s chalk for visibility, then double-check under bright light before cutting.
- Select a heavy, sturdy iron; a lighter travel iron might not press a strong crease in thicker fabrics.
- Work on a clean, wide surface such as a dining table so fabric stays neat and untangled through the process.
As you hem curtains, resist the urge to rush these steps. Lay out your materials the day before you plan to start. That way, you can spot anything missing in advance.
Common Measurement Mistakes and How to Dodge Them
Twisting a tape measure or rounding up “just a little” nearly always leads to uneven hems. Keep the tape straight and flush with the fabric at all times for consistency. Write down exact numbers for each window, as small measurement errors compound quickly.
- Double-check curtain orientation; pin the hem with the right side facing out.
- When measuring, your curtain should hang from the installed rod for truer length.
- Factor in the mounting style—rings, hooks, or grommets all change the starting point for your measurement.
- Allow for washing or shrinking—wash new curtains before marking so the hem stays the right length after laundering.
- Always check for pattern repeats or border prints; decide on your alignment before cutting to preserve decorative details.
Successful hemming blends planning and patience. If you notice a draft under your window, for instance, measure a floor-length hem that nestles just at the floor, ensuring full coverage and warmth.
Establishing Your Hem Type: Clean Folds and Reliable Techniques
Selecting your hem style can mean the difference between curtains that droop, pucker, or hang beautifully. Each method offers specific benefits, so pick the right one for your fabric and vision.
Standard double-fold hems are the preferred choice for most materials, providing a thick, even edge. Use a 3–4-inch hem for heavier panels to prevent curling, and a lighter 2-inch hem for sheers.
Perfecting the Double Fold for Professional Results
Lay your curtain panel flat, then fold the bottom edge up by two inches and press with an iron. Fold again to conceal the raw edge, using pins every six inches to anchor the fabric. Sew a straight, slow seam for control.
A friend once told me, “It helps to talk through the steps as you work—fold, press, pin, check—so the rhythm keeps you from skipping something.” This mantra keeps each hem identical, especially on a set of panels.
Finishing with a neat backstitch at each end secures the seam, avoiding unraveling after laundering or adjusting panel placement.
Exploring Alternatives: No-Sew Hems and Blind Stitching
No-sew hem tape is ideal for renters, beginners, or anyone without a sewing machine. Iron the adhesive strip in place, press firmly, and let cool. This makes for a fast upgrade, but don’t wash in very hot water since extreme heat can weaken the bond.
For luxurious or visible drapes, opt for hand-sewn blind hems. Thread a needle with matching thread, then use a tiny stitch to tack the folded edge in place, making the seam nearly invisible. This method shines on velvet or silk curtains.
Both methods leave outside surfaces clean. Consider hem tape in kids’ rooms for easy adjustment, and blind stitching for living rooms where you want a flawless finish that blends right in.
Ironing, Pinning, and Sewing: Bringing Your Hem to Life
Moving from planning to action, getting hem curtains to lie flat and crisp calls for careful ironing, sturdy pinning, and methodical sewing. Each stage has a unique tactic to guarantee straight, lasting hems.
Begin by folding the hem and pressing it with the iron set to the fabric’s recommended temperature. Ironing not only sets a sharp crease but also holds pins in place better, leading to cleaner stitching lines as you sew.
Ironing Tips That Prevent Unwanted Creases
Test your iron on a fabric scrap before working on your panel. Always use steam for cotton or linen but skip it for synthetics to prevent water marks. Press, don’t drag—lifting the iron and resetting avoids stretching fibers or creating wavy lines.
If your fabric is stubborn, sprinkle a little water with a spray bottle. For delicate fabrics, a press cloth of plain cotton protects from shine or burns. Relocating the iron constantly keeps marks from forming, letting hems look flawless up close and afar.
Let the pressed fold cool completely before pinning. This lock-in step ensures the crease stays even if you move your panel around your workspace.
Pinning and Sewing: The Rhythm of Smooth Panels
Space pins about every six inches along the hem, placing them perpendicular to the edge for easier removal as you sew. Pull the fabric taut but not stretched. This tactic keeps hems straight and avoids puckering you’d see after washing.
When sewing, use a matching thread and an even, medium-length straight stitch. Start half an inch in from the edge and sew slowly for control—imagine you’re tracing a guideline with your fingers. At corners, backstitch for durability.
After sewing, gently tug the hem and check with a ruler to confirm it’s straight the whole length. If it looks slightly uneven, rip a short section and restitch. Small corrections now give a premium result.
Final Steps: Hanging and Checking Your Work for a Designer Look
After hemming, it’s time to hang curtains and see your efforts pay off. Slide your panels onto the rod and adjust the distribution, then step back and review from several angles.
Hems should hover at your target height—whether that’s the floor, sill, or somewhere in between. If you notice slanting, tweak hook placement or adjust the fold slightly for a clean, consistent line.
Adjustments for Perfect Symmetry
Compare left and right panels as you finish. If one falls shorter, lower it a notch on the rod with ring clips or gently let out a seam if needed. Check corners to ensure fabric isn’t billowed or bunched after laundering.
Lighting changes how hems look. Observe panels during the day and in evening lamp light. Make sure every inch of the hem is crisp and purposeful—no random folds or sagging at the edges.
If necessary, quickly run your iron along the bottom edge where the hem meets the curtain face. A final press enhances the tailored look, whether you’re prepping for guests or enjoying your refreshed space solo.
Your Quick Reference: Curtain Hem Methods and Everyday Scenarios
This table summarizes core hemming approaches with actionable next steps for each, so you can reference at a glance while planning or troubleshooting hem curtains projects:
| Hem Style | When to Use | Durability | Recommended Action |
|---|---|---|---|
| Double Fold Sewn | All-purpose, classic fabrics | Very high | Sew slowly for a straight seam |
| No-Sew Tape | Quick fixes, rentals | Medium | Iron thoroughly and let cool |
| Blind Hem | Luxury silks, velvets | High | Hand-stitch with invisible thread |
| Single Fold Topstitched | Lightweight or sheer panels | Moderate | Topstitch close to the edge |
| Pinned Temporary | Testing or renters | Low | Secure with pins short-term only |
Bringing It Home: Curtain Hemming Takeaways for Everyday Life
Confidently hemming curtains leads to spaces that feel finished and intentional. Whether you’re hosting a dinner, putting an accent on a quiet reading nook, or simply enjoying a tidy view, customized hems deliver results visible in daily life.
Embrace the rhythm—measure, iron, pin, sew, and review. Each step cements a habit of detail-minded decorating that stands out. Even if sewing isn’t your usual pastime, every finished curtain will greet you with order and comfort for years to come.
For your next project, let every pin, fold, and stitch point toward the look you want to live with. Crisp hems invite admiration and inspire future improvement, bringing warmth and clarity to windows of every size.
Frequently Asked Questions
What length should I hem curtains for a modern look?
Choose a floor-length hem that “kisses” the floor, ending less than a half inch above it. This style works well for contemporary and traditional interiors, giving a tailored look that suits most spaces without creating a tripping hazard.
Can I hem curtains without using a sewing machine?
Yes, you can use iron-on hem tape or hand-sew with a blind stitch for a no-machine method. Iron-on tape is fast and effective for cotton or polyester; hand-stitching works best for fancier fabrics or when you want an invisible finish.
What if my windows are uneven, making standard measurements tricky?
Pin the curtain in place with safety pins at the desired height, then use a tape measure to find the exact length for each panel. Customize each hem individually for best results, rather than copying a “standard” measurement that may look awkward in your specific space.
How should I hem patterned or bordered curtains?
Plan your hem so that major patterns, motifs, or decorative borders stay intact. Measure carefully to preserve design visuals, and always cut below the border or repeat so the final panel maintains its balanced appearance across all matching pairs.
Will hemming affect how my curtains hang or move?
A properly sewn hem provides weight and structure so the curtains hang smoothly. Thicker double hems prevent curling or twisting, while lighter hems allow more flow. Always match the hem method to the fabric weight and intended function, achieving the best drape and style for your room.