Few things match the annoyance of reaching for your keys, only to stare at your hand slipping straight through a torn pocket. Most people never realize how easy it is to mend pockets until that moment arrives. With the right tools and steps, stitching them properly can turn anxiety into confidence and your jacket into a reliable everyday companion.
Pockets take on weight daily—phones, wallets, candy wrappers, and even a stray stone from the park. Over time, the seams give in. Fixing them isn’t just about temporary patches but about understanding why the fabric gave out and repairing it so you can trust those pockets again.
If you’ve stared at a ripped pocket and thought, ‘Can I really fix this?’—the answer is yes. This article will walk you through what causes pocket tears, show you step-by-step ways to mend pockets, recommend durable materials, and offer tips to keep your repairs long-lasting. Let’s turn worn-out pockets into useful, weight-bearing spaces again.
Pinpointing the Problem and Stabilizing the Damage
Before starting any repair, you need to know the exact pocket location that’s damaged and stop further fraying. Gathering a few simple materials helps set the stage for sturdy results.
Lay the garment flat and gently spread the pocket out. Look for threadbare sections, gaps along the seam, or wider tears where carried items pull at the weakest point. Use small, sharp scissors to trim any fuzzy threads near the opening.
Using Fabric Adhesive for Quick Stabilization
Dabbing a tiny amount of fabric adhesive along the torn edges works like a first-aid bandage. It keeps loose threads from running longer as you prep to mend pockets for enduring use.
Wait a minute for the glue to dry, then touch it lightly—no stickiness means you can proceed. This step prevents accidents, like new rips spreading as you stitch.
Without adhesive, gentle pinning is another fast solution. Place straight pins at intervals to hold both sides together, so repairs line up properly without extra strain on the fabric as you sew.
Prepping the Pocket for Effective Repairs
Turn the garment inside out so you can access the entire seam. Run your fingers along the inside lining to feel for weak spots. Mark these lightly with washable chalk if needed.
If dealing with thicker fabrics—like denim or wool—setting the pocket under a warm iron can flatten stubborn folds or wrinkles. Smooth, evenly prepared fabric makes repairs neater and prevents accidental puckering after sewing.
Use an embroidery hoop if available to keep soft fabric taut; this helps keep an even stitch length. Adjusting the hoop with the pocket seam in the center avoids skipped spots or uneven repairs later.
| Step | Tool | Best For | Takeaway |
|---|---|---|---|
| Trim Threads | Sharp scissors | Loose fabrics | Cut fraying edges before mending for cleaner seams |
| Apply Adhesive | Fabric glue | Light, stretchy pockets | Prevents further tearing as you work |
| Use Pins | Straight pins | Thick, structured pockets | Keeps layers aligned under pressure |
| Mark Weak Spots | Washable chalk | Multiple tears | Avoids missing small holes |
| Smooth Fabric | Iron | Wrinkled linings | Ensures sturdy, straight stitches |
Choosing Stitching Techniques That Last Under Pressure
Every successful pocket repair starts with choosing a strong stitch. Picking the right needlework helps your mend pockets attempt hold up with daily use and weighty contents.
When repairing a worn pocket, the backstitch and the whipstitch stand out for durability. The backstitch works best for closing gaps along seams, while the whipstitch reinforces the outer edge to keep items from slipping out again.
Securing Heavy Use with Step-by-Step Seams
Start by threading a sturdy needle with heavyweight thread, ideally polyester or a cotton-poly blend. Tie a knot at the end, insert the needle from the inside lining, and secure the first stitch tightly—this anchors the repair in place.
- Thread the needle and knot, for reliable starts
- Insert the needle on the inside lining, so knots don’t show
- Pull each stitch tight to control gaps and avoid sagging
- Repeat each stitch evenly—aim for 1/8 inch for a neat finish
- Tie off the end with a double knot to withstand daily pulls
Backstitching involves entering the fabric, pulling the thread through, then bringing the needle back one stitch behind the previous hole. This locks threads together and naturally reinforces high-tension areas.
Checking Pocket Strength with Everyday Items
Once the seam is finished, test the mend by placing different objects inside—a keychain, a smartphone, maybe even a small reusable water bottle. Aim for enough strength to carry weighty pocket essentials without puckering.
- Drop in a full wallet to challenge the deepest part of the repair
- Press along the seam to check for gaps that catch loose change
- Move your hand inside firmly, mimicking everyday pocket usage
- Measure the inside with a marker if repairs need to extend further
- Try walking with items in the pocket, watching for shifting or stress
Monitor the repair after a day of normal use. If new holes form, reinforce these sections using the same stitch before carrying heavier objects again.
Adding a Lining When Threads Aren’t Enough
If your mend pockets repairs still fail under stress, consider adding a pocket lining. Cut a fabric piece matching the pocket shape and sew it securely inside so it covers seam edges. Quality cotton or canvas works for everyday wear.
Adding a lining spreads pressure across a larger area, which matters if your jeans hold keys and coins. Sew the lining flat and test with your hand before using heavy items.
This technique gives you double-layer security. It’s especially useful for thin fabrics. After adding a lining, ensure both top and bottom seams are double-stitched for maximum hold.
Picking the Right Tools and Reinforcing Materials
Collecting the correct materials ensures that your repairs performed to mend pockets are built to stand up to daily use and heavier loads. Never rely on weak thread or blunt needles—these can unravel or poke holes that weaken your fixes.
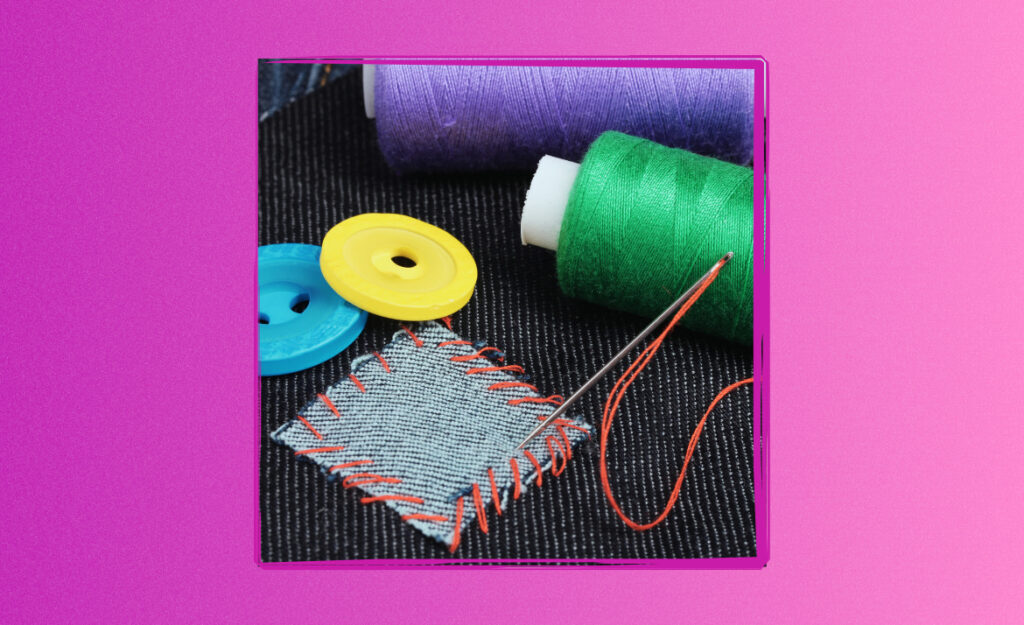
Look to fabric stores for heavy-duty thread, reinforced needles, sturdy fabrics for patches, and simple sewing kits. Investing in good supplies makes a dramatic difference, especially for work pants or school backpacks that go through daily wear.
Building a Pocket Repair Kit for Quick Fixes
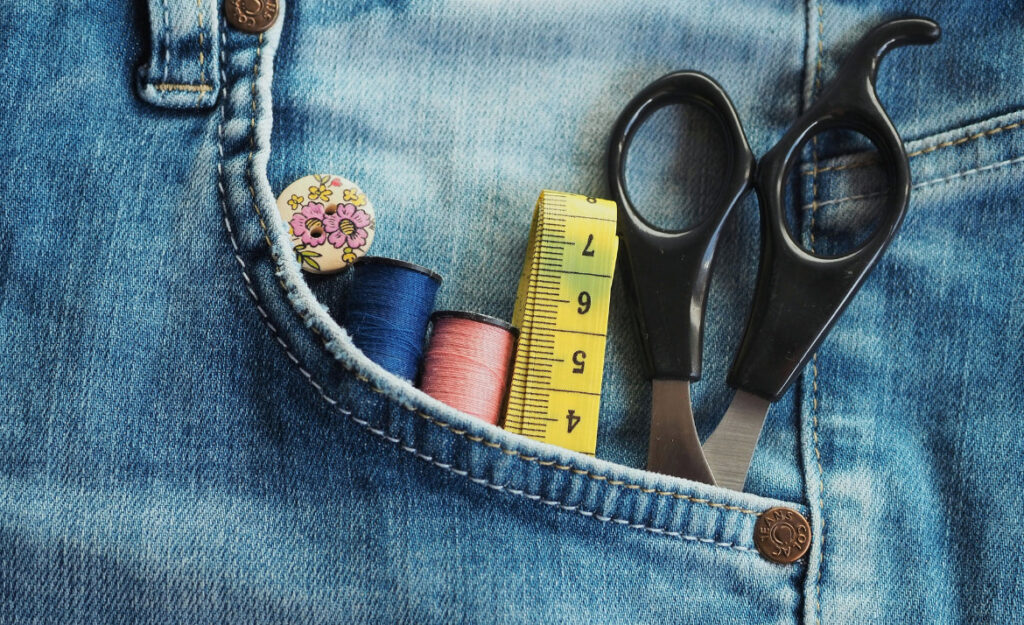
Having a dedicated pocket repair kit means you’re never left without the basics. Keep your kit within easy reach for emergencies or routine clothes maintenance, so you don’t delay needed repairs.
- Pack heavy-duty polyester thread for toughest seams—prevents early breakdown
- Add gap-free needles suited to both thick and thin fabrics
- Include small, precision scissors for snipping threads closely
- Stock washable chalk to mark repair spots for improved accuracy
- Throw in a mini iron or portable steamer for flattening tough linings
Tightly organizing your kit in a labeled box or zip pouch prevents loss of tools and makes each repair process smoother and more enjoyable.
Choosing Patch Materials for Everyday and Heavy Loads
Patching is sometimes the best solution for a wide or totally blown-out pocket area. Look for materials like cotton twill, denim, or canvas for durability—ensure the patch’s edge overlaps the tear at least a half-inch to stay firm.
- Cut patches to size for easy blending into the lining’s shape and color
- Sew all around the patch edge, doubling back at the corners for reinforcement
- Iron the patch before sewing to remove creases and promote adhesion
- Select a patch that’s slightly thicker than pocket fabric for extra support
- Choose a neutral or matching color for a discreet, invisible fix
Well-placed patches make mended areas harder to spot, especially when using thread that matches the original garment.
Adapting Your Repairs to Common Pocket Locations
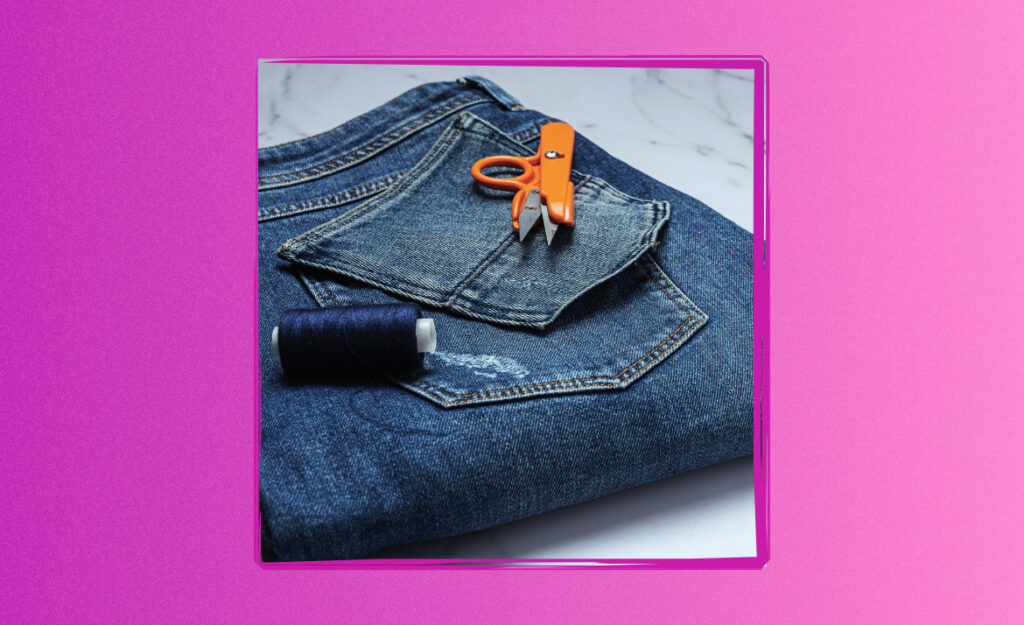
Pocket tears can show up anywhere: front jeans pockets, blazers, coats, or even hidden compartments in backpacks. Adapting your sensing and sewing technique lets you mend pockets no matter where the split appears.
Pay attention to pocket shape and access. For curved jacket corners, a tight-but-flexible whipstitch prevents future pulls. Flat front pant pockets may need a sturdier lining or patch at the base where stress accumulates.
Fixing Inside Versus Outside Linings
When mending inside linings, turn the garment inside out and keep seams smooth. Invisible repairs made from the inside avoid any rough edges and look tidier. For outside repairs, use double lines of stitching to stand up to friction from daily wear.
If fabric is delicate, go for tiny, closely spaced stitches. Thicker fabrics allow wider spacing but still benefit from double-stitching at each stress point. Keep a gentle, even hand with the needle.
Press completed seams with light heat to help stitches set and keep the pocket comfortable against the skin. This extra care means your efforts last much longer.
Strengthening Specialty Pockets for Gadgets and Gear
Pockets designed for sunglasses, phones, or gadgets don’t always have enough stiffness to stay durable. Reinforce these areas by adding a thin layer of felt or canvas behind the lining. Sew these layers into place with a hidden stitch to preserve appearance.
This is handy when mending pockets in gym bags or messenger bags, where stress on corners causes blowouts. Use a simple anchoring stitch at each corner by looping the thread through the lining and main fabric multiple times.
After reinforcing, test with your intended device or contents to confirm pockets are usable and positioned right for easy access. Adjust stitching if needed, then repeat reinforcement as items or habits change.
Building Confidence in Your Repairs for Everyday Use
Durable mending isn’t only about technique—it’s about trust. It lets you handle clothing and bags as designed, knowing the pocket can manage real-life objects again. Building trust comes from good repairs and regular maintenance.
Think of it like replacing a loose button: with the right thread and a methodical approach, confidence grows each time you mend pockets. Over time, these skills become second nature, giving you total control over your wardrobe’s reliability.
Testing the Pocket’s Weight-Bearing Limit
After you mend pockets, fill the pocket gradually—first with a few bills or receipts, then bulkier objects. If the fabric or seam puckers slightly, stop adding weight and reinforce as needed. Never overload when you feel tension.
Gently tug at the seam every week to check for new weak spots. Wash with mild cycles and avoid wringing to reduce fabric stress. Adjust your repair methods as needed based on how much weight you plan to carry regularly.
By repeating these checks, you’ll maintain pocket reliability and avoid unpleasant surprises. Over time, you’ll rely on your sewing more than ever as repairs stand up to busy days.
Celebrating Small Wins in Sustainable Repairs
Every mended pocket is a small act of sustainability. Instead of discarding garments, restoring them helps the environment and saves money. Share your successful mend pockets repairs with friends or family, and offer tips from your own experience.
Show off neat repairs—point out nearly invisible seams, reinforced edges, or creative patches that blend right in. Each win builds confidence and encourages others to repair rather than replace worn-out items.
Mending is a prideful skill. As you improve, you’ll move on from basic fixes to advanced alterations, mastering the art of making old favorites feel brand new again.
Restoring Every Pocket—Skill Everyone Can Use
Reliable pocket repairs begin with finding the damaged area, preparing the fabric, then using the right stitches—like a backstitch—to mend pockets and prevent new tears. Well-chosen materials make all the difference when restoring your clothing’s function and confidence.
Mending pockets keeps your favorite clothing and bags in rotation. This sustainable practice not only conserves fabric and money, but also builds skills anyone can master with simple tools and practice.
Each successful repair is a step towards more mindful, sustainable living. With every pocket you mend, you gain the confidence and independence that comes from creating durable, useful solutions in everyday life.
Frequently Asked Questions
How do I choose the best thread for pocket repairs?
For most heavy-use pockets, go with polyester or a cotton-poly blend thread. These resist stretching, mold well to seams, and survive plenty of wash cycles without fraying or thinning quickly. Always match the thread color to your garment for a discreet look.
What’s the most reliable stitch to mend pockets?
The backstitch is favored for its strength and ability to reinforce seams under pressure. For edges, a whipstitch prevents fabric from curling and adds extra durability, especially for curved pocket openings or corners.
How can I reinforce thin pocket linings?
Add a layer of cotton, canvas, or even felt as an internal patch. This spreads the load and stops new tears right at the weak spot. Secure with tight, even stitches at the edges so the reinforcement becomes part of the original design.
Do I need special tools for repairs at home?
Most home repairs need only sharp sewing scissors, solid thread, appropriate needles, and some fabric glue. Extra tools like an embroidery hoop or miniature iron can help with tricky linings, but aren’t essential for basic mending jobs.
What causes pockets to tear, and can I prevent it?
Poor-quality stitching, thin fabrics, or carrying oversized items regularly stretch pockets beyond their limit. To prevent future tears, check seams every few months and reinforce any thin spots before they fail entirely. Regular gentle washing extends fabric life and keeps repairs strong.