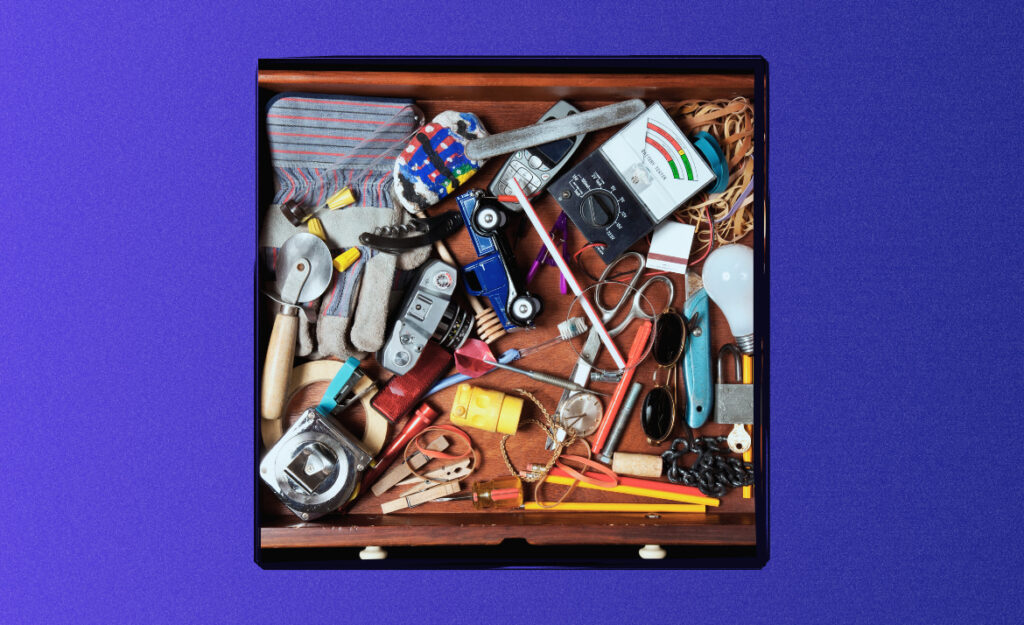
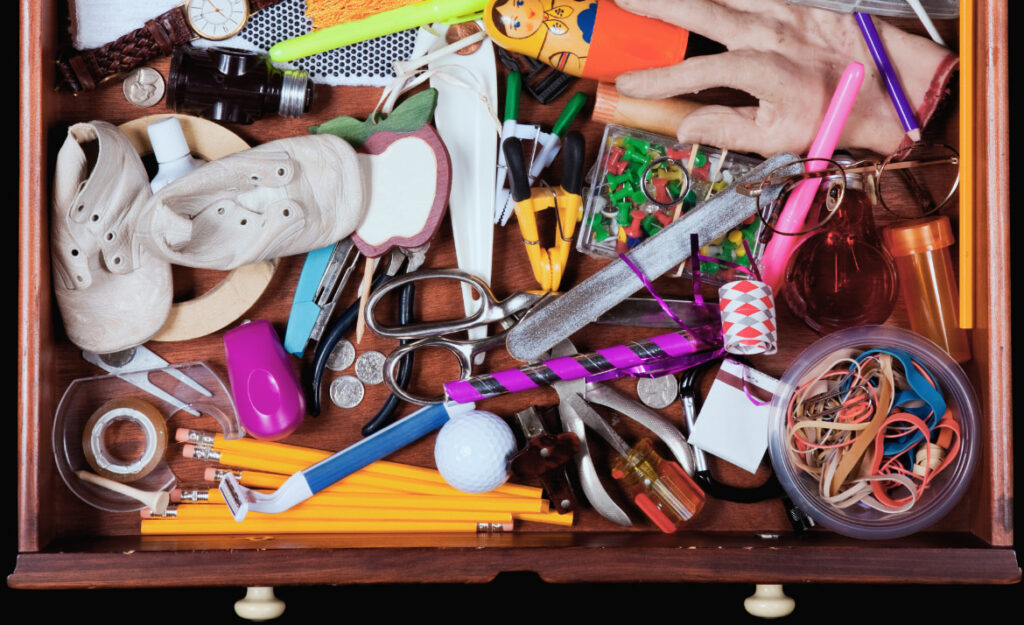
That drawer in the kitchen or hallway—the one packed with batteries, pens, keys, tape, and takeout menus—never stays tidy for long. Treating the project to organize junk drawer contents turns the task from a constant annoyance into a satisfying win, every time you open it.
A chaotic junk drawer means more than misplaced scissors; it can signal overlooked opportunities to streamline routines, save time, and lower stress at home. A little structure can turn small moments of chaos into efficiency and calm.
This guide walks you through practical, achievable actions for restoring order in your junk drawer, without throwing out everything “just in case.” Read on for step-by-step strategies, clever organizing hacks, and easy maintenance tips that last.
Set Clear Roles for Drawer Space and Stick to Them
Putting every item in its proper spot makes a massive difference—the drawer should hold a clear set of essentials and nothing more. Define its focus, then enforce it.
Start by emptying the entire drawer onto a table. Hold each item and ask out loud, “Does this belong here?” If anyone else shares the space, have them do the same. Right away, you’ll sort out essentials from misplaced extras.
Apply the “House Zoning” Rule
The same logic you use for organizing rooms applies to organizing your junk drawer—group similar tools or small objects together. Corral all writing utensils, rubber bands, or measuring tapes rather than mixing with unrelated items.
Suppose you notice batteries scattered with receipts and stamps. Collect all batteries in one small section. This action instantly reduces visual clutter and saves precious time searching later.
Using zones also curbs absent-minded placement. When you finish using a notepad or pack of sticky notes, you’ll know exactly which section they go back to each time.
Visual Sorting Makes Purposes Obvious
Laying all items on a contrasting surface highlights duplicates and oddballs. Arrange similar items in small clusters that represent their function: writing, fixing, measuring, charging, etc.
People sorting the drawer together can agree on categories by talking through, for example, “All the charging cables over here, stamps here, tools at the end.” This step sets the foundation for lasting organization.
Imagine a friend opens your drawer and instantly understands the system you’ve created. Clear grouping means they’ll never ask where something is—or return it to the wrong spot.
| Item Type | Recommended Zone | Best Containment | Actionable Takeaway |
|---|---|---|---|
| Writing Tools | Left front section | Shallow tray/divider | Group pens/pencils to instantly grab the right one |
| Batteries | Back right section | Snap-case container | Store upright, away from metal for safety and access |
| Small Tools | Right side | Tall divider | Keep mini screwdrivers/pliers upright for quick visibility |
| Sticky Notes | Front middle | Flat tray | Lay flat, visible for daily notes or reminders |
| Keys/Keycards | Far left corner | Designated dish | Dish keeps them out of the way, no jingling or tangling |
Choose Practical Containers—Repurpose or Buy Smart
Segmenting your drawer prevents chaos from returning, so invest in, or repurpose, containers that fit both your items and the drawer itself. Fit is crucial for long-term tidiness.
Before hitting the store, look around your home for unused bins, boxes, or lids. Shallow plastic trays, old jewelry containers, and even silicone muffin cups instantly bring a sense of order, for zero dollars.
Mixing and Matching Containers for Variety
Different item sizes call for different containers. Nestle smaller boxes next to long trays, or stagger short bins against taller ones. This approach lets you customize storage for each micro-zone—for example, a long tray for rulers beside a divided box for chargers.
- Stack containers in a Tetris-like layout to avoid unused gaps. This not only maximizes storage but also makes each item easy to retrieve.
- Anchor lightweight bins with museum putty to prevent them from sliding each time the drawer opens. Stability keeps everything reliably in place.
- Re-label and shuffle containers as your needs shift, rather than tossing anything out. Adapt the system, not the content.
- Use transparent bins to spot what you need instantly, which cuts down rummaging and helps others follow the system, too.
- Reinforce regular use: containers that are easier to reach and put back see the most success over time—make convenience your top priority.
Switching up containers lets you adjust the drawer layout over the year—like making space for extra bike keys in summer or adding holiday supplies come December.
Zone by Use Frequency, Not Only Item Type
Arrange containers based on how often you grab each category, not just what the object is. Place daily-use pens or sticky notes toward the front and rare items, like a tape measure, at the very back.
- Put daily items in front for fastest access, so everyone can help keep things tidy—no more shuffling past little-used tools for a pen.
- Reserve an out-of-sight spot for backups, batteries, or spare hardware—important, but not needed every day.
- Keep seasonal or rare items in the hardest-to-reach compartment so their presence doesn’t frustrate the search for everyday essentials.
- Review and shift zones once per season. For example, as school starts, bump pencils forward.
- Don’t allow inconvenience: if anything is hard to grab, update the container or its position until it’s effortless.
Base your system around speed and ease of retrieval—what you use should always be the simplest to get to. That habit sustains organization in the long run.
Preserve Sentimental Items with Purposeful Placement
Assigning intentional spots to sentimental keepsakes prevents them from becoming clutter. A dedicated mini-section lets you honor memories while keeping the drawer functional for everyday needs.
Think about the stub of a ticket, a lucky charm, or a birthday candle you never used. Create a small, defined area—a tiny tray or envelope works well—that fits only special objects, with no space for extras.
Concrete Rule: One-Item Per Memory
Limit nostalgia to a single example per type, such as one special coin or only the most recent keepsake from a vacation. If you find three similar mementos, keep your favorite and relocate or re-home the rest.
This approach avoids an overflow situation, which makes the system break down over time. You conserve space for essentials and give your chosen memories a place of honor.
If indecision strikes, apply this phrase: “Would I miss it tomorrow if it wasn’t here?” Keep only the items that pass the test, and relocate others to a true memory box elsewhere in your home.
Example: Honoring Family Heirlooms
Say your grandma’s old measuring tape ends up in the junk drawer. Rather than bury it beneath modern tools, set it atop a folded handkerchief so it’s visible and cared for, not just tossed in by default.
Repeat the same gesture with other heirlooms. Tuck them into a mini-container stickered ‘Family’ and place it in a back corner. This both protects the piece and makes its story a part of your routine.
The next time you reorganize junk drawer contents, you’ll recall exactly where these items live—and the decision to keep them feels deliberate, not accidental.
Manage Overflow and Redundancy Before It Happens
Keeping duplicates and backup supplies handy makes sense, but unchecked accumulation means drawers get crowded fast. Use a strict, two-stage system to distinguish necessary backups from excess.
First, set a hard cap: for instance, no more than 2 of any tool or supply at a time. Make extra space outside the drawer for true long-term storage.
Secondary Storage System for Extras
Create a labeled box, bin, or basket somewhere else—on a closet shelf or pantry—with overflow batteries, tape, or fuses. This moves surplus out of daily reach but keeps it accessible without crowding the drawer.
Write a sticky note for inside the junk drawer: “More in hallway basket.” It’s an instant fix for supply confusion and protects your primary organization zones from gradual sprawl.
Whenever you empty or refill a section, use the same mindset as restocking a grocery shelf—oldest items come to the front, keeping contents fresh and useful.
Assess Multiples with Rigorous Logic
Collect all duplicate items—such as five screwdrivers or three rolls of tape—on the counter. Decide which one you actually reach for, and keep just one backup, not the entire stack.
Apply this logic quarterly. Build reflection into your routine by snapping a phone photo of the drawer after organizing, then comparing later. You’ll spot overflow patterns quickly and can adjust accordingly.
If a new item doesn’t fit your space rule or function, don’t squeeze it in. Use the prompt: “Does this deserve daily access?” Anything that fails goes in secondary storage or gets a new home.
Keep the System Alive with a Simple Routine
Maintaining drawer organization hinges on habit, not decluttering marathons. Adopt a regular (for example, monthly) review every first Saturday with a simple checklist—this prevents chaos from sneaking back.
This checkpoint can be as brief as five minutes. Run through the drawers’ zones, confirm everything’s in the right spot, and remove any mystery items or new extras. Mark the calendar to keep the habit consistent.
Monthly Mini-Checklist for Ongoing Success
Use a repeatable script: glance through the container sections, check that labeled items match their contents, and test for missing supplies or odd extras. Return outliers to where they truly belong.
Reward yourself with a cup of coffee or podcast after this tiny organizing sprint. These small rituals reinforce keeping order rather than letting the drawer slide back into “junk” territory again.
Every quarter, escalate the review: rezone based on what’s gotten more (or less) daily use in the last few months. This keeps the system tuned to real life, not a fantasy of tidiness.
Conclusion: Make Every Drawer Open a Mini Victory
With realistic rules, repurposed containers, and group buy-in, keeping order in a junk drawer becomes automatic. Each tool, note, and charger has a “home,” so you’ll spend less time hunting and more enjoying your kitchen or entryway.
This approach to organize junk drawer chaos into calm in under an hour changes more than just one drawer. You’ll notice patterns from this system spilling into other clutter-prone spaces—bedside tables, home offices, even backpacks and glove compartments.
The goal isn’t rigid perfection, but a dependable, friendly system that lets everyone in your household locate essentials with a single glance. Your junk drawer can finally become the household solve-it station it deserves to be.
Frequently Asked Questions
How do I prevent my junk drawer from becoming cluttered again?
Set clear categories, containerize items, and schedule a regular, quick monthly check-in. Consistency matters more than perfection; small tweaks keep clutter from returning over time.
What containers work best for small drawers?
Shallow plastic trays, old jewelry boxes, and silicone cupcake liners fit snugly and prevent items from shifting. Customizing shapes to your drawer layout makes every inch usable.
Should I keep every duplicate tool or battery?
Limit duplicates to one backup in the drawer. Store the rest in a separate box elsewhere. This method keeps everyday supplies abundant but avoids crowding your main organizer.
Is it okay to keep sentimental items in my junk drawer?
Absolutely—dedicate a specific, contained zone so they’re intentional, not lost amid clutter. One memory item per category balances sentiment with necessary utility in shared spaces.
How often should I reorganize my junk drawer?
Monthly mini-reviews and a quarterly deeper sort maintain order. You’ll discover what you actually use and refresh the layout for seasonal or routine changes, keeping things functional.