Nothing halts a busy morning like spotting a fresh tear in your favorite shirt. Mid-routine, you wonder if patch holes can really disappear, or if every fix leaves a scar. You’re not alone in urgently hoping your repair blends right in, undetected by colleagues or friends.
Many people value well-kept clothing for personal style and environmental reasons. Flawlessly patching holes not only saves money, but lets you keep cherished garments in circulation. Doing this with almost invisible results brings a quiet satisfaction—and supports a sustainable wardrobe.
This guide brings together practical steps, expert rules, and realistic scenarios to make your repairs as seamless as possible. Let’s get into tools, fabrics, pro tips, and simple scripts so you can patch holes with full confidence.
Choosing Fabric, Thread, and Patch Style for No-Trace Fixes
Results start with picking the right materials. Matching fabric weight, thread color, and patch style sets your repair up for invisibility—even before you take a single stitch.
Patch holes blend when you use materials practically identical to the garment. Don’t guess: compare pieces side by side in natural light, feeling for differences in texture, thickness, and stretch. Always cut test scraps.
Fabric Weight and Color Rule for Flawless Results
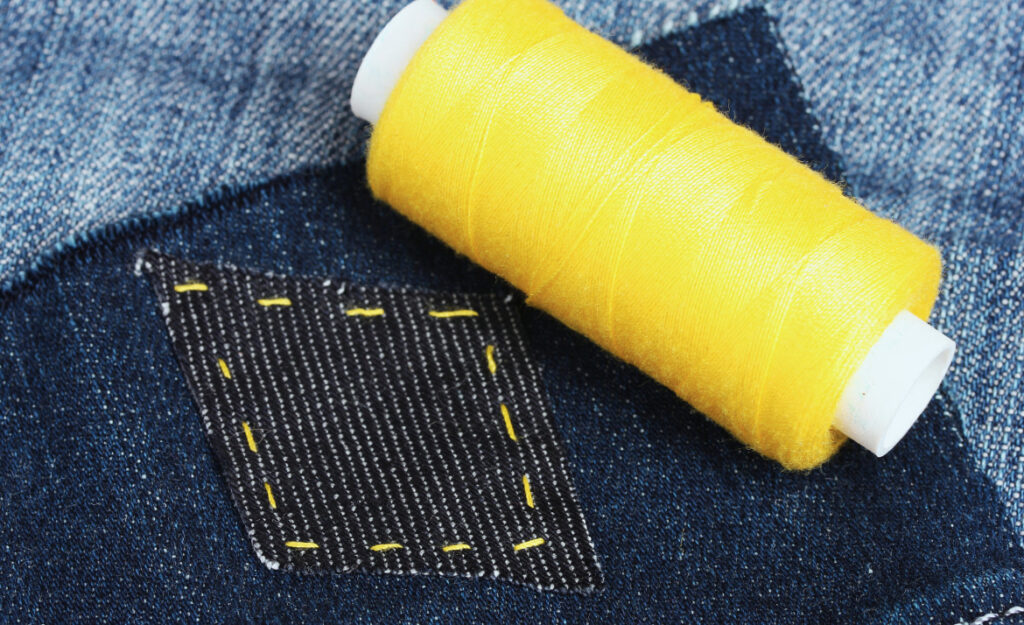
Use fabric similar or identical in weight to the original garment. For a cotton tee, grab an old tee in a matching color. For jeans, another pair of denim ensures the patch lies perfectly flat.
Test colors by holding fabrics together under daylight. Under artificial light, subtle differences jump out in the sun. Aim for a shade that disappears rather than one that matches exactly but with the wrong undertone.
If you can’t find a perfect color, choose slightly darker rather than lighter fabrics. Darker patches naturally retreat visually, while lighter ones jump out at a glance.
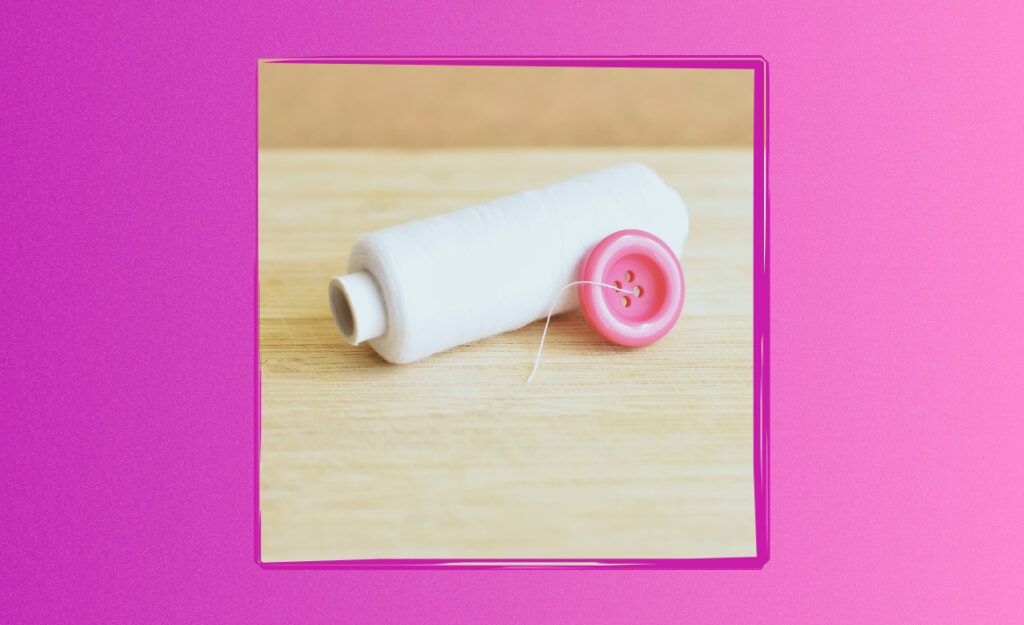
Thread and Patch Style Script
Say: “I’ll pull a few threads from the original seam and compare under the window.” This ensures your thread doesn’t produce a telltale outline in the mend.
Run thread tests on a scrap of your chosen fabric. If stitches pop, try a slightly thinner or duller thread until your line blends in. The right thread vanishes against the fabric under angled light.
Select patch style by pinching fabric around the hole. If the tear cleanly presses together, try an internal iron-on patch. If it frays, an external patch with finished edges prevents show-through.
| Material | When to Use | Invisibility Score | Key Takeaway |
|---|---|---|---|
| Cotton scrap | Patch holes in tees, casual shirts | 9/10 | Delivers seamless texture match when color is close |
| Iron-on patch | Small holes, fast fixes | 6/10 | Quick, but sheen may stand out in bright light |
| Denim piece | Jeans or heavy cotton workwear | 8/10 | Can fray less if edges are zigzag stitched securely |
| Lightweight knit | Sweaters and fine shirts | 7/10 | Edges must be stabilized to prevent laddering |
| Bias-cut silk | Dress shirts, blouses | 8/10 | Invisible when meticulously color-matched and attached inside |
Organizing Your Workspace and Gathering Essential Tools
A clear and calm workspace makes delicate mending much easier. Set up a tabletop with good light and lay out tools neatly so you avoid distraction or hunting for key items mid-fix.
Before starting to patch holes, gather what you’ll need. Put everything on a tray or towel—this saves time and prevents threads or small tools from rolling out of reach.
Equipment Prep for Every Patch
Keeping a dedicated sewing container works even for small apartments. Line up needles, pins, seam rippers, and thread using a divided box or shallow drawer.
- Position sharp scissors on your dominant side for easy grabs. Clean blades ensure edges don’t get ragged, which keeps patches crisp and clean.
- Arrange fabrics flat and sorted in color order on the table. Fold each piece to expose the most useful section for easy comparison.
- Place a pin cushion or magnet tray beside your sewing hand, so you can stash pins quickly. This prevents painful surprises on the floor later.
- Keep a damp pressing cloth nearby. Quick steam presses anchor seams, smooth puckers, and blend in patch edges for a professional result.
- If you use a machine, plug in a small lamp or LED task light. Shadows throw off straight stitches, so extra illumination directly above the workspace is handy.
Setting up properly saves frustration and makes each move smoother—removing hesitancy and encouraging clean, confident stitching. Every tool within reach means you can focus solely on repair.
Sorting and Prepping Patches for Consistency
Lay out all available patch fabrics so you can test each against the hole before you start. Pin your top two selections right next to the damage to make comparisons easy.
A quick checklist: clean the garment, trim loose threads, and gently press the hole flat before gluing or sewing. Small steps up front create better adhesion and a virtually invisible finish.
- Wash and dry both the garment and patch fabric for similar shrinkage rates, so future laundering won’t warp your careful work.
- Always test iron-on adhesives on scrap fabric first, watching for hint of shine or color shift, to avoid unpleasant surprises on your real repair.
- Pull out a soft pencil to lightly outline your patch area on the back of the fabric. Disappearing marks make your cuts precise and are easy to wash away.
- Pretreat holes by gently pressing together and securing with a pin before turning to more permanent steps. This locks the hole in its smallest, neatest shape.
- Keep spare buttons and similar notions in your kit. Some holes may look tidier covered by a faux placket or button than a stitch patch.
Preparation smooths your workflow and assures each repair matches the shape, stretch, and finish of the original garment—step by step.
Sewing, Gluing, and Pressing: Three Core Techniques for Seamless Repairs
Achieving nearly invisible patch holes relies on technique as much as good material choices. Start by evaluating whether to sew, use fabric glue, or combine both with a final pressing routine.
Sewing by Hand: Pinpoint Invisibility
Hand-stitching grants maximum control over tiny areas or curved lines. For flat patches, use the ladder stitch: enter one garment edge, slip the needle through the folded patch, and alternate sides.
This stitch mimics the path of hidden seams in clothing. When you pull the thread taut, the seam disappears into the fabric’s natural grain. Keep tension even but gentle to prevent puckering.
Finish by working the last few stitches under the patch and tying a tiny knot, which you slip inside the seam for a fully camouflaged result.
Gluing for Delicate or Synthetic Fabrics
Certain synthetic blends and knits react poorly to needle holes. For these, fabric glue applied with a toothpick or narrow brush creates a nearly invisible bond.
Spread glue in a thin line around the patch edge, then place the patch inside the hole, using a pressing cloth and low iron to seal without scorching. Watch for residue and test on a scrap first.
Let the glue cure for several hours, moving the item as little as possible during that time. Curing prevents visible rippling or shifting, which would spoil the illusion of a seamless repair.
Blending and Camouflaging: Fixes That Disappear in Plain Sight
Going beyond just closing the gap, now the goal is to blend the patch so completely that no one guesses there was ever a hole. Subtle finishing makes all the difference.
Pick finishing touches—tiny embroidery, fabric paint, or texture blending—for a pro look. Expert mend tips unlock a higher level of camouflage for your patch holes, whatever the fabric or color.
- Mimic woven or knit patterns with a few hand stitches over the patch edge, matching thickness and orientation. This breaks up sharpest patch outlines.
- Use tailor’s transparent blending sticks to buff thread shine and smooth transitions between patch and garment fabrics. Buff gently to avoid fabric abrasion.
- Tint raw patch edges with a minuscule dab of matching marker, chalk, or textile paint. This takes seconds but eliminates pale lines or shadow edges on most clothes.
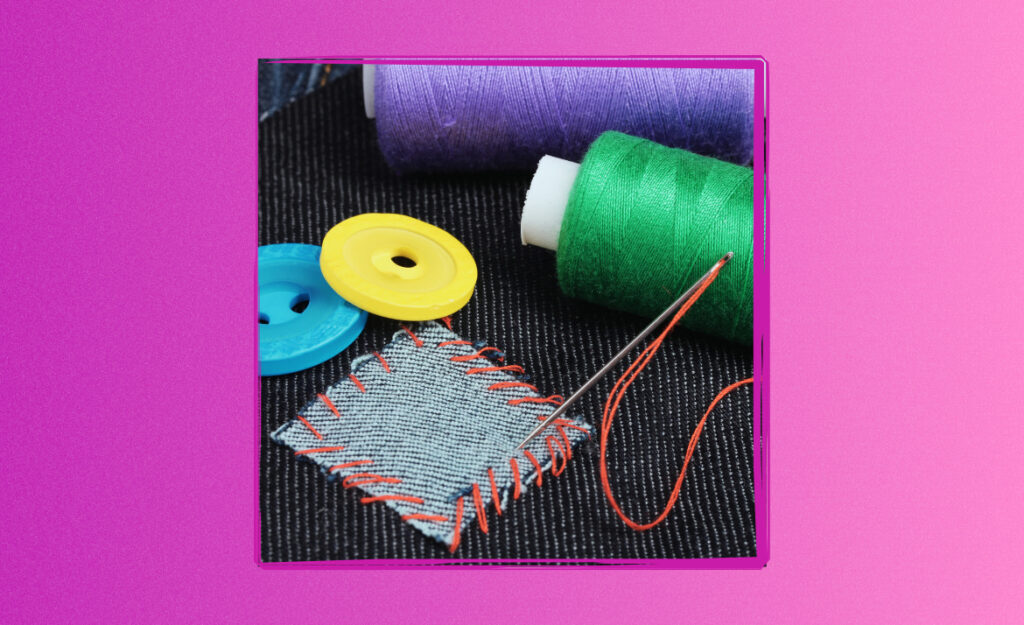
- Add tiny visible mending marks as a style detail where patches just won’t blend—choose a neat geometric or running stitch to make the repair look intentional.
- Steam press gently to reset fabric memory. The heat softens patch lines and melds everything together, especially with cotton or linen clothes.
Vary the approach based on location and context: for shirts, choose fine stitches; for jeans, opt for darning with beefier thread that echoes the look of classic denim.
Layering and Reinforcing: Extended Life for Patched Areas
Long-lasting repairs matter, especially on stress points or high-movement zones. Here’s how to reinforce patch holes so fixes outlast the surrounding garment and prevent future damage.
Scenario: a knee tear on jeans recurs after basic patching. The best step is layering one patch inside and another outside, securing with a grid of zigzag or box stitches rather than just one row.
Check for Fraying and Weak Spots
Frays set the stage for new holes. Fingersnap along the mended area: if stray threads snap upward, trim and whipstitch the perimeter. For knits, crochet a few tiny loops at the edge to anchor loose ends.
Rest reinforce points by gently tugging opposite the patch. If you feel the fabric shift or see the patch edge ripple, resew wider or reinforce with iron-on interfacing behind the patch.
Extend patch durability by using interfacing trimmed to 1/8 inch beyond the patch. This invisible layer shares the physical stress and helps the patch lie smoothly for washes to come.
Box Stitching for Sturdy Patches
After trimming the patch to an even square or oval, mark a quarter-inch border with chalk and sew a sturdy rectangle or box. Each corner should be reinforced with an extra row for flexibility.
This box frame halts edge peels and resists twisting, so the patch holds up through bending or stretching. If you use a machine, a contrasting zigzag looks intentional for jeans, while straight-stitch matches for shirts.
To finish, trim any remaining threads and steam press the patch area. The box stitch compresses with heat and blends seamlessly with the garment’s shape.
Visual Inspection and Touch Test: Ensuring Your Repair Disappears
Assessing your work ensures the patch truly vanishes. A two-stage test—sight then touch—catches any lingering errors before the item is worn in public and scrutinized up close.
Check for mismatched thread, puckering, or sheen by holding the garment up to natural window light. Turn it side to side: well-made patch holes fade into the fabric while hasty ones shimmer or shadow.
Run the Touch Test Like a Pro
Close your eyes and pass fingers lightly over the patch area. Expert repairs feel like continuous, uninterrupted fabric, with no bumps, wrinkles, or corners you can catch a nail on.
If you feel an edge, try re-pressing or opening the seam and smoothing a tiny bead of glue under the fabric. This step takes less than five minutes but transforms visible repairs into true disappearing acts.
Lint-roll the entire area after finishing. Any leftover glue bits or thread fuzz can snag light and draw focus to the mend instead of letting it fade into the garment’s natural folds.
Repair Recap and Looking Ahead
Invisible patch holes are possible with matching fabric, patient prep, and attention to detail. Clean tools, natural light, and careful testing ensure every fix disappears into your wardrobe’s background, not its spotlight.
Building repair skills builds wardrobe confidence. As you get comfortable with seamless patches, you’ll save time and protect garments you love from being tossed for minor snags or splits.
Every flawless patch is one less item in the trash, and one more day you walk out the door wearing something you made better with your own hands—no one the wiser.
Frequently Asked Questions
What’s the fastest way to patch holes on cotton shirts without a mark?
Apply a small, color-matched cotton scrap behind the hole and use the ladder stitch by hand. Press with steam cloth. Avoid visible knots or shiny thread to ensure the patch blends in completely.
Does fabric glue really work for invisible mending?
Fabric glue works well for thin or synthetic fabrics. Test on a scrap first for residue or shine. Use a toothpick for precise placement and always press with a cloth to help it set flat and invisible.
Can I use iron-on patches for dress shirts and still keep repairs hidden?
Iron-on patches can blend if you match color and use a backing cloth. Avoid patches that add shine. For fine fabrics, hide the patch inside or use fusible interfacing for added subtlety.
How do I stop patched holes from reopening?
Reinforce with a second layer, either interfacing or another patch, inside the garment. Use box stitching for sturdy areas and always inspect for fraying or puckering after washing to catch problems early.
What’s the best thread for nearly invisible results?
Select a thread that matches color, weight, and sheen to the garment. Pull a strand across the repair area and test in natural light. The closer the match in texture and thickness, the less visible your repair will be.