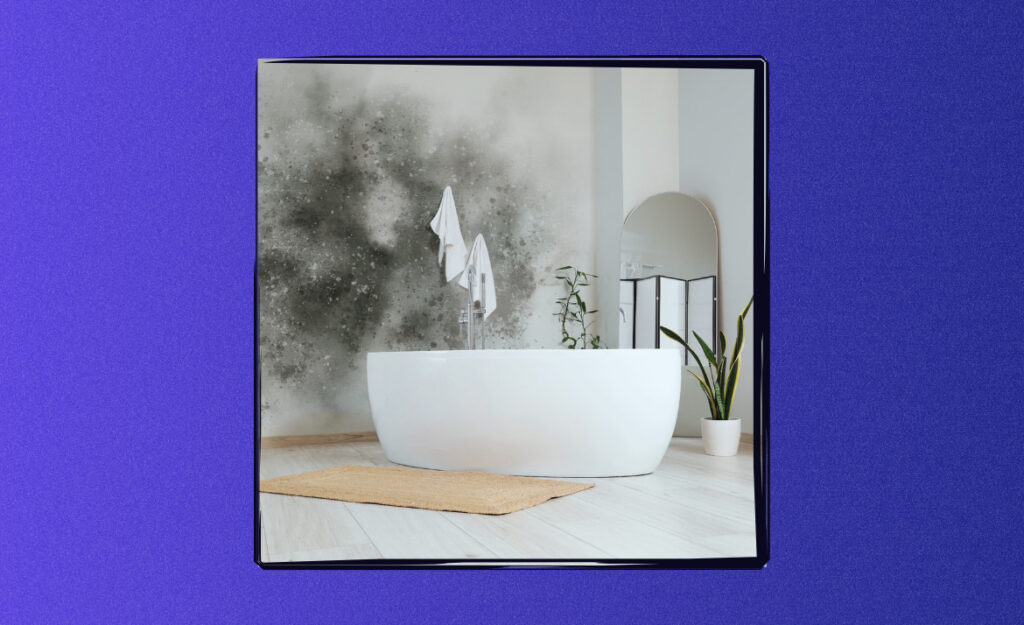
Mold creeps up in bathrooms when you least expect it. Suddenly, you spot black spots behind shampoo bottles or along window sills, making you wish there was a way to prevent bathroom mold before it invades these damp spaces.
Keeping your bathroom free of mold protects your family’s health, saves you from repairs, and keeps your space looking fresh. Taking action early stops rot and recurring cleaning headaches before they snowball into bigger problems.
This article offers step-by-step guidance to prevent bathroom mold, with specific scripts, checklists, and mini-scenarios that help you take confident, immediate action—no guesswork required.
Control Moisture to Stop Mold Before It Starts
Control over moisture is non-negotiable if you want a bathroom free from hidden mold issues. Take tangible steps to limit dampness, and you’ll seriously reduce the chance of spores settling in.
An open window or a running exhaust fan helps, but you’ll need more than that. Let’s dig into two approaches that attack moisture at its source, making it systematically easier to prevent bathroom mold before it becomes a crisis.
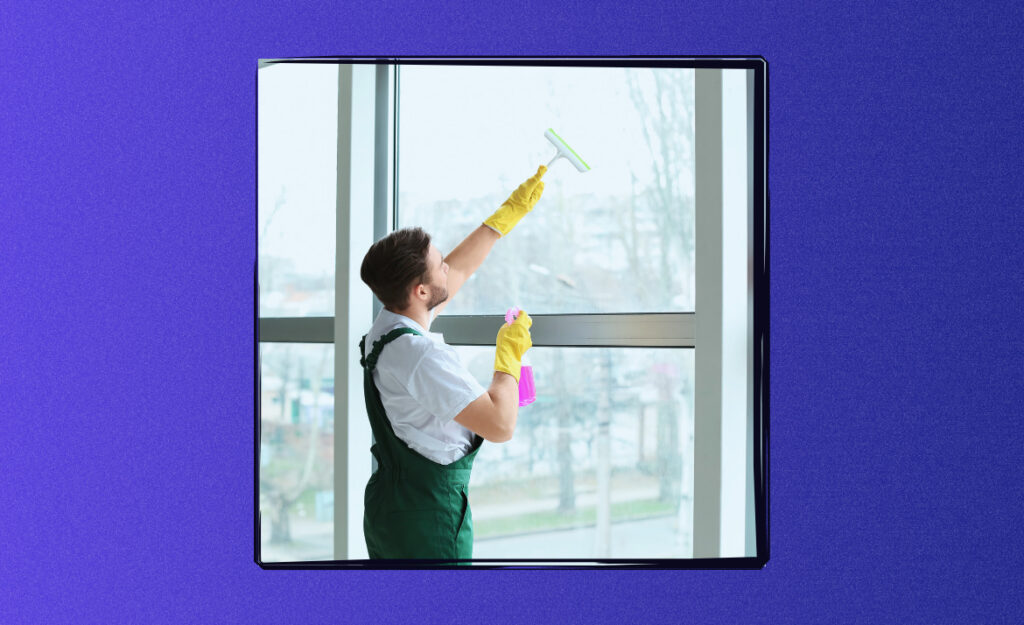
Run Ventilation On a Set Schedule
Running the bathroom fan isn’t just for after showers. Set a timer so your fan runs for 20-30 minutes every time you bathe. This steady habit dries out surfaces that mold would otherwise love.
Place a sticky note by the switch: “Fan on for 30 mins after shower.” Not seeing fog on mirrors is a sign you’re winning at keeping things dry enough to prevent bathroom mold from gaining ground.
If your window opens, keep it cracked for a similar time span post-shower. Pairing a timer with this ritual makes prevention feel automatic, not like an afterthought you forget.
Fix Leaks as a Top Priority
Leaky plumbing under the sink or behind the toilet can’t wait. Mold can sprout in the darkness before you’ve even noticed water pooling. If you spot a drip, tighten fittings or call a plumber that week.
Small leaks under tiles or behind wallpaper show up as discoloration or swelling. Write down the date you first spot it and schedule your fix—don’t put it off. Drying wet areas right away blocks the perfect mold environment.
Think of leaks as leaving out water for mold to drink. Once fixed, use a towel or fan to ensure the spot goes back to fully dry before replacing anything.
| Moisture Source | Detection Cue | Immediate Step | Advantage |
|---|---|---|---|
| Leaky Faucet | Drips or pooled water under sink | Tighten, replace washer | Blocks mold’s water supply |
| Shower Steam | Fogged mirrors, wet walls | Run fan for 30 minutes | Reduces surface humidity fast |
| Loose Toilet Seal | Water around toilet base | Reseat or replace wax ring | Prevents hidden floor dampness |
| Cracked Grout | Discolored, crumbling lines | Regrout tiles | Stops seepage behind tiles |
| Condensation on Windows | Wet sill or visible beads | Open window to air out | Dries frames and corners |
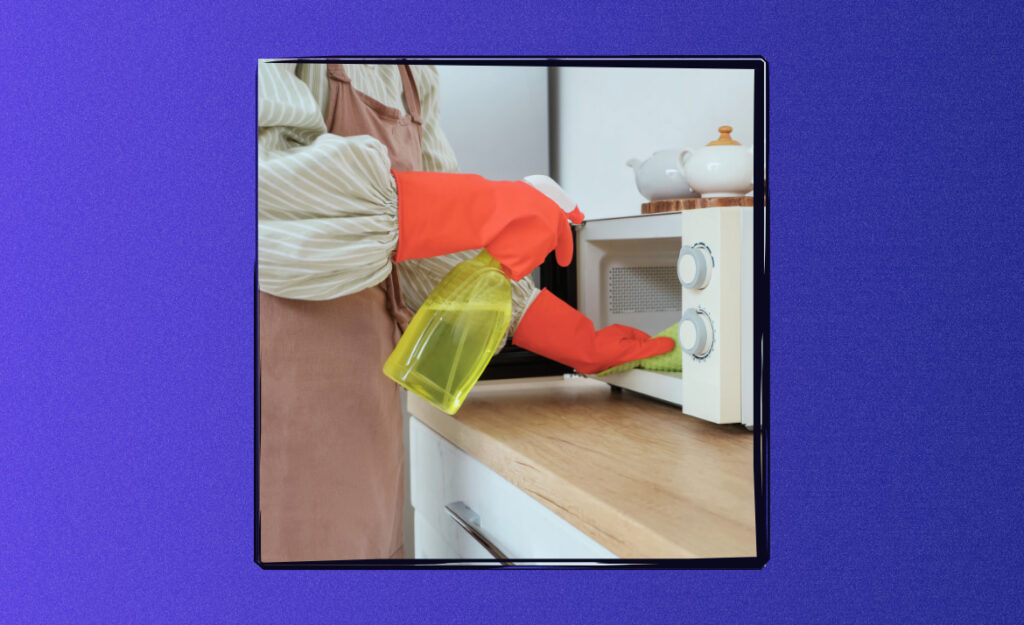
Keep Surfaces Mold-Free With Weekly Cleanings
Regular cleaning makes it much harder for mold to grab hold on bathroom surfaces. Target the places where moisture tends to stick around longest, using quick cleaning routines to remove invisible spores before they grow.
Build a habit around cleaning on the same day each week. For example, “Saturday morning: wipe tiles, scrub grout, clean window frame.” Notice how routine this feels—it’s no longer about motivation, just muscle memory.
Checklist for Cleaning Routine
Follow this sequence for a complete mold-preventive clean:
- Wipe sinks thoroughly using a diluted bleach solution (1 tablespoon bleach per quart of water) to kill spores at the source.
- Scrub tile grout lines with a toothbrush dipped in a hydrogen peroxide and water mix, which reaches into cracks where mold hides.
- Squeegee shower walls and doors after every use, pushing excess water toward the drain and keeping surfaces dry more quickly.
- Use a microfiber cloth on window sills and other damp-prone corners, removing lingering moisture before mold finds a foothold.
- Inspect under soap dishes and shampoo bottles for any slimy buildup, cleaning these trouble spots weekly to prevent bathroom mold from taking hold unnoticed.
Give high-touch spots the most attention. For example, behind the toilet or under a shampoo shelf—these always surprise people as hidden mold zones if left unchecked.
After-Cleaning Air Out
Once you’ve cleaned, leave doors open and fans on to dry things out faster. Mold can’t regrow on a surface that stays dry, so always aim for a crisp, aired-out feeling before closing up.
- Open all windows for at least 30 minutes post-cleaning to push out remaining damp air and prevent bathroom mold resurgence.
- Prop open the shower door or curtain, letting fresh air hit the corners that usually stay wet the longest.
- Set a portable fan on the floor aimed at damp spots if possible—these high-humidity zones tend to contract mold if air is still.
- Check all cleaned areas by lightly running your finger across; if it feels wet, let it dry longer before using the room again.
- Record your cleanup day on a calendar or an app if needed to make the habit stick and catch missed spots over time.
Sticking to a simple post-cleaning airflow routine will make dampness disappear and nip any mold threat in the bud.
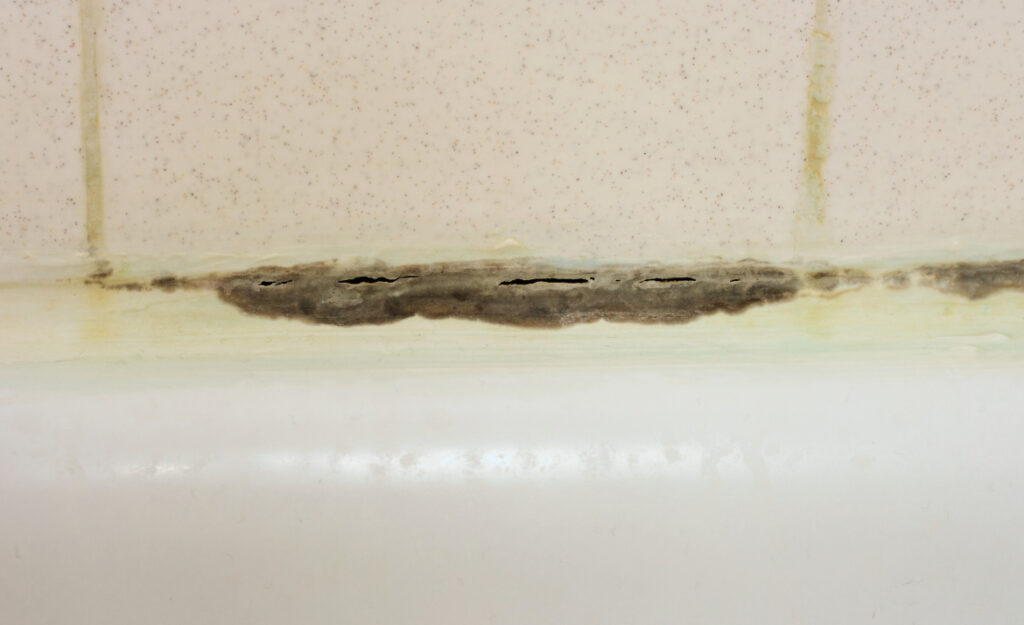
Seal Out Water Where Mold Tries to Enter
Blocking water from sliding into cracks, tile seams, or window gaps cuts mold risk down drastically. Sealant and grout act like an umbrella over vulnerable parts of your bathroom, buying you time and peace of mind.
Inspect these protective barriers every few months and patch holes or gaps. You’ll notice discoloring, flaking, or areas where caulk pulls away—prompt attention is your best defense.
Recaulk Where You Spot Gaps
Remove old, cracked, or peeling caulk using a plastic scraper. Clean the area thoroughly, dry it, and apply a fresh bead of bathroom-rated sealant. Smoothing it with a wet finger helps it stick tight, creating a fresh line that blocks out all water.
Say, “This old caulk by the tub is peeling – I’m removing it and laying down a new bead today.” Even a ten-minute fix like this makes a real difference in stopping that first mold patch.
Keep an eye out for recaulking needs after winter, when temperature swings stress materials most and hidden moisture can creep in behind seams.
Touch-Up Grout Before It Crumbles
Use a grout saw or tool to remove crumbly sections between tiles. Vacuum dust, then mix and press new grout into these spots. Let dry for 24 hours before exposing to water again.
If a tile joint looks darker, run your hand across – soft or loose grout needs attention. Say, “I’ll patch this today and check back in two days for dampness.” Immediate repair blocks slow leaks behind your walls.
Make touch-ups part of your spring or fall bathroom check. Treat it like oiling a squeaky door – quick fixes stop problems from spreading, and you prevent bathroom mold with little effort.
Choose Materials That Resist Mold Growth
Selecting the right materials at installation makes cleaning easier and prevents mold from hiding in hard-to-reach spots. Smooth, non-porous finishes keep water on the surface and out of nooks where spores like to take root.
If you’re remodeling or replacing fixtures, this section helps you make low-hassle, lasting choices that keep bathrooms mold-free for years—no harsh chemicals or constant scrubbing needed.
Go for Glass, Porcelain, or Glazed Tile
Glass shower doors, porcelain sinks, and glazed tile don’t absorb water like unfinished materials. Wipe down after use, and you remove 99 percent of potential mold food.
By contrast, unfinished stone or bare wood can hold moisture out of sight, inviting mold at the core. Choose gloss surfaces to make prevention as simple as a quick swipe after each shower.
Scripts help here: “If it wipes clean in one pass, it makes my anti-mold job easy.”
Swap Out Absorbent Accessories
Cotton bath mats and cloth curtains tend to trap humidity, giving mold a home within days. Replace these with mildew-resistant mats or fast-drying microfiber fabrics.
Plastic liners or vinyl-backed curtains block water and dry in minutes. They’re easy to toss in the wash for a reset and prevent bathroom mold from sticking around unseen.
This small switch can drastically cut down on those surprise musty odors and hidden stains, making your routine noticeably easier to manage.
Daily Habits: Stay Ahead of Mold With Tiny Tweaks
Daily routines shape your bathroom’s environment even more than big cleans. Make small, consistent tweaks so moisture and organic film don’t linger after you’re done in the space.
Try building these micro-habits into your morning and evening routines for results that stick. They stack up to a bathroom that smells fresher, looks cleaner, and shrugs off mold before it starts.
Squeegee and Wipe Every Time
Keep a squeegee hanging in the shower and swipe walls and door glass after every use. Encourage household members with a sticky note reminder—”Swipe when you’re done, mold’s gone for good.” This one-minute task dries surfaces that mold loves.
Quickly towel down stand-alone sink tops or splash-prone areas before leaving the room. Even a brief wipe removes unseen moisture buildup.
Avoid letting personal items sit wet; lift up soap or shampoo bottles and dry underneath at least once daily, catching hidden puddles.
Keep Showers and Curtains Open
Leave the shower curtain or door open after every use. Letting air flow through helps everything dry and eliminates hidden damp corners.
If you use shower mats, hang them up after your routine. This prevents the always-damp footprint that’s irresistible to bathroom mold.
Remind family members to check behind bottles, loofahs, or toys and move them aside during drying time for best results.
Check Humidity With Tools for Real Peace of Mind
Rely on technology to flag humidity issues before they become growth zones. Monitoring helps you catch tiny problems and fix them early, so you prevent bathroom mold and keep surfaces safe.
A digital humidity sensor or hygrometer takes the guesswork out of “Does it feel moist?”—it gives you a real number to guide your next step.
Install a Digital Hygrometer
Mount a battery-operated digital hygrometer away from direct water sources, at eye level. Ideal bathroom humidity is below 50 percent—check the screen twice daily during shower season or when weather shifts.
If the number creeps up consistently, review your ventilation, window, and fan routines. “The humidity’s 62 percent again – I’ll run the fan longer today.” Simple adjustments based on facts, not feelings, make your prevention rock-solid.
Consider logging readings in a notebook if you’re troubleshooting persistent moisture—it helps spot trends related to weather, seasons, or shower habits.
Use Dehumidifiers or DampRid Packs
If your bathroom lacks windows or has no mechanical vent, use a small plug-in dehumidifier or disposable DampRid pouch under the sink. These absorb excess moisture and prevent bathroom mold without any daily effort.
Plug-in models typically have indicators or auto-shutoff when full; empty as needed, usually weekly or after showers. Set a calendar reminder if you tend to forget.
DampRid or charcoal packs are silent and fast—replace monthly, and your bathroom will never have a chance to tip into mold territory.
Wrap-Up Steps: Summing Up a Mold-Free Bathroom
Take control by using timers, regular cleanings, smart materials, and tech tools, and you’ll prevent bathroom mold from ever getting started. Each step builds into a robust defense, ending the cycle of constant re-cleaning.
Make tweaks as your routines or bathroom size change. What worked for a two-person home might shift with kids, seniors, or after a remodel, so stay flexible while using these prevention anchors.
Your attention today protects tomorrow’s comfort. Keep surfaces dry, catch issues early, and you’ll enjoy a bathroom that feels as good as it looks every single day.
Frequently Asked Questions
Why does mold keep returning in my bathroom even after cleaning?
Persistent mold problems result from ongoing moisture sources—leaks, high humidity, or poor air movement. Address the root cause, not just visible spots. Fix leaks the same week you spot them, and use fans or open windows after each shower.
What is the quickest way to dry a bathroom after use?
A combination of a bathroom fan on a timer, open windows, and a brief squeegee or towel-down works best. Get everyone in the household to leave doors and curtains open until all surfaces feel fully dry to the touch.
Can natural cleaning products prevent bathroom mold?
Solutions like vinegar or hydrogen peroxide are effective on small patches and routine cleans. Use bleach only where needed on stubborn spots. Always allow surfaces to dry fully, as moisture—not just dirt—is what mold craves.
How often should I reseal grout or caulk?
Inspect sealant lines every 6 months. Recaulk as soon as splitting, discoloration, or pulling away appears. Timely repair prevents hidden leaks and keeps moisture from getting where mold could start growing out of sight.
Are bathroom mats a mold risk?
Yes—especially cotton or non-treated fabric mats. Choose quick-drying, anti-microbial options and hang them after each use. Washing them in hot water weekly keeps them safer and nip smells or mildew before they start.