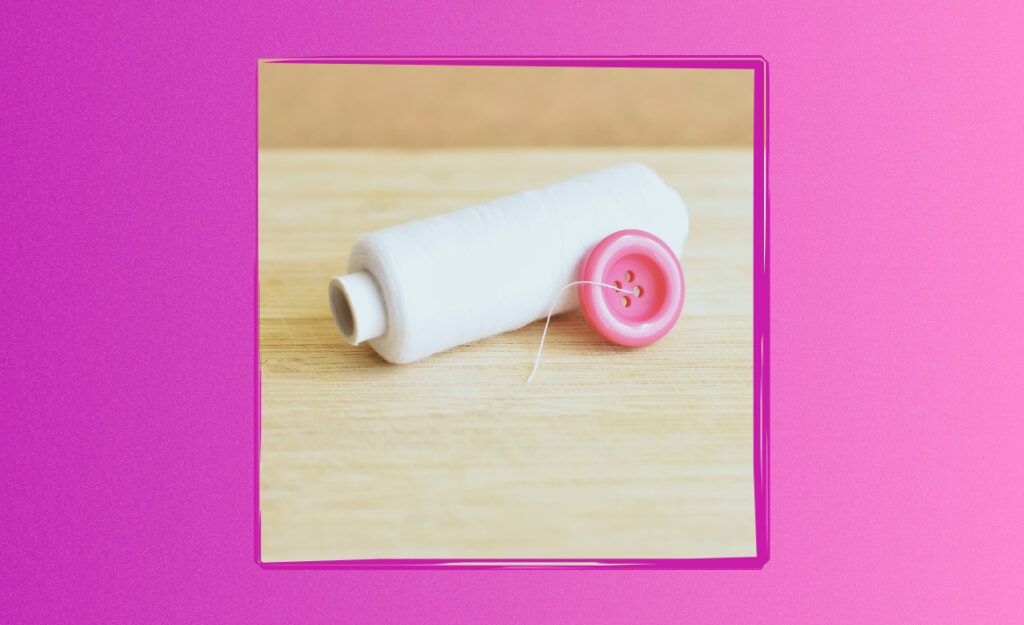
Every fabric item eventually faces wear, but small changes in care can make a big difference. Take a moment to consider the value you get from a favorite bag or jacket. Learning how to reinforce fabric ensures pieces will last much longer.
When you reinforce fabric, you’re actively protecting clothes, accessories, or upholstery from rips and sagging. Even a little extra attention means you won’t have to replace beloved items so soon. Stronger seams create visible confidence in the durability of every stitch.
This guide offers practical tips to reinforce fabric, from simple at-home fixes to more advanced strategies. Explore realistic examples, actionable checklists, and proven rules to bring new strength to everything sewn or upholstered.
Repair High-Stress Areas Right Away
Start reinforcing fabric by strengthening the exact spots exposed to stress. Shoulders, elbows, knees, and bag corners show wear fastest—addressing these areas avoids future headaches and keeps items looking new.
Replace threadbare seams or thinning patches early. Immediate repairs prevent further damage and can restore structure and stability. Use fabric patches, darning, or double-stitching for visible weaknesses.
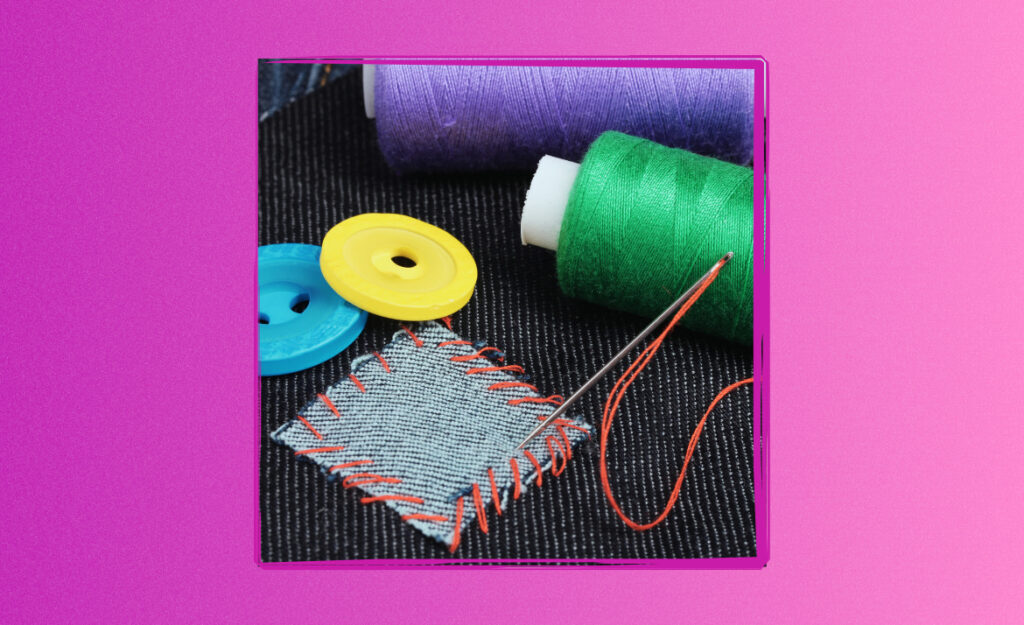
Stitching Repairs: Use Closely-Spaced Stitches
Tight stitches create more grip and distribute stress evenly. When threads are closer together, small tears don’t spread as wide. Choose a short stitch length—set your machine to 2mm, or use hand-sewing with small, even loops.
Run your fingertip across the seam to check for smoothness. If any threads catch or feel uneven, reinforce the area with a second line of stitches. This halts fraying and locks fabric edges in place.
Imagine a backpack’s bottom seam: by double-stitching along the join, each outing poses less risk for a split or tear. Reinforce fabric consistently for a long-term boost in reliability.
Patch Application: Pick Durable Materials
Choose patch fabrics that match or outperform the original garment. Denim, canvas, or ripstop nylon provide strength for elbows or knees. Always pre-wash and press patches before attaching for a smoother result.
Cut patches with rounded edges, since corners lift and catch more easily. Use a heavy-duty thread for visible repairs; a light touch with applique can hide patches beneath a layer for invisible support.
Test patch placement by flexing or stretching the fabric. If the patch covers the high-stress zone fully and won’t shift, sew slowly around the edges and use a zig-zag or straight stitch for extra hold.
Table: Repair Techniques for Key Garment Zones
| Area | Method | Materials | Action Step |
|---|---|---|---|
| Elbows | Iron-on patch | Heavy fabric, adhesive patch | Press patch over worn area, stitch around edges |
| Knee | Double-stitch | Strong thread, matching cloth | Sew parallel lines across thin spots |
| Bag Corners | Hand-darning | Darning needle, thick thread | Weave thread tightly across hole |
| Jacket Seams | Bias tape reinforcement | Bias tape, thread | Sew tape inside seam allowance |
| Pockets | In-seam patch | Iron-on or sew-in patch | Attach inside pocket, sew perimeter |
Add Strength with Seams, Linings, and Stays
Applying layered reinforcements, like double seams or internal linings, upgrades every piece. Double-stitched seams prevent gaping and unraveling. Linings minimize friction against the outer layer, lowering fabric stress day-to-day.
Inserting stays, such as bias tape or twill tape, strengthens areas susceptible to stretching out. Use lining for jackets or dresses; the extra layer absorbs body oils and movement, so the shell remains crisp and less likely to tear.
Sturdier Stitching Choices
Switch from a basic straight stitch to a reinforced zig-zag or triple stitch for areas that need more resilience. These patterns flex with movement and don’t unravel if a single thread breaks—ideal for activewear and workwear.
- Choose zig-zag for stretchy knits, since it stretches without popping threads
- Triple-stitch pants inseams to double lifespan before fraying develops
- Backstitch corners on pocket tops to resist daily tugging
- Bar tack belt loops for maximum strength with minimal bulk
- Alternate seam directions to reduce pulling stress from daily movements
Using advanced stitches can prevent minor problems from growing into big repairs.
Lining and Stay Placement
Install lining by measuring the inside shape, cutting duplicate pieces, and tacking them in place with slip-stitches. The result is smoother, longer-lasting attire that’s comfy against the skin.
- Use cotton or silk lining for breathability with formalwear—crisp feel stays longer
- Twill tape inside shoulder seams stops stretching in button-ups
- Bias tape along zipper edges shields the fabric from snagging teeth
- Add fusible interfacing behind embroidery to support delicate stitching
- Layer interlining for thermal curtains and achieve better insulation and durability
Building reinforcements inside garments means less visible wear and longer enjoyment.
Prevent Fraying Edges with Effective Finishing Steps
Sealing fabric edges fights unraveling, and it’s a fast way to reinforce fabric before wearing or washing. Serging, pinking shears, or seam binding all help keep raw edges intact after each cycle.
Spray sealants or liquid fray checkers work well for small projects or difficult-to-reach spots. Double folding the edge, then top-stitching, creates a smooth finish ideal for lightweight woven fabrics or linings.
Use Sergers and Decorative Overdresses
Sergers cut and overlock the edge in one pass, perfect for finishing cut edges on anything from T-shirts to curtains. Decorative overedges, like scallops or blanket stitching, add flair while enhancing resilience.
A home sewer notices her napkins lose threads at the corners. She runs a serger around the edge, preventing unravelling through hundreds of washes. Reinforce fabric before items hit the laundry for better results.
Embellishments, like ribbon or lace trims, also act as physical shields for edges. Secure trims with a close zigzag or running stitch for both beauty and function.
Seam Binding for Specialty Fabrics
Wrap raw seams with bias tape or seam binding to protect specialty fabrics from shredding. This step is crucial for silks, satins, or loose-weave linens. The bond keeps fragile yarns from escaping.
Measure a binding strip slightly longer than the seam, press it flat, and sew close to the folded crease. For delicate materials, opt for hand-sewing to minimize puckers or stretching.
Vinyl and oilcloth benefit from binding too—vinyl-backed cotton placemats, after bound by hand, resist peeling and last several seasons. Always finish seams on washable items to boost longevity.
Build Routine Fabric Maintenance Habits
Consistent, thoughtful care preserves fabric condition and delays repair needs. A few regular habits keep clothing, linens, and gear at their strongest between major fixes. Simple checks and conscious cleaning reduce unnecessary weakening.
Start with a quick inspection when putting items away. Check for thin spots, popped threads, or missing buttons. Addressing repairs in real time helps reinforce fabric before the problem grows.
Weekly Washing Dos and Don’ts
- Sort laundry by color and fabric weight to avoid abrasion between harsh and delicate items, preserving fiber strength
- Use cold water for most loads—hot water degrades fibers and fades dyes faster than cold rinses
- Avoid overloading the machine, which torques seams and accelerates breakage in tighter-packed loads
- Turn items inside out to shield prints or embroidery from direct drum contact and friction
- Dry flat or hang to air dry when possible, reducing shrinkage and seam strain that dryers cause
Each routine step, while simple, extends the life of every reinforced piece in your wardrobe or home.
Match Reinforcement Methods to Fabric Type
Choosing the right reinforcement style for each fabric ensures outcomes look good and wear naturally. Some strategies work better on woven textiles, others on knits, synthetics, or blends. Invest time in testing techniques.
Heavy canvas or denim can handle bold patches and double stitches; delicate silks require gentle lining or hand-stitched support. Understanding properties early means repairs blend seamlessly and don’t lead to puckering or stiffness.
Support Stretch Fabrics Without Restriction
Use flexible interfacing on the reverse side of stretchy garments, like leggings or jersey tops, to reinforce fabric while preserving movement. Always select lightweight, woven interfacing—never stiff, woven types that can clamp and distort shape.
Reinforce fabric by serging seam allowances for stretch, using woolly nylon or polyester thread for extra give. Sew with a narrow zig-zag or stretch stitch, moving fabric gently to avoid overstretching while sewing.
Before starting, try the process on a scrap. Stretch-fabric reinforcements work best in high-tension areas like knees or waistbands, and visible seams benefit from top-stitching after reinforcement.
Bolster Lightweight Fabrics Invisibly
Delicate fabrics like voile, chiffon, or organza need soft lining to prevent tearing. Slip-stitch a layer of fine cotton or poly lining to the reverse for invisible support that moves with the garment.
Apply interfacing—fused with a cool iron—for small areas, such as button stands or collar points. Work in small patches, placing them behind the outer fabric and allowing a 1/8-inch seam allowance to blend edges.
A wedding dress, for example, benefits from mesh interfacing behind beadwork. This subtly reinforces fabric, letting the gown remain airy without sagging or splitting under weight.
Plan for Long-Term Durability Before Cut or Construction
When building new projects, add reinforcements from the start. Look for ways to double up fabric, line whole panels, or install hidden supports. Early action makes items last longer with far fewer future repairs.
Check project instructions for ways to reinforce fabric in design—consider French seams, stay-stitching curves, or backing embroidery with stabilizer. These choices become invisible but critical as items age.
Construction Planning for Bags and Accessories
Cut bag bases or handles from heavy canvas or interfaced denim. Fuse extra batting or fleece between layers for structure, then stitch panels together. The extra bulk keeps bags upright and resists sagging—essential when carrying heavy items.
Apply bias tape on seam interiors. This step blocks loose threads and keeps water from wicking through corners. Zipper ends get folded fabric tabs to stop pulls from popping seams.
Before finishing edges, tug test all handles—pull up and down firmly. If any pull or shift occurs, resew or add reinforcing lines before the lining goes in. Repeat for every seam exposed to stress.
Checklist: Durable Garment Construction
- Prewash fabric to reveal shrinkage early and notify about fiber resilience pre-sewing
- Use all-cotton or polyester-core thread, which outlasts blends under friction
- Bar tack start and end points for zippers and pockets to block strain during use
- Sew double-stitched seams at stress points, like shoulders, gussets, or inner thighs
- Fuse interfacing or sew-in stays behind closures—snaps, buttons, and hook-and-loop tape all generate concentrated tension
Every proactive step pays off with extended performance and fewer mends over time.
Choosing Materials That Improve Fabric Life
Longer fabric life starts by picking durable basics: quality threads, heavy-duty cloth, and properly matched patches. High-performance materials create a foundation for repairs and custom projects that handle real-world stress with grace.
Selecting fade-resistant dyes or tightly woven textiles keeps colors bold and fabric surfaces smooth through use. Weather-resistant or coated fabrics work outdoors, on work gear, and in high-use items like bags or couches.
Comparing Core Materials
| Material | Durability | Best Use | Reinforcement Note |
|---|---|---|---|
| Cotton | Medium | Shirts, everyday wear | Line with interfacing for extra strength at seams |
| Denim | High | Pants, jackets, bags | Use reinforced patches or double stitching |
| Canvas | Very High | Bags, upholstery | Interline panels for best longevity |
| Polyester blends | High | Activewear | Pair with stretch interfacing for knees/waist |
| Nylon | High | Outdoor gear | Apply waterproof tape along seams |
The choice of reinforcement material shapes the quality and performance of every finished piece.
Keep Clothes Stronger, Longer with Consistent Care
Regular checks and quick fixes extend the life of every fabric item. By inspecting areas like elbows, knees, and bag handles before problems appear, you’ll minimize major repairs and maintain a polished look with less effort.
Rotating items—like setting aside shirts between uses—lets fibers recover from stretch and strain. Spot-clean stains promptly, following care tags to avoid unexpected shrinkage or damage. A little daily attention keeps minor issues manageable.
There’s no magic solution, just simple habits and a mindset of respect for quality workmanship. Reinforce fabric when adding new items to wardrobes or homes and make small improvements as needed to create lasting value every day.
Frequently Asked Questions
How can I reinforce fabric at home without special tools?
If you don’t have a sewing machine, use hand-sewing to double-backstitch areas that look thin or worn. Iron-on patches, fusible interfacing, and strong thread offer great reinforcement with minimal tools. Always test on a scrap first for compatibility.
Which fabric patch materials work best for kids’ clothes?
Look for cotton canvas, denim, or ripstop nylon patches. They’re durable, resist daily play, and won’t unravel easily. Prewash the fabric and patch for shrinkage, cut rounded shapes, and apply with either hand-sewing or machine stitching for long-lasting performance.
Is it worth reinforcing new clothes or just damaged ones?
Reinforcing new clothes, especially at known stress points like pocket edges or inner thighs, can dramatically extend their life. By adding a few stitches or internal patches right away, you’ll prevent rips before they start and enjoy longer wear from each piece.
Does reinforcement always show on the outside?
Most reinforcement methods are hidden on the inside: linings, bias tape, and interfacing all work invisibly. Visible methods, like contrast stitching or decorative patches, can become stylish features. Pick your approach based on wear location and desired look.
What’s the best way to reinforce fabric edges on lightweight dresses?
Double-fold the raw edge, press, and top-stitch for an unobtrusive finish. Alternatively, use fine bias tape or a serged edge for even more security. Lightweight linings add discreet support in high-stress areas, letting your dress move freely without premature tearing.