Everybody faces torn hems or loose buttons, and plenty of us wish we knew how to fix our favorite clothes quickly. Learning to repair clothes isn’t just practical, it puts control back in your hands and makes favorite pieces last.
Awareness of simple repair clothes skills leads to less waste, fewer shopping trips, and the pride of making do with what you have. Small, manageable fixes can make a huge difference in your wardrobe’s lifespan, and you don’t need fancy tools.
No matter your experience, this guide will show how to repair clothes with minimal supplies. Dive in for actionable steps, habit-building tips, and advice you can start applying right away.
Tackling Everyday Clothing Fixes Without a Full Sewing Kit
You’ll learn to complete repairs like fixing loose seams or patching holes using only the essentials—needle, thread, and scissors. These skills fit seamlessly into any routine and save countless garments from being tossed away early.
Grabbing a spare button or patching a small tear needn’t mean a trip to the tailor. By understanding the basics, anyone can repair clothes at home fast and affordably, even when time or resources are limited.
Thread and Needle Selection Rules
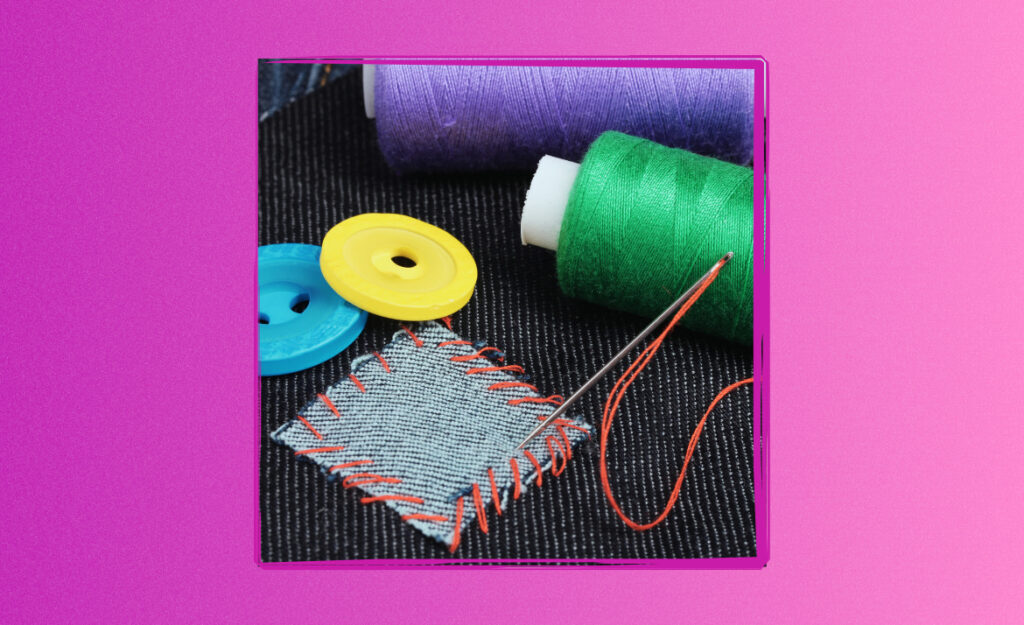
Choose thread that matches your garment color closely for the most discreet repair. For thicker fabric, use a sturdy hand-sewing needle. Match thickness: delicate thread for silk shirts, heavier thread for denim.
Always cut enough thread to cover the area, then knot securely before starting to sew. Avoid extra-long thread; too much length causes tangling. Watch your tension so stitches aren’t too tight or too loose.
Use these words before sewing: “I’m focusing on keeping my thread flat and smooth as I go.” Attention to detail keeps repairs neat and durable. Replace dull needles—sharp points lead to cleaner, faster work.
Scenario: Repairing a Hem on Short Notice
Picture this: just before work, you discover your pant hem coming undone. Instead of changing plans, snip a length of thread, thread your needle, and sew a simple running stitch along the edge.
Don’t worry about perfection on the first pass. Prioritize getting the hem secure so you don’t trip and your style stays intact. Finish with a hidden knot and snip away excess thread.
By paying attention to small repairs right away, you avoid larger issues down the line. Prevent further unraveling and extend the life of your trousers or skirts with three minutes of focused mending.
| Repair Type | Essential Supply | When to Use | Actionable Tip |
|---|---|---|---|
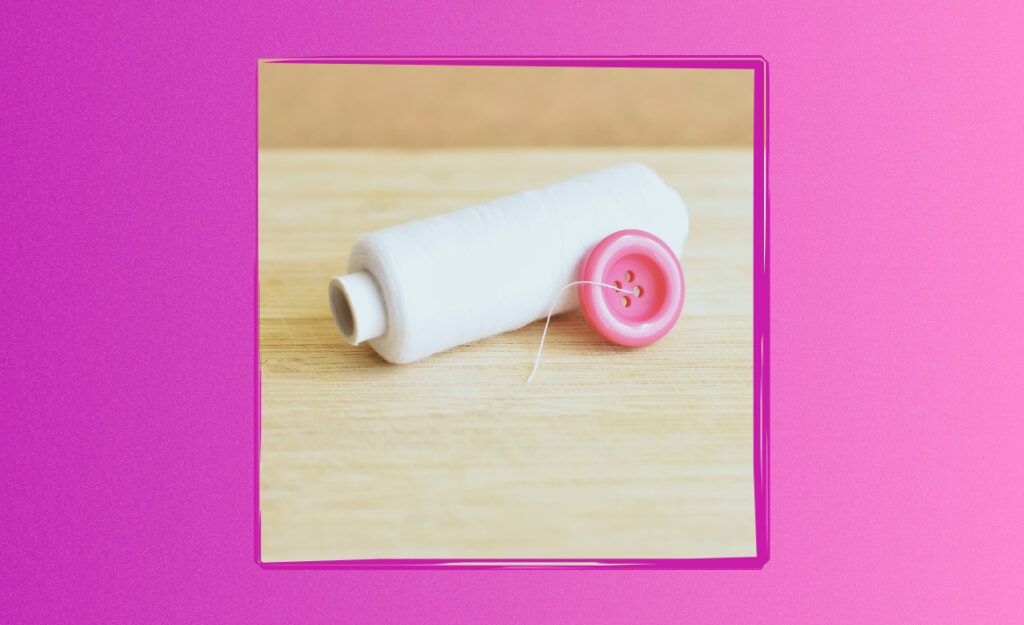
| Loose Button | Needle, Thread | Button dangles or falls off | Wrap thread around shank for stability |
| Hem Tear | Needle, Thread, Scissors | Hem unravels, shorts/frays | Secure corners before sewing full seam |
| Small Hole | Needle, Matching Thread | T-shirt or dress catches on sharp object | Sew in a small circle, not a straight line |
| Minor Seam Open | Needle, Strong Thread | Armpit or side seam splits | Double-stitch for reinforcement |
| Popped Elastic | Safety Pin, Needle, Thread | Waistband or cuff stretches out | Thread safety pin and guide elastic back through |
Building Handy Repair Clothes Habits for Your Wardrobe’s Longevity
Adopt simple habits for maintaining and repairing clothes that blend into your regular laundry or closet routine. This proactive approach reduces abrupt, last-minute scrambles to fix garments and preserves their quality.
Checking clothes for small problems before washing keeps tiny holes from growing. Set aside a ten-minute window each month for routine fixes, tackling small issues before they become stressful emergencies.
Creating a Low-Stress Mending Routine
Begin by designating a small pouch or drawer for basic repair supplies: a couple of needles, several thread spools, a pair of scissors, and extra buttons saved from garments. Placement near your laundry basket encourages repairing at the perfect moment—just before putting clothes away.
- Check seams as you fold laundry—catch loose threads early and fix them before washing, so damage won’t spread or worsen.
- Hang shirts with visible mends inside out for later fixing, reminding you to address problems quickly without forgetting where they are.
- Keep a small light or magnifier with your repair kit for seeing tiny problems. You’ll save time and avoid eye strain by addressing potential snags or tears before they get larger.
- Adopt a “fix one, wear one” mindset—every mended item is returned to active rotation in your closet, so repairs always feel directly rewarding.
- Document repairs in a note app if you manage a family wardrobe. Noting when repairs happen prevents repeat damage and helps prioritize attention where needed.
Practicing this routine once the habit is set creates less urgency and stress. You’ll find the act of caring for clothes becomes instinctive and woven naturally into daily living.
Essential Steps for Managing Repair Supplies
- Stick needles into a pin cushion or scrap of thick fabric—lost needles cause delays and danger during regular repair clothes tasks.
- Store thread spools upright to prevent tangling and knots. Sorting by color also shortens search time whenever you quickly need a match.
- Mark a section of your supply box for “miscellaneous” pieces, such as leftover patches or tiny appliqués. Being able to grab these prevents substitute materials from creeping into important projects.
- Keep sharp scissors only in your kit. Kitchen or school scissors fray thread, slowing repair and making stitches messy.
- Dispose of bent or rusted needles (wrap in paper) so reusable items stay reliable, and your fingers stay safe during every single repair session.
Nicknaming your supply bag—”mend bag,” “fix-it pouch,” or another name—adds familiarity, making it easier to adopt ongoing repair clothes habits around the home or while traveling as well.
Spotting Small Clothing Issues Before They Grow
Learning to spot wear early on prepares you to make quick mends that prevent more complex repairs later. You’ll discover that clothing longevity comes as a result of sharp observation and regular, minimal interventions.
Set aside time each week when fresh laundry comes out of the dryer or off the line. Look closely at pocket corners, inner sleeves, and hems—areas where minor damage sneaks up undetected.
Identifying Hidden Trouble Zones
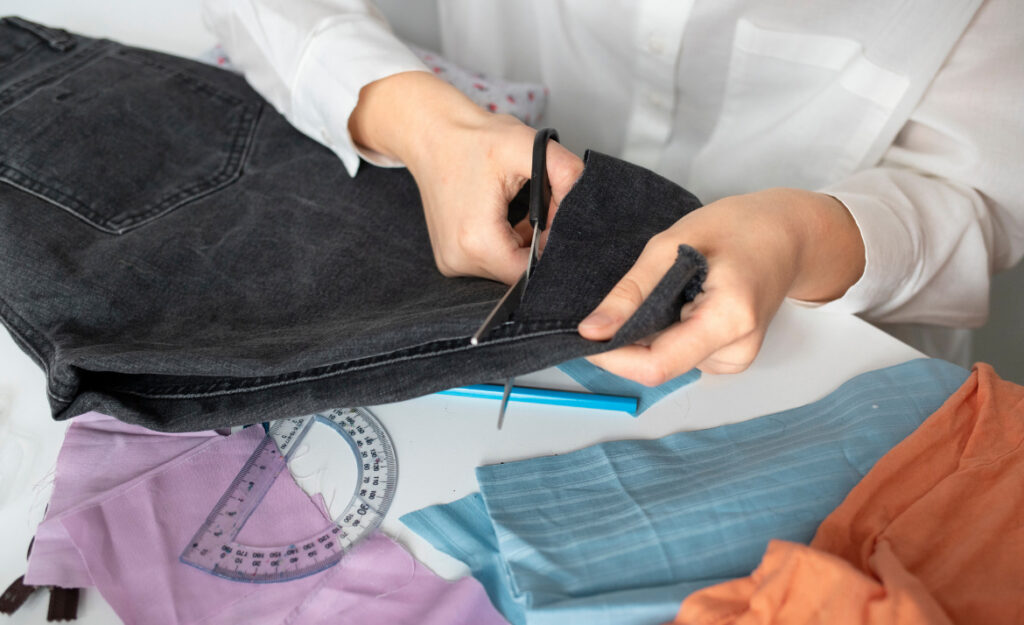
Pants and jackets develop little weaknesses near pocket openings or stress points like elbows and knees. By gently tugging at these areas, you can see whether fabric gives too much or tiny holes have begun to form. Immediate mending, not waiting for holes to widen, is the rule.
Turn shirts inside out as you inspect. You might spot faint seam separation or stretched stitches. Repair clothes as soon as you spot these flaws so you won’t face emergency repairs later that are more time-consuming or that demand tricky patchwork.
Examine decorative elements—appliqués, badges, ribbons—at fingers’ width. Evaluate the stability of stitches holding these items. Catching loose attachments early ensures that details don’t disappear in washing machines or wherever clothes rub most.
Action Scripts: Scheduling Regular Wear Checks
“Every Sunday evening, before planning my outfits for the week, I’ll spend five minutes inspecting cuffs and buttons.” This routine uses existing downtime—just after folding or ironing—to fit repair clothes habits into your week.
Experienced home managers suggest working left to right along the closet, checking each clothing item in sequence, so nothing is missed. Use good overhead lighting and, if possible, natural daylight for best visibility.
After inspecting, set aside a single small piece for immediate repair. Completing a quick fix (instead of waiting to batch repairs) means damaged items don’t get pushed back in the closet, only for you to forget them entirely.
Getting Quick Clothing Fixes Done With Minimal Resources
Anyone can patch minor holes or mend small tears using just thread and a needle, guided by three key techniques: running stitch for speed, whipstitch for edges, and ladder stitch for closing seams invisibly.
Focusing on one problem area at a time, you’ll see immediate progress, and frequent repetition of these moves makes repair clothes work second nature after only a few repairs. Practical fixes keep cherished items in daily use.
Mini Checklist: Preparing for Fast Fixes
1. Thread pre-cut to arm’s length before starting. 2. Needle already threaded in advance. 3. Clean hands and flat workspace. 4. Garment gently pressed or smoothed to expose repair area. 5. Strong lighting for accurate stitches.
Carry a mini repair kit in your bag if you travel or go to events. A folded business card, wrapped in thread with a small needle clipped on, offers security in case there’s an unexpected button loss or hem unravels during the day.
Practice running stitches on scrap fabric while watching TV so hand movements feel natural. Refine your tension control by watching the way stitches lay next to each other and correcting as you go, making each session more efficient.
Realistic Example: Fixing a Shirt Under Time Pressure
Your favorite work shirt has a split cuff right before a presentation. You grab your emergency kit, thread the needle with neutral-colored thread, and use quick whipstitches to close the split just enough so it isn’t visible from a distance.
This process takes under three minutes. You smooth the fabric to check that it lies flat and cut away any stray threads. The repaired garment feels secure, and you’re not distracted from important events by a minor clothing mishap anymore.
Keep in mind, willingness to repair clothes in-the-moment shapes your attitude toward all garments—simultaneously practical and resourceful. Building repair habits increases the odds you’ll never have to discard something you love for a minor issue.
Conclusion: Repairing Clothes Empowers Everyday Living
Mending your wardrobe with minimal supplies brings enormous value. Utilizing repair clothes tactics not only saves money and reduces stress, but also helps build a toolkit of skills everyone can use at a moment’s notice, regardless of age or lifestyle.
This skill set means favorite items—Samantha’s childhood dress, Dad’s favorite work shirt, or your best jeans—can stay in circulation, fostering connection and care for the things you own. Small acts of repair extend emotional and practical lifespans alike.
Learning to repair clothes isn’t only about practicality. It’s a micro lifestyle skill that deepens your relationship with the objects you use and love. Try your first repair today and feel the benefits ripple through both your wardrobe and your daily routine.
Frequently Asked Questions
What’s the fastest way to sew a missing button with basic tools?
Thread a needle, insert the button through the original holes, wrap the thread around the base a few times, knot the thread firmly, and cut. The button is secure enough for daily use in under five minutes.
Can I repair clothes with glue if I don’t have a needle and thread immediately?
Fabric glue or double-sided tape can hold hems or patches in place for a few hours. It isn’t a lasting fix but buys time until a proper needle-and-thread repair is possible.
Is it necessary to match thread color exactly when mending clothes?
Matching the thread color as closely as possible makes repairs look professional. If you can’t find a perfect match, use a neutral color (gray, navy, or black) to keep visible repairs less obvious.
How do I reinforce a seam that’s prone to splitting?
Double-stitching—sewing the same line twice—adds strength to high-stress areas. Use shorter, tighter stitches for reinforcement and check after each wash to address new wear quickly.
What should go in a minimalist clothing repair kit?
Include two sharp hand-sewing needles, three basic thread colors (black, white, navy), small scissors or nail clippers, a safety pin, and a few extra buttons. Store it in a compact pouch you can keep in your closet or bag.