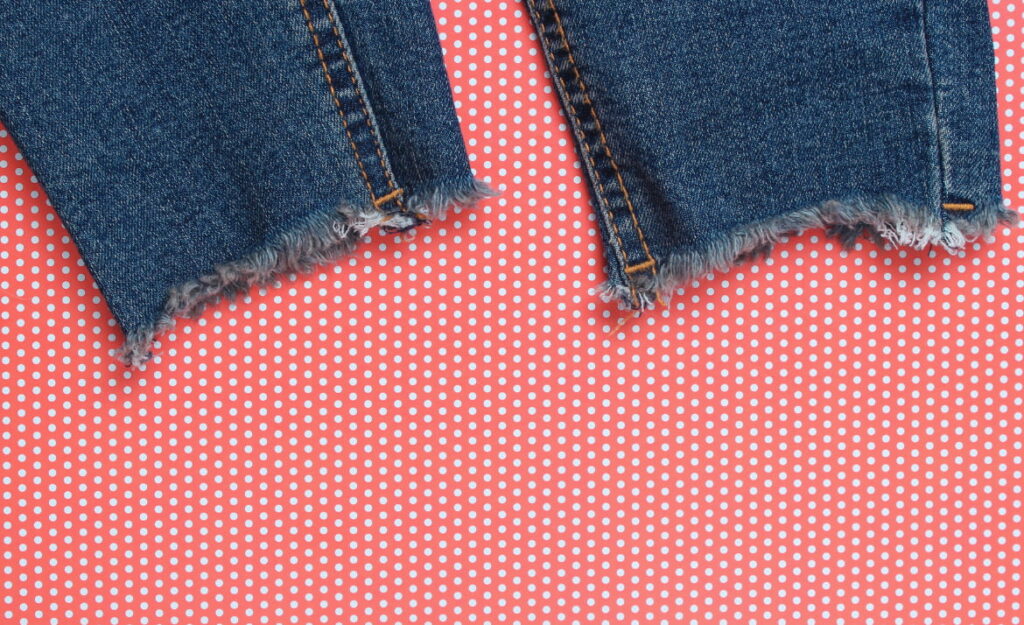
Nothing interrupts a favorite day like spotting a split in the hem of well-loved jeans or noticing worn-down stitches in a dependable jacket. Small seam issues, such as popped threads or loose fabric, can intensify fast if left unchecked. That’s why people who repair seams at the first sign of trouble see their clothing last much longer, saving money and hassle.
Seams are the backbone of every garment, holding fabric together against all forms of bending, stretching, and movement. When a seam weakens, the fabric’s stress points become vulnerable. It’s easier and faster to fix a problem while it’s small than to face replacing a favorite piece altogether.
This guide walks through practical, real-world steps you can try today to repair seams and protect your wardrobe. Whether you sew regularly or are just learning, these tips help you get neat, durable results every time.
Spot Seam Issues Early to Avoid Big Problems
Catching seam wear before it gets worse lets you act quickly and prevent further damage. A regular check for signs of seam stress saves time later.
For example, gently tug at seams along frequently-used clothes and look for visible gaps, fraying, or loose threads. Don’t pull harshly; a light touch can reveal trouble spots.
Pinpointing the Start of a Seam Failure
Notice where threads appear shiny, irregular, or spaced further apart than elsewhere. This could signal stitches giving way under strain. Each time you see a thread breaking loose, mark that spot for immediate attention.
Run your finger along seams when folding laundry. You might feel raised bumps or roughness where fabric layers have shifted apart. Listening for a faint tearing sound, like a zipper snagging, gives you another clue to act soon.
If seams are under stress in elbows, knees, or pockets, see if the surrounding fabric stretches or puckers. Immediate repairs keep the entire section secure, instead of letting holes grow.
Key Questions to Ask When Inspecting Clothes
Ask yourself, “When did I last wear this? Has it outlived more than two seasons?” Long-used clothes are more likely to have hidden seam issues.
Glance at the inside as well as the outside. A seam that feels strong on the outside may be coming apart within. Inspect seams in high-movement areas first (like underarms or inside legs).
If a garment made it through several washes, flip the item inside out and look at the whole seam line. Breaches in stitching are usually most visible there.
| Sign of Wear | Location | Immediate Action | Next Step to Take |
|---|---|---|---|
| Loose Threads | Pocket corners | Trim and knot ends | Observe seam after next wash |
| Frayed Edges | Hemlines | Apply fray check | Stitch over edge if needed |
| Stitches Spaced Out | Side seams | Reinforce with matching thread | Reinspected after two wears |
| Fabric Gaping | Armpits | Pin and restitch by hand | Check comfort after repair |
| Thread Color Missing | Shoulder seams | Thread matching needle | Test repaired site for strength |
Gather Your Repair Tools for Seam Recovery
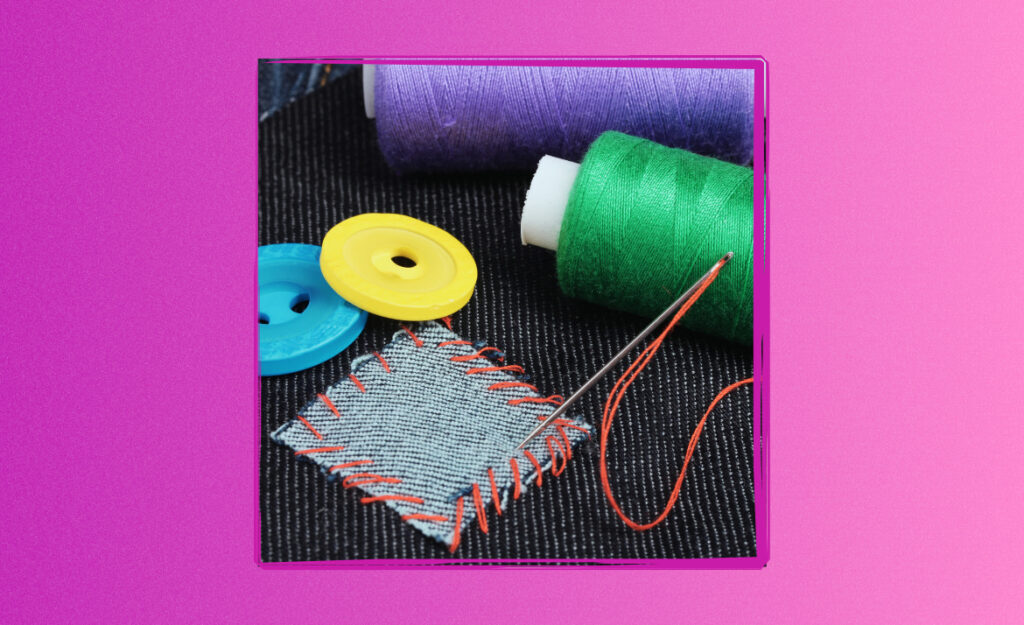
Having the right gear at reach ensures your seam repairs work efficiently and hold strong. Gather a clean workspace, an assortment of sewing needles, and sharp scissors as a solid foundation.
Versatile thread choices, such as polyester, cotton-wrapped, or extra-strong blends, give you greater control over different fabrics and seam lengths.
Choosing the Right Needle and Thread
A universal needle with a medium weight suits most denim, shirts, and jackets. Thicker fabrics need a heavier, robust needle, while lightweight or delicate fabric relies on finer needles for minimal distortion.
Polyester thread matches with synthetic fabrics and stretches slightly, allowing movement in activewear. Cotton thread blends well with linens, cottons, and natural fibers, offering a smooth finish and good grip.
Reserve contrasting thread colors for decorative repair seams or visible mending projects. Otherwise, always select matching colors to make repairs less noticeable.
- Pre-thread 2-3 needles: Prepping ahead avoids downtime from rethreading and supports quick seam fixes for multiple garments without delay.
- Keep a tape measure handy: Measuring the length of each damage helps cut thread and fabric patches to precise sizes, avoiding waste.
- Stock a thimble for dense fabrics: Using a metal or durable plastic thimble shields your fingers when pushing needles through heavy seams.
- Mark damage with tailor’s chalk: Outlining the start and end points of a torn seam clarifies exactly where to repair, especially on dark fabrics.
- Pin sections before sewing: Pins secure layers and keep the seam aligned for a straight, even appearance after the repair is finished.
With these basics, begin repairs prepared and avoid unnecessary frustration or mistakes related to poor tools.
Extra Accessories that Simplify Repair
Stash small spools of fusible bonding tape for instant stabilization before full repairs. Temporary fabric glue can close emergency seams until a more permanent fix is possible at home.
- Use a seam ripper to remove damaged stitches, making way for smoother, cleaner repair lines during hand sewing or machine stitching.
- Gather small fabric patches in matching color for reinforcing weak spots, preventing future tears and prolonging the life of each seam repair.
- Label different thread types with sticky notes to match them with each garment, so you avoid confusion mid-repair or future mix-ups.
- Store needles in magnetic or foam holders for safe access, preventing accidental pricks and keeping materials tidy between repairs.
- Prepare a zipper-foot sewing machine attachment for tackling tough areas like jackets or jeans, giving you precision control over tricky seams.
Together, these items equip anyone—novice or seasoned repairer—to achieve successful, sturdy, and quick seam restorations at home.
Fix Popped Stitches with Confident, Even Results
Addressing visible seam gaps right away ensures repairs blend with the original garment design. Begin by examining how the seam opened and then plan your approach to replicate the original stitching pattern.
Seam repairs are smoothest when you start slightly before and finish slightly after the torn area, overlapping with intact stitching for extra durability.
Hand Sewing a Small Tear
Thread a needle with a double strand and knot the end. Start at least one half-inch before the damage and insert the needle through the existing seam hole to blend in visually.
Secure the first stitch by looping twice, then proceed with evenly spaced backstitches, mimicking the “railroad track” appearance of machine sewing for strength. Check for puckering with every few stitches and gently adjust tension to prevent shrinkage.
Finish with a double knot and trim close, test by lightly stretching the mended seam, and repeat over weak sections for confidence. Use this method whenever you repair seams by hand—practice improves outcomes.
Machine Repair for Mid-Seam Gaps
Slide the garment under the sewing machine presser foot, aligning the broken area. Lower the needle about half an inch before the gap, follow the existing stitch holes, and backstitch twice at both the beginning and end.
Guide the fabric gently using both hands, avoiding any tugging; let the machine feed the material naturally to prevent drifting off the line. Set the stitch length to match the garment’s original for consistency.
Once finished, check the seam flat on a surface. If it looks slightly uneven or puckered, steam press gently on the wrong side to relax the repair. Only trim excess threads once you’re satisfied with the appearance and strength.
Stabilize and Strengthen Weak Seams Fast
Reinforcing a seam can keep it from splitting again, especially in high-movement or high-wash zones. Practical reinforcement options include double stitching, fabric patches, or sewing in additional fabric strips along the seam’s inside.
Move quickly after finding a problem, as repeated wear without attention allows holes to widen and threads to unravel with every movement.
Reinforcement Mini-Checklist
1. Double stitch the repaired area: Sew a second parallel line for twice the strength, especially in stress points such as underarms or side seams.
2. Add fusible interfacing: Press a thin strip of fusible interfacing over the repair’s backside to anchor thread securely and avoid stretching during future wear.
3. Hand sew with whip or blanket stitches along fabric edges: These protect loose or fraying edges, giving your seam extra resilience when you air dry or wash delicate garments.
4. Apply fabric glue along raw seam allowances: Temporary glue seals threads from unraveling until you have time for a more thorough repair.
5. Use fabric strips or bias tape on lengthy or repeating splits: Pin a strip inside the garment, then sew flat, creating hidden reinforcement against further damage.
Scenarios for Preventive Action
If school uniforms come home with small seam holes, repair seams promptly and reinforce stress points before the next wear. For outdoor gear that snags on thorns, reinforce damaged seams, even for short hikes, just in case an emergency arises.
Business attire gets frequent use, and seams at the shoulder and inner leg experience the most friction. Quick stabilization means your wardrobe survives the rigors of daily routine without awkward gaps appearing during meetings.
Instead of throwing away kids’ play clothes with seam tears, reinforce three to four trouble spots and extend each item’s lifespan. It’s cost-effective and saves favorite outfits from disappearing prematurely.
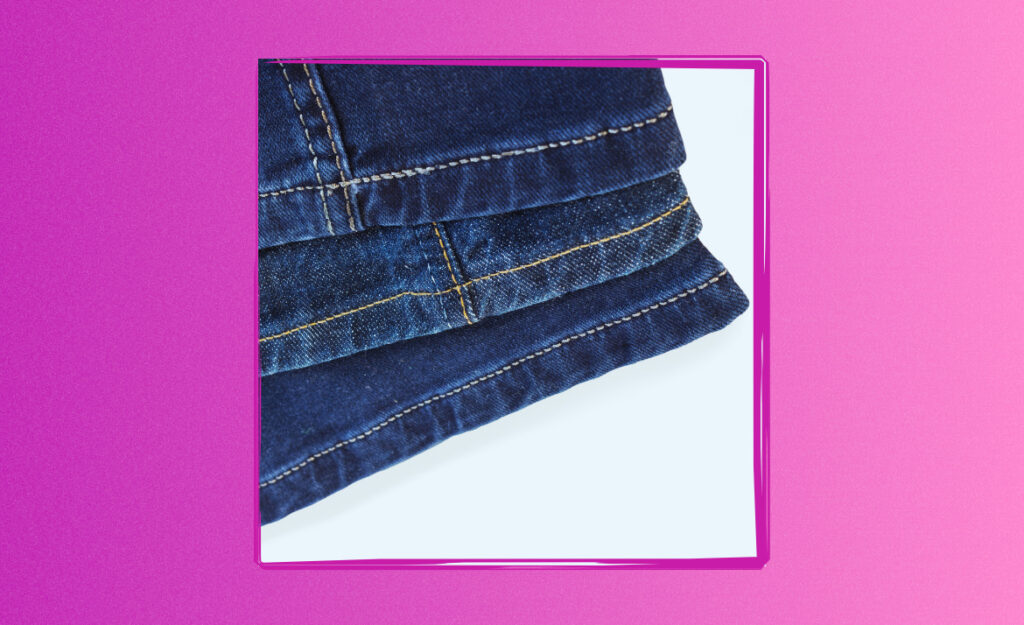
Restitch Fraying and Fragile Edges Like a Pro
Caring for hems, necklines, and cuffs by restitching frayed seams prevents full splits and helps your clothes look clean. Address any loose, fuzzy, or separated edges right away to prevent difficult recovery later.
Aim for tidy, even stitches pulled just tight enough to flatten the fabric, not distort it. Position the needle exactly at the start and end of each open spot for seamless blending.
Preventing Unraveling During Washes
Handwashing or gentle cycle settings, paired with a mesh laundry bag, extend the life of your repairs. For older garments, loosely sew seams with a whipstitch along the allowance edges to keep fraying in check.
Dry with clothes laid flat, avoiding clotheslines that pull the repaired seam out of shape. Once dry, gently press seams to maintain their original crisp edge without risking further stretching or puckering.
For specialty fabrics like silk or lightweight synthetics, avoid aggressive zig-zag patterns. Use tiny, straight stitches and minimal handling for an almost invisible outcome that preserves fabric integrity.
Keep Seams Stronger for the Future
Check all corners and edges before retiring any garment for the season. Quick inspections mean you repair seams early and keep favorites fresh for next year’s use.
Patch or reinforce corners where pockets meet the side seam, as these are common weak points in bags and jeans. Regular upkeep here saves replacement costs and prevents more severe holes from forming.
If you visibly mend, make repairs decorative by using embroidery stitches along the fraying seam—this both reinforces and refreshes the look, turning wear and tear into character.
Integrate Repairs into Everyday Clothing Care
Incorporating seam checks into regular laundry and storage routines minimizes future damage. Spending just three minutes after folding laundry to inspect at-risk zones can prevent expensive or inconvenient repairs later.
Pairing repair seams with regular care habits ensures you catch issues before they grow. Early repair means less time reworking and more time enjoying your wardrobe.
Aftercare Tips for Long-Lasting Repairs
1. Wash repaired clothes inside out: This reduces agitation and direct pressure on repaired seams, maintaining strength across repeated cycles without extra wear.
2. Air dry or tumble dry on low: High heat weakens thread, so opt for gentler drying to avoid premature repairs. Always lay knits and delicate repairs flat until fully dry.
3. Iron repaired seams inside out: This avoids shiny marks and ensures the repair blends naturally with the original construction, further protecting new threads.
- Store out-of-season clothes in breathable bags: This prevents mildew and fabric stress, and newly repaired seams remain strong until their next use.
- Rotate stressful wear: Alternate between several similar garments to avoid over-stressing any single piece, prolonging the benefits of each repair.
- Protect reinforced seams in outdoor gear by spot-cleaning dirt: Instead of full washes, this helps repairs last longer between major wear cycles.
- Take notes on frequently repaired spots: Keeping a log on your phone or a notepad gives you maintenance insight for future mending sessions.
- Set reminders for periodic seam checks: A seasonal calendar alert keeps you proactive, not reactive, with repairs, reducing emergency fixes.
Establishing this habit transforms wardrobe maintenance into an easy, ongoing process rather than an emergency scramble at the last minute.
Strategic Upkeep: Wardrobe Longevity Through Proactive Repairs
Making seam repairs part of a proactive upkeep strategy boosts garment lifespan significantly. Each quick fix reduces the chance that minor damage snowballs into a total loss or public embarrassment.
Tracking which clothes need frequent attention uncovers hidden patterns in how you use your wardrobe. This information guides smarter future purchases and preemptive reinforcements.
Mini Maintenance Schedule Example
After every fourth laundry day, lay out sweaters, jeans, and summer gear on a bed and scan for visible seam wear. Repair or reinforce as required, prioritizing items needed soon.
Each fall and spring, turn garments inside out and check all seam lines, making fast repairs with thread colors pre-matched from your toolbox. This prevents accumulated wear across the year.
Say, “This seam looks looser than last month; I’ll restitch before it opens,” and act on that observation. A small, scheduled habit creates peace of mind and strong, reliable clothing for every season.
Frequently Asked Questions
How can I tell if a seam is about to fail?
If you notice loose or shiny threads, gaps, or a change in the way the fabric lies at the seam, it’s time for a closer look. Minor puckering or sound changes during movement suggest weak seams that need attention.
Is hand sewing strong enough for major seam repairs?
When done properly, hand sewing can match or sometimes outperform machine stitching, especially over small areas. Double backstitching and reinforcement techniques deliver reliable strength for everyday clothing.
Which thread and needle types should I use?
Match thread material and color to garment fabric where possible. Use universal needles for general repairs, heavier ones for denim or canvas, and finer needles for silk or lightweight synthetics.
Are visible seam repairs a problem on professional clothes?
For formalwear, choose matching thread and small, uniform stitches for subtlety. If repairs must be visible, decorative mending techniques can incorporate color or pattern without sacrificing the garment’s look.
How do I prevent repaired seams from failing again?
Reinforce repairs by overlapping with the existing seam, using a double stitch or interfacing as needed. Avoid aggressive washing or drying cycles for newly repaired clothes, and periodically check for new stresses.