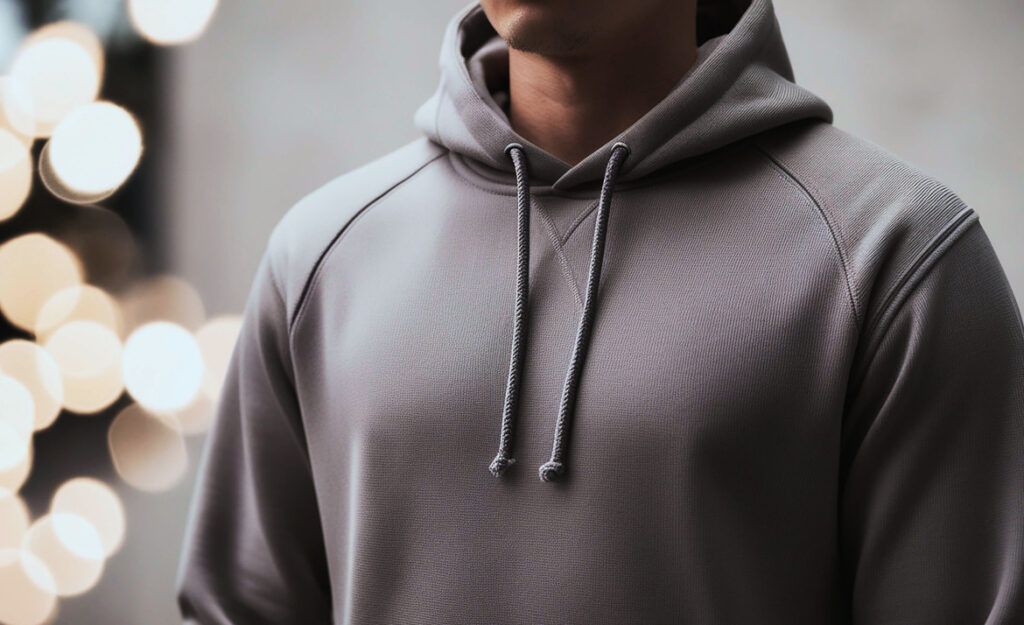
Fresh laces and crisp lines can give old hoodies or sweatpants a second life, especially when you quickly manage to replace drawstrings in minutes. For many, noticing a missing or fraying string is enough to sideline their favorite loungewear. Tackling this minor fix saves time, money, and keeps comfort right where it belongs—in your closet.
Drawstrings snap, unravel, or vanish into their tunnels, making a simple wardrobe staple suddenly unusable. Restoring them is a practical skill, whether you want a fashion refresh or you simply need functionality restored after laundry day. The good news: anyone can do this at home.
New techniques and tools make it easier than ever to replace drawstrings with everyday items already in your home. Explore the step-by-step guidance below to rescue any hoodie or pair of sweatpants, building your confidence and saving your favorite pieces with ease.

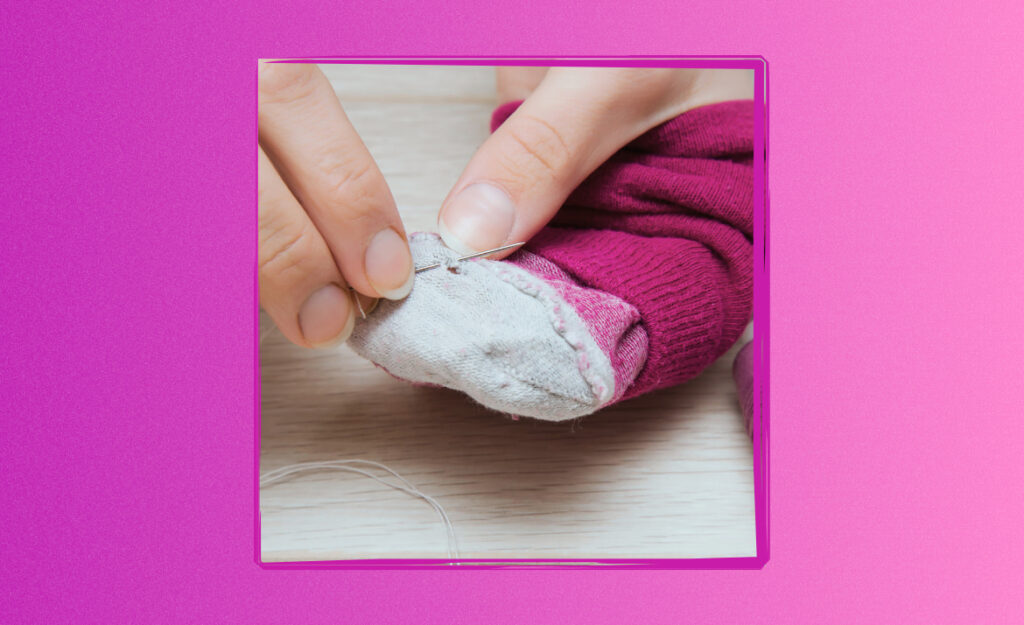
Darn Socks to Extend Their Lifespan
Discover hands-on methods to darn socks, prolong their life, and add creative flair.Choosing the Right Replacement: Ensure Your Drawstring Match Stays Secure
Starting strong means choosing a drawstring that fits perfectly, both in size and style, so your garment performs and looks its best. Plan to match color, material, and width to keep the vibe consistent, while also ensuring a smooth fit into the existing tunnel.
A basic white string gives a sporty look, while colored laces update your outfit with personal flair. Cords made from cotton or polyester behave differently—the former feels softer, while the latter resists fraying and holds shape longer for repeated use.
Assessing String Types for Durability
Thicker cotton cords stabilize sweatpants waistbands, distributing pressure comfortably as you tie. Meanwhile, round polyester cords glide easily but may slip when tied loosely. Test both by pulling tightly and observing for fraying or stretching as you would during daily wear.
Flat drawstrings stay put under tension and prevent the annoying “snap-back” when you tug too hard—a real benefit for gym wear or casual joggers. For heavy-duty outings, woven nylon shoelaces introduce extra resilience, ideal for gear you wear outdoors or during travel.
When possible, buy a replacement from a fabric store, checking package labels for “anti-fray” finishes. Prevent unraveling by sealing raw ends with heat or sewing, ensuring longevity before threading through any hoodie or pants waistband.
Measuring for Length and Style Consistency
Compare the new string with your old, if available, or stretch the garment flat to measure the tunnel length. Allow extra for tying knots—12 inches past either end is typical. When in doubt, choose longer; you can trim excess once installed.
Notice color undertones between fabric and cord. Choose a hue that matches your style, whether that’s a splash of contrast or a coordinated tone-on-tone look that remains invisible beneath a hoodie.
If shopping online, check for product photos showing the cord’s diameter next to a coin or ruler. This gives peace of mind before ordering, making sure you won’t need to wrestle a too-thick cord through a tiny opening.
| String Material | Key Feature | Best For | Takeaway |
|---|---|---|---|
| Cotton Cord | Soft feel | Cozy loungewear | Choose for maximum comfort in casual outfits |
| Polyester Shoelace | Stays round | Athletic wear | Great when durability and easy glide matter |
| Flat Ribbon | Won’t roll | Fashion hoodies | Ideal for a no-slip look and creative styling |
| Woven Nylon | Extra strong | Outdoor gear | Go-to option for hiking, camping, or kids’ clothing |
| Elastic String | Stretchy fit | Adjustable waist | Only use when frequent stretching is required |
Threading Tricks: Proven Steps for a Frustration-Free Fix
Minimizing stress comes down to technique. Use a familiar path, avoid tangling, and keep the process flowing smoothly: these steps beat the old “bunch and push” method every time. With the right guide, anyone can replace drawstrings without frustration.
Small tools or household substitutes simplify threading, reducing the risk of bunching or pulling the string only halfway through. Below are consistent steps using items found in any home, plus a breakdown of several quick tools and their best uses.
Safety Pin Strategy
Grab a mid-sized safety pin, attach it through the end of your drawstring. Slide it into the drawstring tunnel, moving the pin forward inch by inch, bunching and pulling fabric as you go. Use your fingertips to feel for progress, working steadily around curves.
- Attach with precision, keeping the pin closed tightly to prevent snags or shifting inside thicker fabric layers.
- Guide with your non-dominant hand, smoothing bunches before and after the pin so it doesn’t get stuck.
- Avoid sharp pulls; let steady movement do the work to protect delicate hoodie linings and seam stitching.
- Check progress every few inches, maintaining even tension along the length to prevent tangles halfway through.
- Once re-emerged, remove the pin gently before tying knots at each end to secure the drawstring in place.
This tried-and-true method helps kids and adults alike manage replacements on the fly, with no special equipment needed.
Shoelace Replacement Method
A stiff, unused shoelace doubles as a threading aid and a sturdy replacement. Tie or tape the end of the cord to the shoelace tip. Insert the shoelace into the opening while gently guiding the hoodie’s fabric over it. Use thumb and forefinger “pinch and slide” motions to work the new string through each section, feeling for even spacing.
- Secure the cord end with a firm knot or tape wrap; loose connections risk losing the string midway.
- Insert the shoelace tip with a quick twist; this eliminates bunching and helps the new drawstring glide past tight seams easily.
- Neutralize friction by pulling the shoelace taut at each curve, reducing friction and speeding up the process across baggier hoodies or sweatpants.
- Watch for the shoelace tip reappearing at the tunnel exit, untape or untie, and double-knot your new drawstring ends securely.
- This swap keeps your look updated and supports any style preference, from bright contrast cords to subtle, understated tonal ties.
The shoelace trick especially helps when you need a bigger, rounder cord and don’t mind a slight change in look or feel to your garment.
Common Roadblocks and Simple Workarounds to Get Back on Track
When a drawstring jams, tangles inside the tunnel, or disappears entirely, practical steps restore order quickly. Knowing which workaround matches your situation prevents wasted time and further frustration. Bringing a new string into a stuck tunnel requires a careful approach—and a backup plan.
To tackle hidden drawstrings lost inside, use a flexible yet firm item, such as a chopstick or blunt knitting needle, to help “fish” the string through. Mini-stories below illustrate two workarounds for real-life jams and tangled mishaps.
Stuck or Tangled in the Tunnel
After a brisk walk, you attempt to cinch your hoodie tight only to find the string stuck mid-way. Try this: insert a plastic straw end-first, using gentle rotations to nudge the tangles free. If resistance continues, wiggle the fabric with small pulses until the string loosens.
Imagine explaining to a friend, “I pushed in a straw, rotating it each inch. It finally popped out the other side—problem solved!” This simple step gets quick results in most hoodie and sweatpant fabrics.
An alternative: if visible knots form inside, lightly tap on the fabric’s outside with finger pressure where the knot sits, loosening tension before pulling. With each motion, say, “Easy does it,” to avoid breaking delicate seams. Finish by untangling and re-knotting the ends securely.
Lost Drawstrings and Tunnel Gaps
A missing string halfway inside means one end dangles while the other is gone. Hook a thin wire, paperclip, or bent bobby pin, then guide it along the inside seam, “fishing” for the stray string.
Repeat: “I brought the wire across by slow, steady pushes—finally felt the end and pulled it out.” This action both rescues the drawstring and prevents it from vanishing again.
For sweatpants with gaps or breaks in the tunnel, temporarily patch with masking tape to keep the path closed, preventing snags as you work through. Once the string is in place, reinforce the patch area with firm stitches or a few dabs of fabric glue for stability.
Speed Techniques: Replace Drawstrings in Less Than Five Minutes
A confident approach means identifying the fastest tool for each scenario and following exact steps for a seamless result. Quick fixes maintain your style with zero downtime—perfect for before a meeting or an impromptu outing.
Preparation lays the foundation for speed. Gather the needed tools in advance—string, safety pin, or alternative—ensuring everything’s within arm’s reach. Consider these two time-tested methods for record-setting results.
Pencil Push Solution
Take a sharpened pencil, attach the end of your drawstring with clear tape so it won’t slip off. Insert pencil into the tunnel opening, guiding it forward steadily. Grip and bunch the waistband behind the pencil, keeping everything lined up.
Say aloud, “I slide, I bunch, I push,” repeating with rhythmic motions. When the pencil tip appears at the far end, detach, and tie secure knots. The new drawstring is now ready—total time invested: under five minutes.
If the tunnel narrows, rotate the pencil to break up resistance before advancing—mirroring a screw being turned into soft wood. This analogy helps keep the motion gentle, reducing fabric stress.
Reusable Threader Tools for Routines
Fabric stores offer reusable drawstring threader tools—flexible rods with clip loops that clamp the new drawstring securely. Feed the rod through the tunnel, then pull the cord back through. Try this: “Lock, feed, and pull once—quickest fix for weekly wearers.” Wash after each use for longevity.
For a faster everyday emergency, keep one threader in a kitchen drawer or laundry room. Show others this tool so everyone in the family can independently replace drawstrings when needed. Completing the process builds confidence and saves hassle long-term.
Creating Personal Style: Color, Material, and Function Upgrades
Personal touches take your hoodie or sweatpants from generic to unique, while keeping them practical for everyday use. Don’t just replace drawstrings—curate your look by choosing stand-out materials and creative tying styles tailored to your taste.
Color choices shift the mood of an outfit dramatically. Switch to bold neon or pastel shades to update old gym wear, or opt for minimalist tones for subtlety. The impact is immediate and clears the way for mixing and matching wardrobe staples.
- Pick bold colored cords for a statement look—excellent for teens who want visibility and flair at school or on the field. Cut to size then secure knots tightly so they withstand activity.
- Select reflective or glow-in-the-dark drawstrings for walks or jogs at dusk—offering useful visibility and a trendy detail all in one. Routinely check knots to prevent slipping.
- Try three-strand braided cords for textured interest—consider pairing with fleece-lined sweats for tactile variety. Braid tightly and trim ends short to avoid unraveling.
- Decorate cord ends with metal aglets—buy in packs and crimp with pliers for a sleek finish that resists fraying through repeated washings.
- Mix-and-match patterns: choose stripes, checks, or polka dots to match your mood or a favorite T-shirt. Install as described, then show off your new style to friends or family for instant feedback.
Ownership of the process means never worrying about a missing string again—just selecting a new one for function or fashion as needed.
Best Practices for Ongoing Care and Quick Maintenance
Keep your loungewear performing by inspecting drawstrings regularly, washing items with care, and acting quickly when you spot fraying ends. A simple practice avoids headaches and extends the lifespan of every replacement drawstring.
- Check drawstring knots before every wash—damaged or loose ends can slip into the tunnel during agitation, increasing the risk of tangling or disappearing.
- Tie a loose knot at each end after laundering, then hang dry rather than tumble—this helps prevent shrinkage both to the cord and the waistband.
- Spot-check aglets or tape-wrapped ends each season; replace or reinforce as needed to prevent fabric snags during dressing or lint buildup in washing machines.
- Rotate sweatpants and hoodies in weekly wear so strings don’t wear unevenly, keeping their fresh appearance longer.
- If you frequently lose drawstrings, keep a jar with spare cords and safety pins in your laundry area—this small step means never delaying a fix.
Every habit here leads to faster, less disruptive fixes, keeping you moving and your clothes neatly ready at all times.
Retaining Comfort for Daily Use: Lessons Learned and Final Tips
Quick drawstring fixes become part of a self-sufficient routine, putting favorite hoodies and sweatpants back in circulation rather than sending them to the “repair” pile. Every unique method above serves everyday wearers aiming for easy, reliable solutions.
Mastering the art of the replace drawstrings process means feeling prepared for any sudden wardrobe failure. Small investments—a pin, a threader tool, or a shoelace—enable repeated upgrades and customizations so everyone enjoys perfect comfort and fit year-round.
Practical reinvention is key: each drawstring replaced represents care for everyday essentials. Next time a cord snaps, take charge promptly—customize for comfort or style, knowing you possess all the know-how for reliable, quick results on demand.
Frequently Asked Questions
Can I replace drawstrings with regular shoelaces?
Absolutely. Regular shoelaces work well, especially in athletic wear or hoodies designed for thicker cords. Just check their length before use and trim any excess for a clean appearance. Tie solid knots at each end to prevent slipping back inside.
What should I do if my drawstring keeps falling out in the wash?
Tie a loose knot at both ends before laundering. This prevents shifting and re-entry into the tunnel opening. For extra security, use a safety pin attached to the drawstring and clipped to the outer fabric during washing.
Are there special drawstring replacement tools available?
Yes. Most fabric shops or craft stores sell flexible drawstring threading tools with latch hooks or clamp loops. These make replace drawstrings projects faster and easier, especially for smaller or stiffer tunnel openings, and are reusable for multiple repairs.
How long should my replacement drawstring be?
Measure the tunnel’s length from one end to the other and add about 24 inches (12 per side) for knotting and tying. If unsure, err on the longer side—you can cut off any extra once installed, ensuring both comfort and flexibility in wear.
Is it safe to use metal tools to thread new drawstrings?
Metal tools like large needles or wire can be safe if you blunt or tape over sharp ends. Always avoid punctures or accidental tearing, especially with delicate fabrics. Use slow, controlled movements and check for snags as you work through each section.


