Tailor visits aren’t always practical, and hemming at home saves time and money. With a handful of reliable no-sew techniques, you can alter pants confidently. These methods work for almost any fabric and style, from office slacks to casual chinos.
Explore the following guide to learn practical shortcuts and strategies. You’ll discover actionable steps and mini checklists, simple comparisons, and real-life scenarios. By the end, you’ll be ready to shorten pants quickly for a custom fit, every time.
Preparing the Workspace Ensures Clean, Accurate Results
Clear, organized spaces simplify every alteration project. When you set up for a no-sew hem, precision rises, and mistakes drop. Start with a solid surface—kitchen tables or desks work best for laying fabric flat.
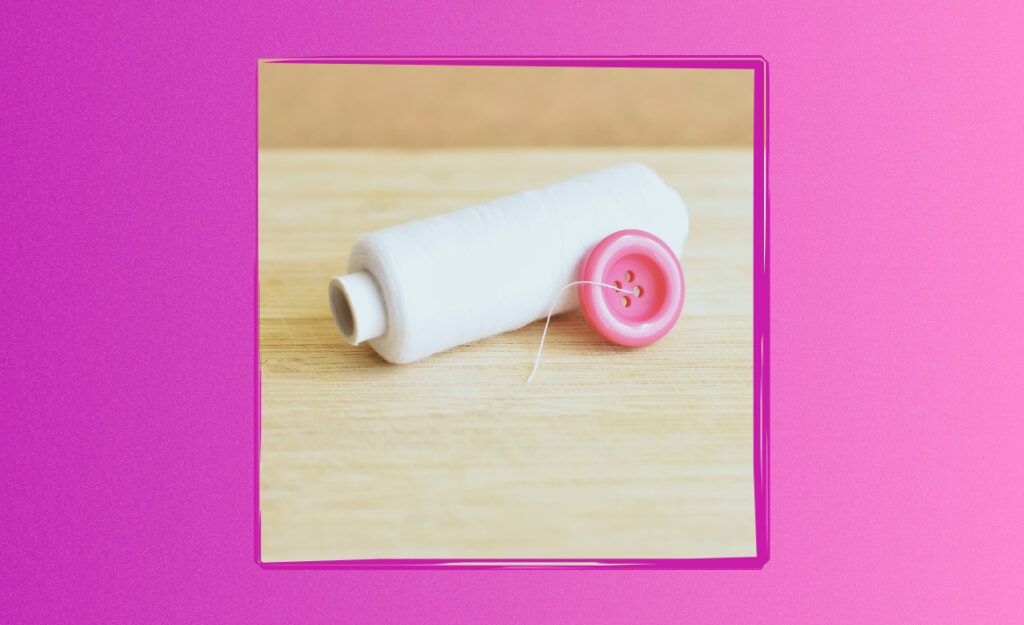
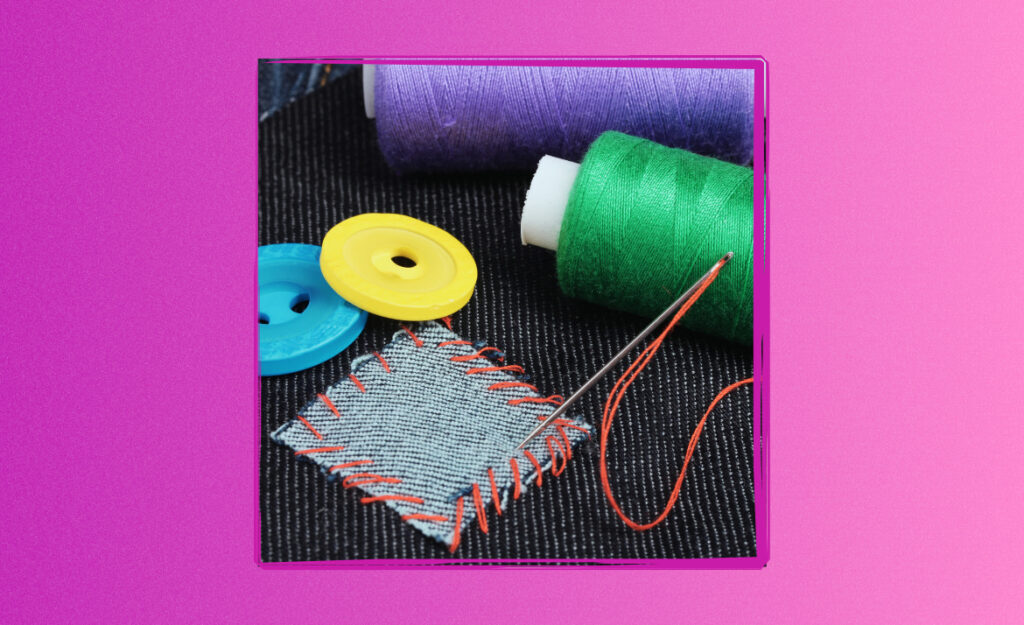
Lay out all tools you’ll need. Standard choices include chalk or a pencil, sharp scissors, measuring tape or ruler, pins or clips, fabric glue, iron-on tape, and a household iron. This checklist eliminates mid-step scrambling for misplaced items.
Measuring Accurately Prevents Lopsided Hems
Pants pulled too tight or left crooked won’t fall right after altering. Stand relaxed, feet flat, and let the pant legs drop naturally. Pin or mark the target hem height on both legs with chalk, then double-check symmetry in a mirror.
Always account for shoes—especially with jeans or dress pants. Add about a half-inch extra if unsure; trimming too much leaves little room for error. Repeat on both pant legs before removing the pants for marking.
Ask a friend to mark the hems if possible. They’ll help keep lines straight, and assist with tough-to-see spots. Once marked, adjust as needed before any cutting or adhesive steps.
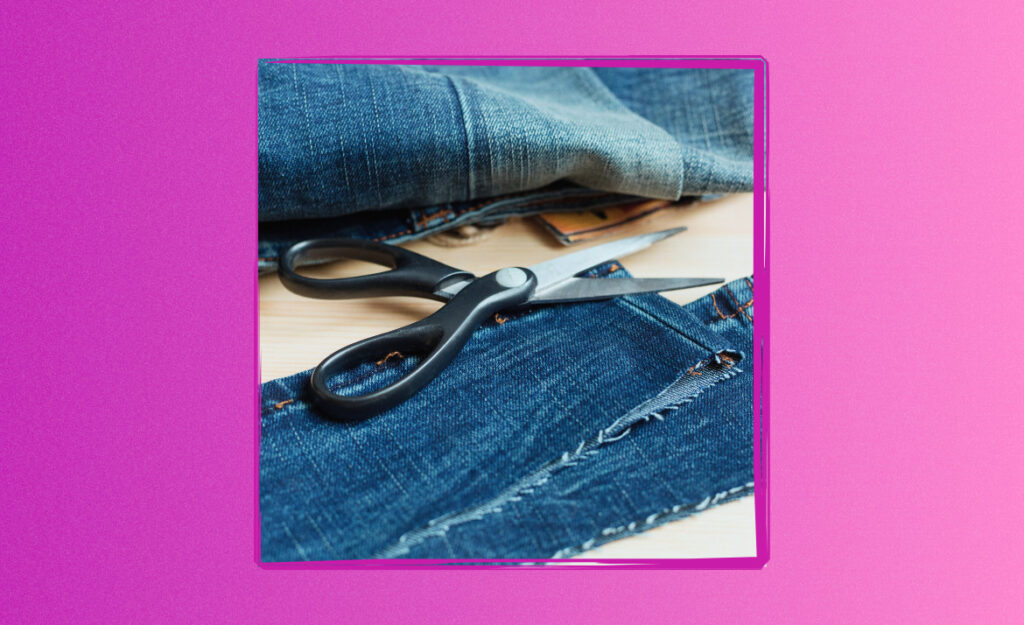
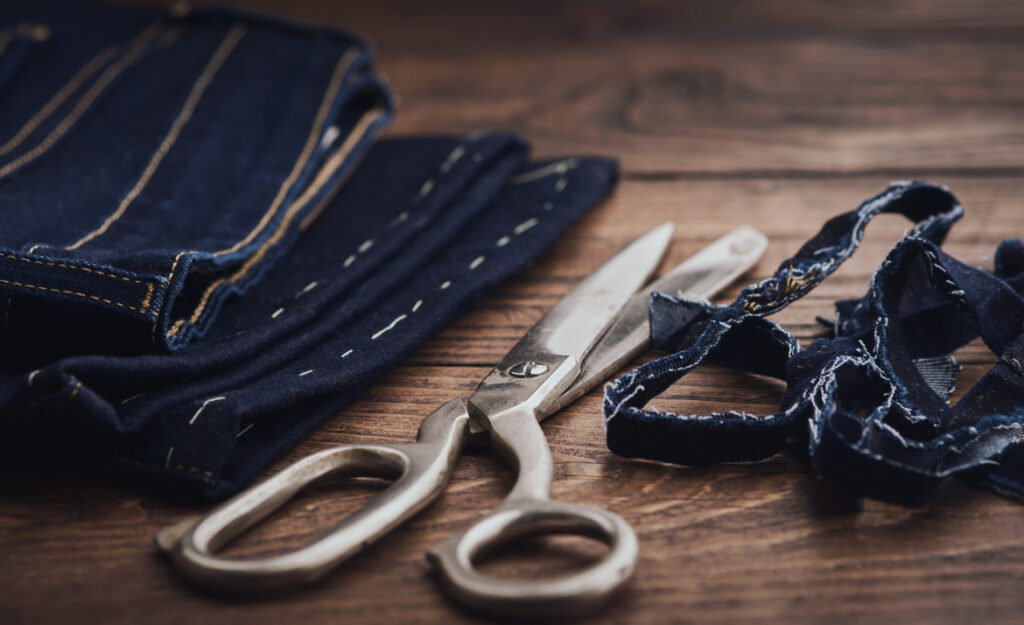
Creating Even Cuts Using Simple Household Objects
A ruler, hardcover book, or even a cutting mat can help guide straight scissors cuts. Press the fabric flat, align your guide with the marked line, then cut deliberately—never rushing. Uneven cuts lead to messy finished hems.
Cut both legs simultaneously whenever possible. Line up the pant legs, matching knees and seams, then cut across both together. This keeps hem lengths identical and prevents one pant leg from looking off.
Snip away stray threads after cutting. Addressing these details makes the adhesive process smoother and helps professionalize your finished product. Always double-check your work after each step.
| Tool | Purpose | Alternative | Takeaway |
|---|---|---|---|
| Measuring Tape | Marking new hem length | Ruler or string | Consistency is key for even hems |
| Chalk | Temporary marks on fabric | Washable pencil | Use light marks for easy cleanup |
| Pins or Clips | Hold fabric in place | Paperclips, binder clips | Firm grip prevents slip-ups |
| Sharp Scissors | Cutting fabric neatly | Rotary cutter | Sharp blades ensure clean edges |
| Iron | Set adhesive or folds | Heavy book (for pressing) | Apply heat for strong, lasting bonds |
Choosing the Right No-Sew Method Matches the Fabric and Look
Picking an appropriate no-sew method saves frustration and improves results. Each approach works best with certain fabrics and pants styles. Plan ahead to select the path that suits your needs.
Most no-sew techniques fall into three categories: fabric glue, iron-on hem tape, and hand-folded tacking. Assess your pants—jeans, dress trousers, and athletic wear each benefit from different options. Choose based on durability and how often you plan to wash the item.
Comparing Fabric Glue and Iron-On Tape for Various Pants
Fabric glue creates a flexible but slightly visible finish, great for thicker jeans or cords. It bonds best when clamped firmly and left to dry 24 hours. Iron-on tape offers a nearly invisible hem, perfect for formal trousers.
- Apply fabric glue on sturdy, textured fabrics; always let it cure overnight for strength and longevity, even if the label says fast-dry.
- Choose iron-on tape for smooth, woven fabrics; activate the adhesive using a hot iron for about ten seconds, using parchment if needed to protect the material.
- Pins or clips hold hems together while the glue sets, ensuring uniformity and avoiding wavy seams. Release gently after drying to prevent tugging.
- Pair hand-folded tacks with casual joggers for a tailored but temporary look; use a safety pin, small binder clip, or basting stitch for an easy fix that can be undone later.
- Spot-test all adhesives on your fabric’s inside seam before applying to the hem; some adhesives may stain synthetics or printed designs.
The quickest method isn’t always best—think about how much wear and washing each pair of pants will experience. Durability saves you future repairs and time.
Adhesive Tape Options for Everyday Clothing
Iron-on hem tape comes in thin and wide forms. Thin strips suit lightweight chinos, while thicker tape supports denser denim. Follow the hem’s natural fold—don’t force a new crease against stiff fabric.
- Lay tape flat inside the folded hem, then press with a hot iron to bond both layers. Repeat as needed for wide pant legs.
- Smooth out puckers before pressing; ironing over wrinkles will seal them into the new hem, making repairs tricky.
- Richly colored trousers sometimes discolor when exposed to high heat; use a lower iron setting and a pressing cloth when bonding dark or delicate fabrics.
- Test adhesion by gently pulling at the edge of the hem after cooling. If it peels back, reheat the area and press again—patience improves the final result.
- Wash tape-sealed pants on cold with mild detergent, avoiding harsh cycles. Check hems occasionally, and re-press tape if it loosens over time.
Quick repairs look best when you prepare the surface well, test your adhesive, and finish each step with care. Practice on scrap fabric before your favorite pants for confidence.
Finishing Edges for a Crisp, Professional Appearance
Clean, sharp hems elevate altered pants. Homemade shortcuts can rival a tailor’s work when edges are folded evenly and pressed firmly. Start with a double fold—tuck the raw fabric edge under, then fold again to hide frays.
A household iron makes a world of difference. Press along the hem after each fold, using steam or mist to calm stubborn wrinkles. This sets the shape and ensures a neat line across the bottom.
Using Weights or Books to Secure the Fold Overnight
Once hemmed and pressed, let the pants rest under books or another heavy item overnight. This cools and sets the new fold, taming bouncy fabrics such as poly blends or lighter denims.
Never stack several heavy boxes on delicate materials. Instead, use flat, uniform pressure. Lay pants inside out and fold hems inside, stacking lightly for an even crease without crushing the garment surface.
Try wrapping pants around a rolled towel to maintain leg shape under pressure as they set. This stops sharp fold lines from creasing all the way up the leg above the hem.
Pressing and Touch-Ups for Flawless Results
Once hems are secured and adhesive is set, complete the look with a final press. Glide the iron lightly along the hem, using a damp pressing cloth to add steam without scorching the fabric.
Look for uneven lines, stray glue marks, or waves in the new hem. Trim excess glue gently with tweezers after it dries. Reshape problem areas by misting lightly and pressing again.
Try on the pants and stand in your normal posture. Inspect both sides for evenness—adjust by trimming single threads or re-folding the hem as needed. Practice brings perfection, and minor tweaks make a big difference.
Adapting No-Sew Methods to Special Fabrics and Pant Styles
No-sew methods can handle most casual and semi-formal pants. Synthetic blends, wool dress pants, and even stretch denim each bring their own set of quirks. Preparation and method matter more than style, ensuring no surprises as you shorten pants.
Materials with strong stretch or heavy textures sometimes resist adhesives. Always read care labels, test on an inside seam, and start with minimal adhesive. Fine wools and synthetics respond well to tape, while plush velvets prefer folding and pinning.
Sport Pants and Joggers
Elastic-hem joggers or yoga pants can trip up beginners. Instead of cutting, fold inside and tack the fabric using fabric-safe double-sided tape or velcro strips, then gently secure with an iron if the textile can handle heat.
For super-stretch athleisure material, press only with cool irons. Too much heat warps synthetic fibers. Use more, smaller pieces of tape to maintain stretch both at rest and when moving.
If fabric rolls or bunches while taping, lay it flat, use a ruler to guide the hem, and secure with extra pins. Testing as you go ensures smooth, crisp edges without puckering.
Delicate and Dressy Fabrics
Silks, satins, and wool blends require a lighter touch. Always prep the hem area using a low heat iron and placing a cloth in between. Tape sparingly to avoid visible bumps on light fabrics.
A double-folded hem keeps sheer fabrics from fraying. Secure the fold with a small strip of iron-on adhesive strategically placed at the inner seam. This holds the hem but keeps the look invisible from outside.
Trim excess threads or stray tape with small scissors, and always do a final press at the lowest safe setting. This minimizes shine and preserves the elegant drape of delicate trousers.
Keeping Altered Pants Looking Great After Each Wash
Proper care post-alteration keeps hems neat. Adhesive and tape fare better with gentle cycles and low heat drying. Check hems before and after each wash for loosening or curling, and refresh as needed with a quick iron press.
Hang pants by the hem using clip hangers, but use soft pads or tissue to avoid marks on the finished edge. This prevents permanent crease lines that can make pants look sloppy over time.
Spot Cleaning and Small Repairs
Stains or splashes along the hem don’t always require a full wash. Use a damp cloth and mild soap to spot-clean the affected area. Avoid vigorous scrubbing, which may loosen or weaken adhesive seams underneath.
For small pulls or edges lifting after washing, reapply iron-on tape or a dab of fabric glue just to the trouble spot. Let it set completely before wearing again.
Small accidents happen, so keep a mini repair kit with a bit of spare tape, glue, and extra pins handy. Staying prepared saves last-minute stress when you need your favorite pants for a special event.
Reimagining Old Pants for New Uses
Shortened pants don’t always need to look store-bought. Get creative by turning worn jeans into shorts or cropped capris, using bold trim tape or fabric paint for a custom effect. Alterations can refresh entire wardrobes for upcoming seasons.
Trim legs evenly, then add an extra fold or decorative tape above the new hem. Iron in place or use fabric glue for secure, standout details. This process works well with children’s outgrown pants too, giving each piece a second life.
Turning Mistakes into Unique Looks
If you trim too much or edges look jagged, try rolling the hem several times and securing with iron-on tape. This works especially well on canvas or khaki fabrics, creating a casual cuffed style that’s always in season.
For creative flair, use colored iron-on tape or patterned fabric glue. Let the decorative element peek out from the cuff for a two-tone effect, or place a row of small rivets or buttons just above the fold.
Fashion is flexible—shortening pants with a no-sew twist lets you express personality and solve practical problems at the same time.
Upcycling Pants for Practical Projects
Pants you no longer want can be cut and reimagined as storage pouches, tool wraps, or tote bags. Use strong iron-on tape to connect pockets or legs. Add a simple button or adhesive hook-and-loop closure for security.
Travelers can create cord keepers or sunglass pouches with leftover pant material. Test the adhesive on each section before finalizing to ensure a strong bond. Repurposing saves money and waste with creativity at the core.
Keep experimenting. Every trial with no-sew methods teaches new tricks and uncovers more use cases. There’s no wrong way to breathe new life into old fabric—only endless possibilities to personalize and save.
Reflections on No-Sew Shortening for Confident DIY Results
You now have a toolkit of no-sew options for transforming pant length at home. Each method—glue, tape, creative folding—addresses a different challenge, so match techniques to materials and lifestyle for success.
Shortening pants this way puts you in charge of your closet, saving money and cutting down on trips to a tailor. The more you practice, the easier it gets—just remember to measure carefully and test on scrap before committing to the real project.
Every finished hem builds confidence. Whether you seek a classic look, want to experiment with new styles, or upcycle for fun, no-sew alterations open up your closet to new opportunities and a perfect fit, every time.
Frequently Asked Questions
What is the easiest no-sew way to shorten pants? The simplest method uses iron-on hem tape. Fold the hem, slip in the tape, and press with a hot iron for about ten seconds until the bond forms. Test the finish by tugging: if secure, you’re good to wear.
Will fabric glue hold up after washing pants? Most modern fabric glues designed for washable garments work well if you let them cure for 24 hours before washing. Always check the label and hand-wash on a gentle cycle to help hems last longer.
Can I use double-sided tape instead of special hem tape? Standard double-sided tape may work as a temporary fix, but it loses grip in the wash. Special fabric or hem tape is designed for durability and stands up to regular laundering without peeling.
Is it possible to alter stretchy athletic pants without sewing? Yes, but it’s crucial to use a flexible, fabric-safe adhesive such as iron-on tape or specialized stretch fabric glue. Check if your pants can handle light ironing before applying the adhesive.
Will no-sew hems look as good as tailor-made? Carefully prepared, double-folded hems finished with quality tape or glue can look nearly identical to sewn finishes—especially after a final press. Take your time, follow each step, and you’ll achieve crisp, even results at home.